216
Nexam Pro User Manual
Chapter 13
▪
Press and hold the left mouse button while moving the cursor to the right
side of the area. A rectangle will now be drawn around the area to be
enlarged.
▪
When the left mouse button is released, the investigation will be zoomed in.
Repeat this until the area of interest is on your screen.
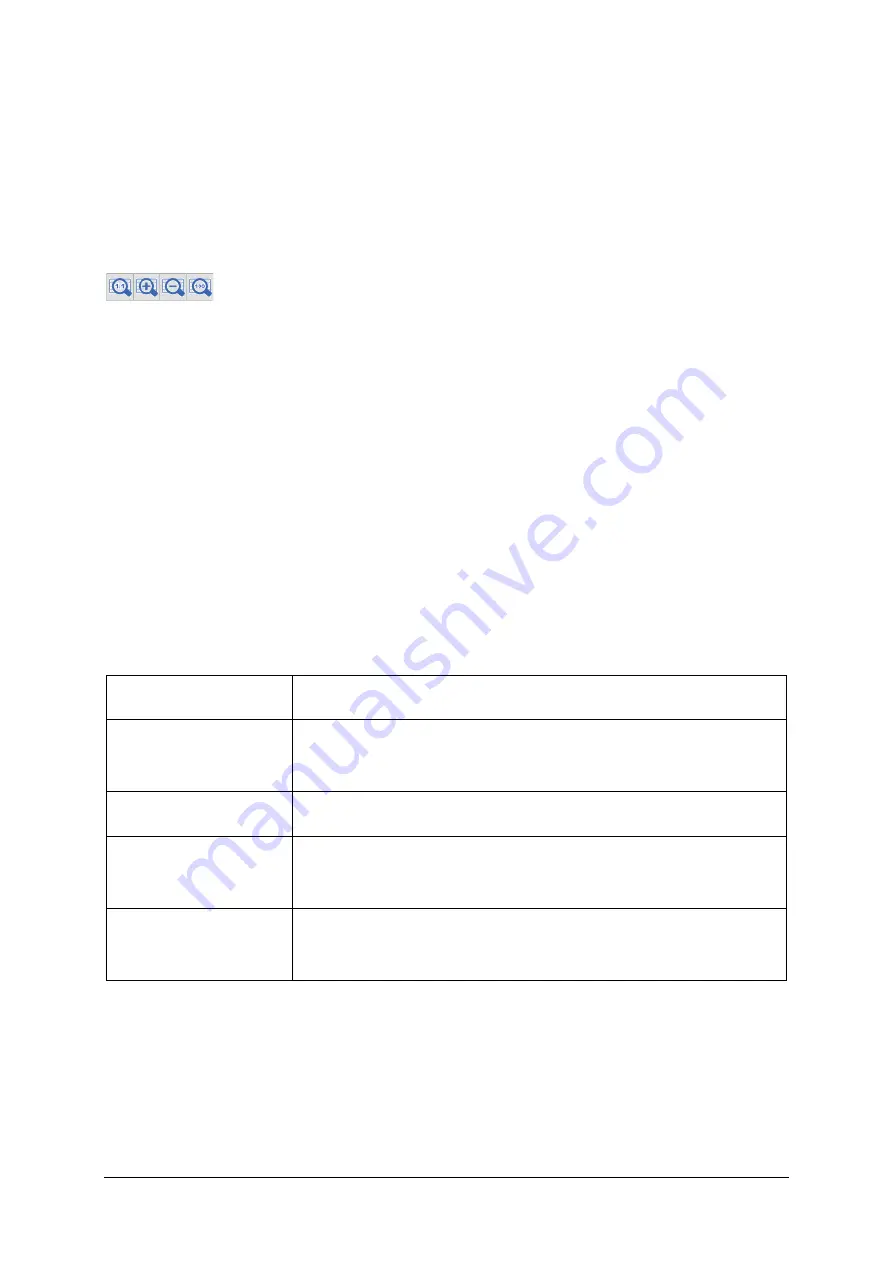
Zoom buttons
With these buttons, you can zoom in, zoom in on sample base, zoom out, and
zoom to 100% screen. You can also select the zoom functions via the
100%
screen
software button and the keyboard buttons
F4
(zoom 100%),
F5
(zoom
out), and
F6
(zoom in).
Other fixed zoom intervals
Zoom 4 minutes, 15 minutes, 1 hour, and 4 hours.
13.4 Marker
13.4.1 Menu Overview
The following menu items are available:
Menu item
Function
Insert marker
Select and insert a marker in the investigation graphs.
For more information, see § 13.4.2.
Lock markers
Prevent accidentally moving of markers.
Reference cursor
Insert a reference marker.
For more information, see § 13.4.3.
Marker overview
Display an overview of all present markers in the
investigation.
13.4.2 Insert Markers
During an investigation, different events can be marked; for example, the
sensations. These markers can be selected, moved, or deleted in the analysis
program. In this section, you will find an explanation of these procedures and
Summary of Contents for Nexam Pro WPU-L4
Page 1: ...Nexam Pro User Manual...


