


Projection Brightness & Rotation
Brightness:
Press the button to change the Projection Brightness (High, Low, or Off).
Rotation:
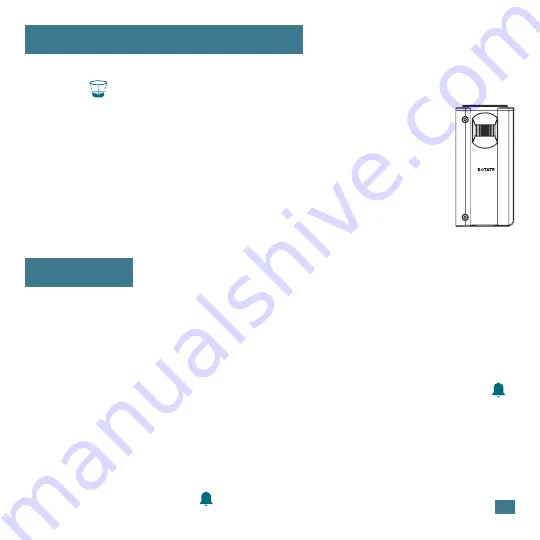
Use the
Rotation Wheel
on the back of the projection arm
to change the projection orientation 270 degrees.
Tilt The Projection Arm:
The Projection Arm can tilt forward and backward to adjust the
location of the projection image on a wall or ceiling.
Time Alarm
Set Alarm:
1. Hold the
ALARM
button to enter the Alarm Settings Menu.
2. Use the
+/-
buttons to adjust the flashing values.
3. Press the
ALARM
button to confirm and move forward.
Note:
The alarm will activate after being set, indicated by the Alarm Icon .
The Alarm Time will also remain on screen until the
CALENDAR
button is
used to switch back to a calendar display.
Activate/Deactivate Alarm:
Press the
ALARM
button to activate or deactivate the alarm and view your
alarm time. The Alarm Icon will show only when alarm is active.
6


