2NL/2P8
1-5-44
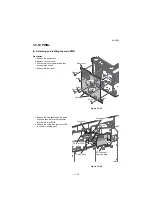
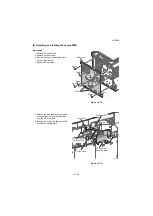
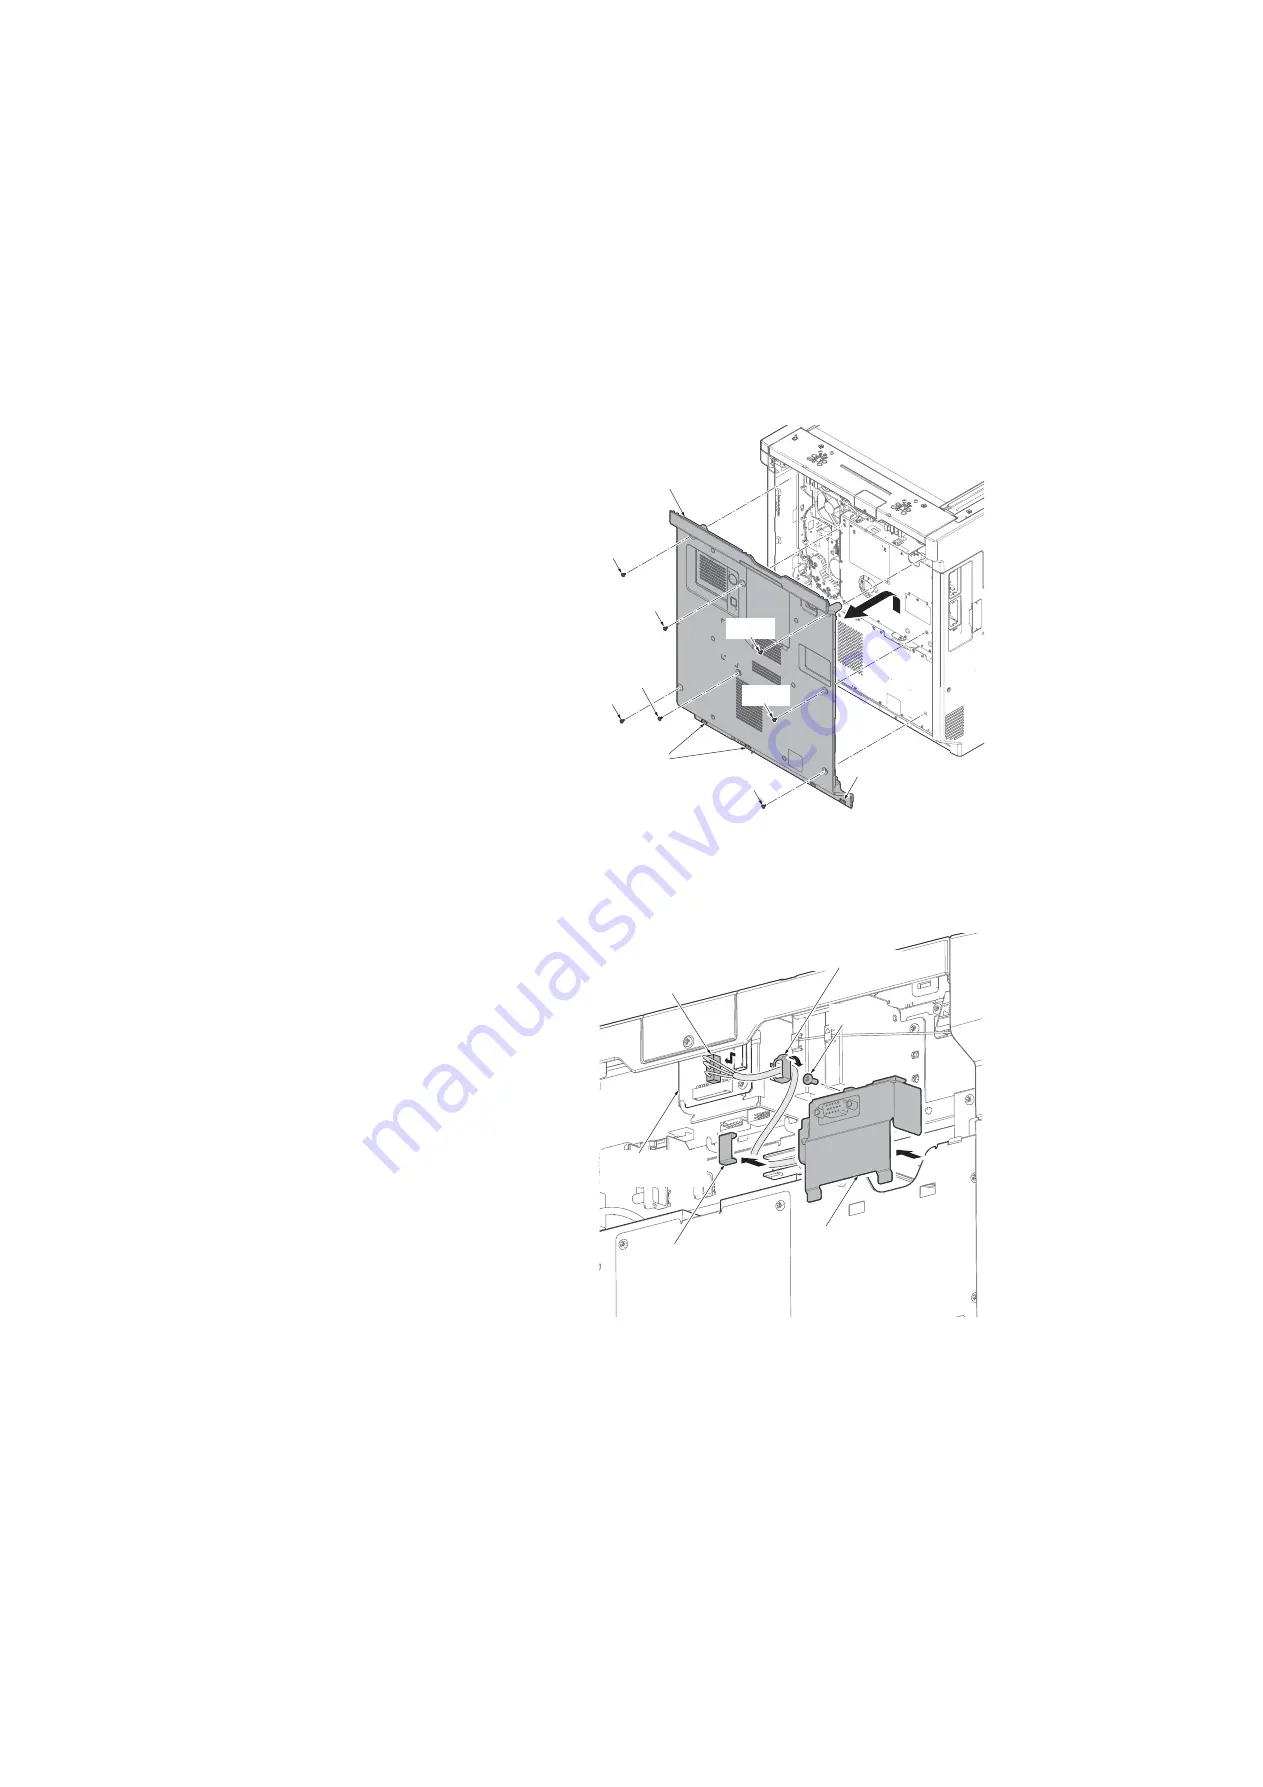
(2) Detaching and refitting the engine PWB
Procedures
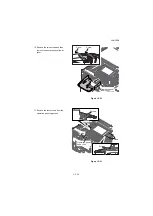
1. Remove the power cord.
2. Remove seven screws.
3. Pull the rear cover upwards and then
release three hooks.
4. Remove the rear cover.
Figure 1-5-75
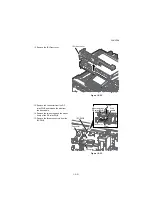
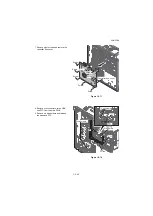
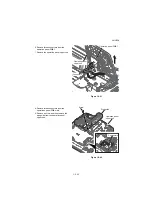
5. Release the wire saddle and the guide
hook and then remove the connector
from the DP relay PWB.
6. Remove the screw and remove the DP
connector mounting plate.
Figure 1-5-76
Screw
Screw
Screw
Screw
Rear cover
Hooks
Hook
Screw
Screw
Screw
Screw
Guide Hook
DP connector
mounting plate
Wire saddle
DP relay PWB
Connector
Summary of Contents for TASKalfa 3010i
Page 10: ...This page is intentionally left blank ...
Page 100: ...2NL 2P8 1 2 76 This page is intentionally left blank ...
Page 286: ...2NL 2P8 1 3 186 This page is intentionally left blank ...
Page 443: ...2NL 2P8 1 5 59 This page is intentionally left blank ...
Page 471: ...2NL 2P8 2 2 8 This page is intentionally left blank ...
Page 532: ...Installation Guide DP 770 B Document processor DP 772 Document processor Installation Guide ...
Page 568: ...DP 773 Document processor Installation Guide ...
Page 594: ...PF 791 500 x 2 Paper feeder Installation Guide ...
Page 602: ...PF 810 3000 sheet deck Installation Guide ...
Page 615: ...DF 791 3000 sheet finisher Installation Guide ...
Page 630: ...DF 770 D 1000 sheet finisher Installation Guide ...
Page 648: ...AK 740 Bridge unit Installation Guide ...
Page 650: ...MT 730 B Mailbox Installation Guide ...
Page 665: ...PH 7A C D Punch unit Installation Guide ...
Page 686: ...DT 730 B Document tray Installation Guide ...
Page 731: ...5 2013 5 302LC56750 01 H F G D D 6 4 3 7 E C D D M4 8 M4 8 M4 8 M4 8 ...
Page 732: ...FAX System W B Installation Guide ...

