Setup and Registration
6-32
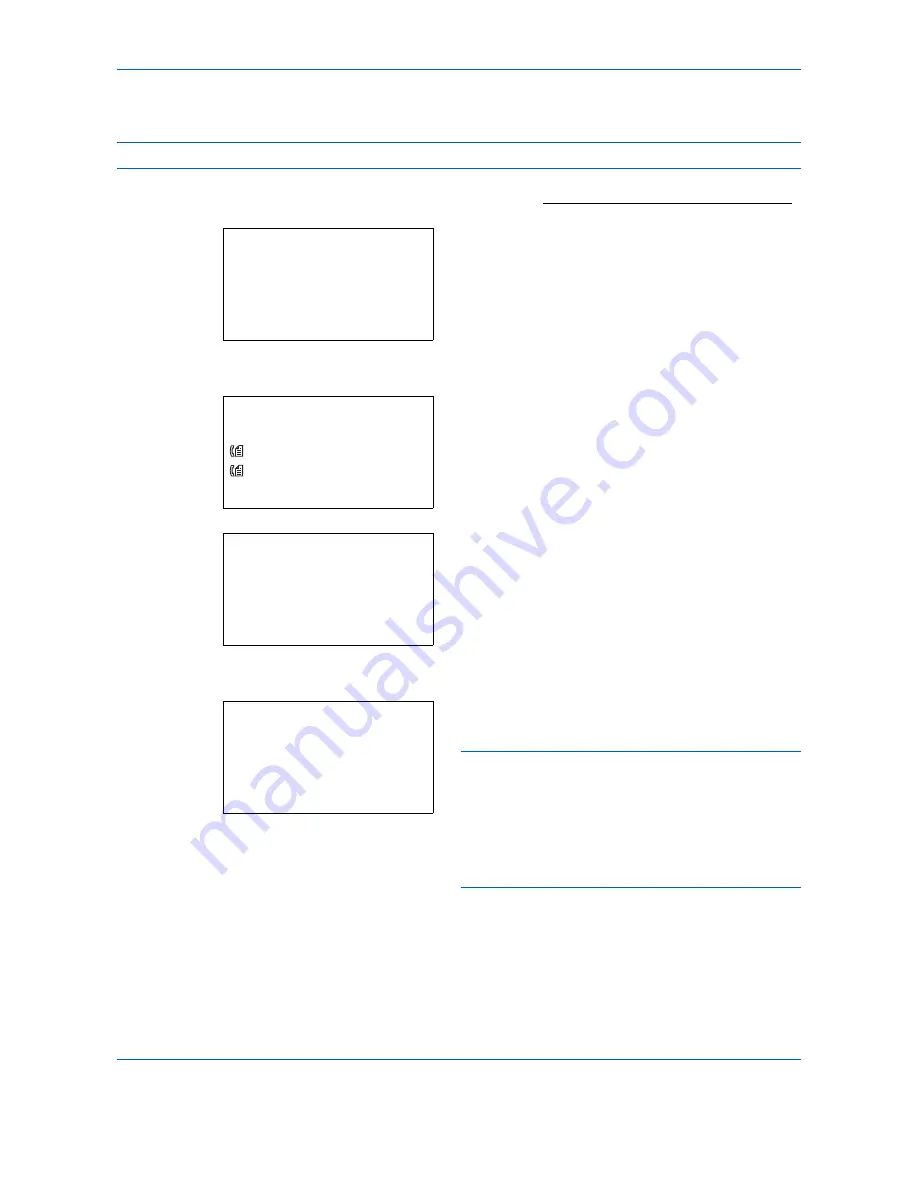
Registering Reject FAX No.
NOTE:
Up to 10 Reject FAX numbers can be registered.
1
Refer to
Basic Operation Procedure on page 6-7
.
2
Press the
U
or
V
key to select [Reject No. List].
3
Press the
OK
key.
4
Press [Menu] (the
Right Select
key).
5
Press the
U
or
V
key to select [Add FAX Number].
6
Press the
OK
key.
7
Use the numeric keys to enter a Reject FAX
number. Up to 20 digits can be entered.
NOTE:
Press the
Address Recall/Pause
key to
insert a pause (-) between two digits.
Press the
Y
or
Z
key to move the cursor.
To correct the number, press the
Clear
key to delete the
digits one by one before reentering the number. To
delete all entered digits and return to the default screen,
press the
Reset
key.
8
Press the
OK
key.
9
To register other Reject FAX numbers, repeat
steps 4 to 8.
TX/RX Restrict.:
a
b
3
Permit No. List
4
Permit ID List
*********************
[ Exit ]
5
Reject No. List
Reject No. List:
a
b
*********************
0667643755
0120123456
[ Menu
]
0667640001
Menu:
a
b
1
Detail/Edit
2
Delete
*********************
3
Add FAX Number
FAX No. Entry:
T
b
*
S
Summary of Contents for FS-C2126MFP+
Page 1: ...FAX OPERATION GUIDE FS C2126MFP...
Page 15: ...xiv...
Page 21: ...Part Names and Functions 1 6...
Page 29: ...Preparation Before Use 2 8...
Page 59: ...FAX Operation Basic 3 30...
Page 129: ...Checking Transmission Results and Registration Status 5 14...
Page 181: ...Troubleshooting 8 8...
Page 197: ...Appendix 16...
Page 201: ...Index 4...
Page 202: ......
Page 203: ......
Page 204: ...First Edition 2011 05 2MBKMEN000...


