8
3.
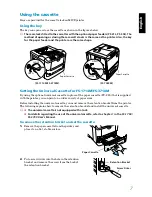
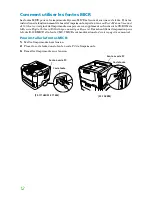
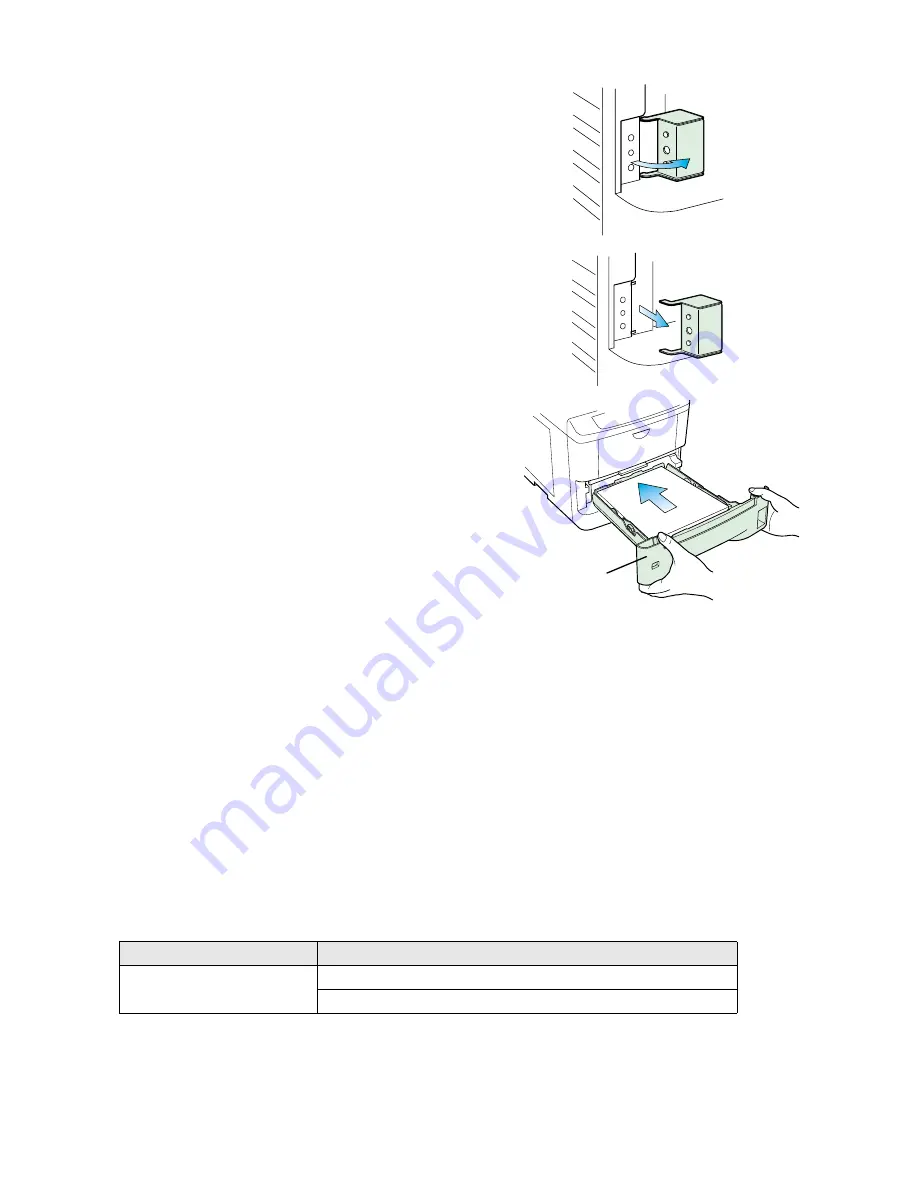
With the screw removed and the retention
bracket loose, rotate it to the right as shown in
the figure.
4.
Take the retention bracket off the printer.
☛
Please be careful not to lose the retention
bracket. You will need it the next time you
want to use the MICR printer’s standard paper
cassette.
5.
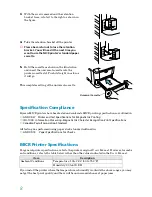
Hold the cassette as shown in the illustration
and insert the universal cassette into the
printer cassette slot. Push it straight in as far as
it will go.
This completes setting of the universal cassette.
Specification Compliance
Kyocera MICR printers have been tested and conform to MICR printing specifications as outlined in:
❒
ANSI X9.27
Printer and Test Specifications for Magnetic Ink Printing
❒
ISO-1004
Information Processing-Magnetic Ink Character Recognition-Print Specifications
❒
Canadian Payroll Association Standard
All testing was performed using paper stock standard outlined in:
❒
ANSI X9.18
Paper Specifications for Checks
MICR Printer Specifications
For general printer specifications, refer to the printer’s original
User’s Manual
. However, for ambi-
ent conditions, refer to the table below rather than the values indicated in the
User’s Manual
.
If you install the printer where the temperature or humidity is outside the above ranges, you may
not get the best print quality, and there will be an increased chance of paper jams.
Item
Description
Ambient Conditions
Temperature: 10 to 24°C (50 to 75.2°F)
Humidity: 20 to 60% RH
Universal Cassette


