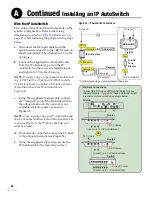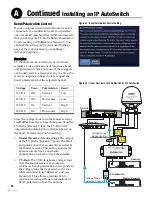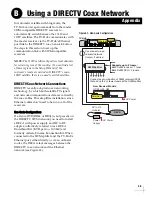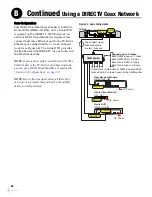
45
If you wish to route the system cables through
the bottom of the antenna’s baseplate, rather than
connect the cables at the side of the baseplate,
follow these steps to modify the antenna for
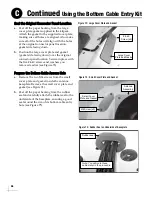
bottom cable entry. Figure 70 shows the relevant
parts of the antenna baseplate; refer to this figure
throughout the procedure.
Remove the Radome and Restraints
Perform the steps in
to remove the antenna’s
radome and shipping restraints. You will need to
rotate the antenna assembly by hand to access
various parts of the baseplate.
Relocate the Connector Panel
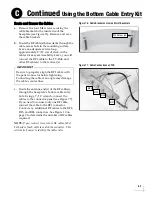
a.
Remove the five #4-40 screws, washers, and
nuts securing the cable PCB to the access
hatch (see Figure 71).
b.
Attach the connector panel to the alternate
connector panel bracket (see Figure 72) using
the five #4-40 screws and washers supplied in
the kitpack.
Figure 70: Interior Baseplate (Antenna Not Shown)
Cable
Brackets
Original Location
for Connector Panel
Alternate Location
for Connector Panel
Small Cover Plate
Access
Hatch
Once you have removed the restraints,
handle the antenna very carefully. With the
restraints removed, the internal antenna
assembly rotates freely and, if not handled
properly, can damage the limit switch.
IMPORTANT!
Figure 71: Cable PCB in Original Location
#4-40 Screw (x5)
Figure 72: Cable PCB in Alternate Location
#4-40
Screw (x5)
Alternate
Location
Original
Location
Using the Bottom Cable Entry Kit
C
Appendix
Summary of Contents for tracvision tv8
Page 1: ...TracVision TV8 Installation Guide ...
Page 50: ......


