1. Can the antenna see the satellite?
The antenna
requires an unobstructed view of the sky to
receive satellite TV signals.
2. Is there excessive dirt or moisture on the
antenna dome?
Dirt buildup or moisture on the
dome can reduce satellite reception.
3. Is there stormy weather?
Heavy rain or snow
can weaken satellite TV signals.
4. Are the interface box, receiver, and TV all
turned on?
Make sure the power switch on the
front of the interface box is turned on (VOLTAGE
light is lit green).
5. Are all cables connected?
Check all cables at
the receiver, TV, interface box, and antenna to
ensure none have come loose.
The antenna needs a clear view of the sky to receive
satellite TV signals. Common causes of blockage
include trees,
buildings, and
bridges. Heavy
rain can also
affect reception.
T
rac
rac
V
ision
ision
Congratulations!
You have purchased the TracVision M3,
the smallest and most advanced satellite TV antenna
system available today. Refer to this handy quick reference
guide for basic operation and setup instructions.
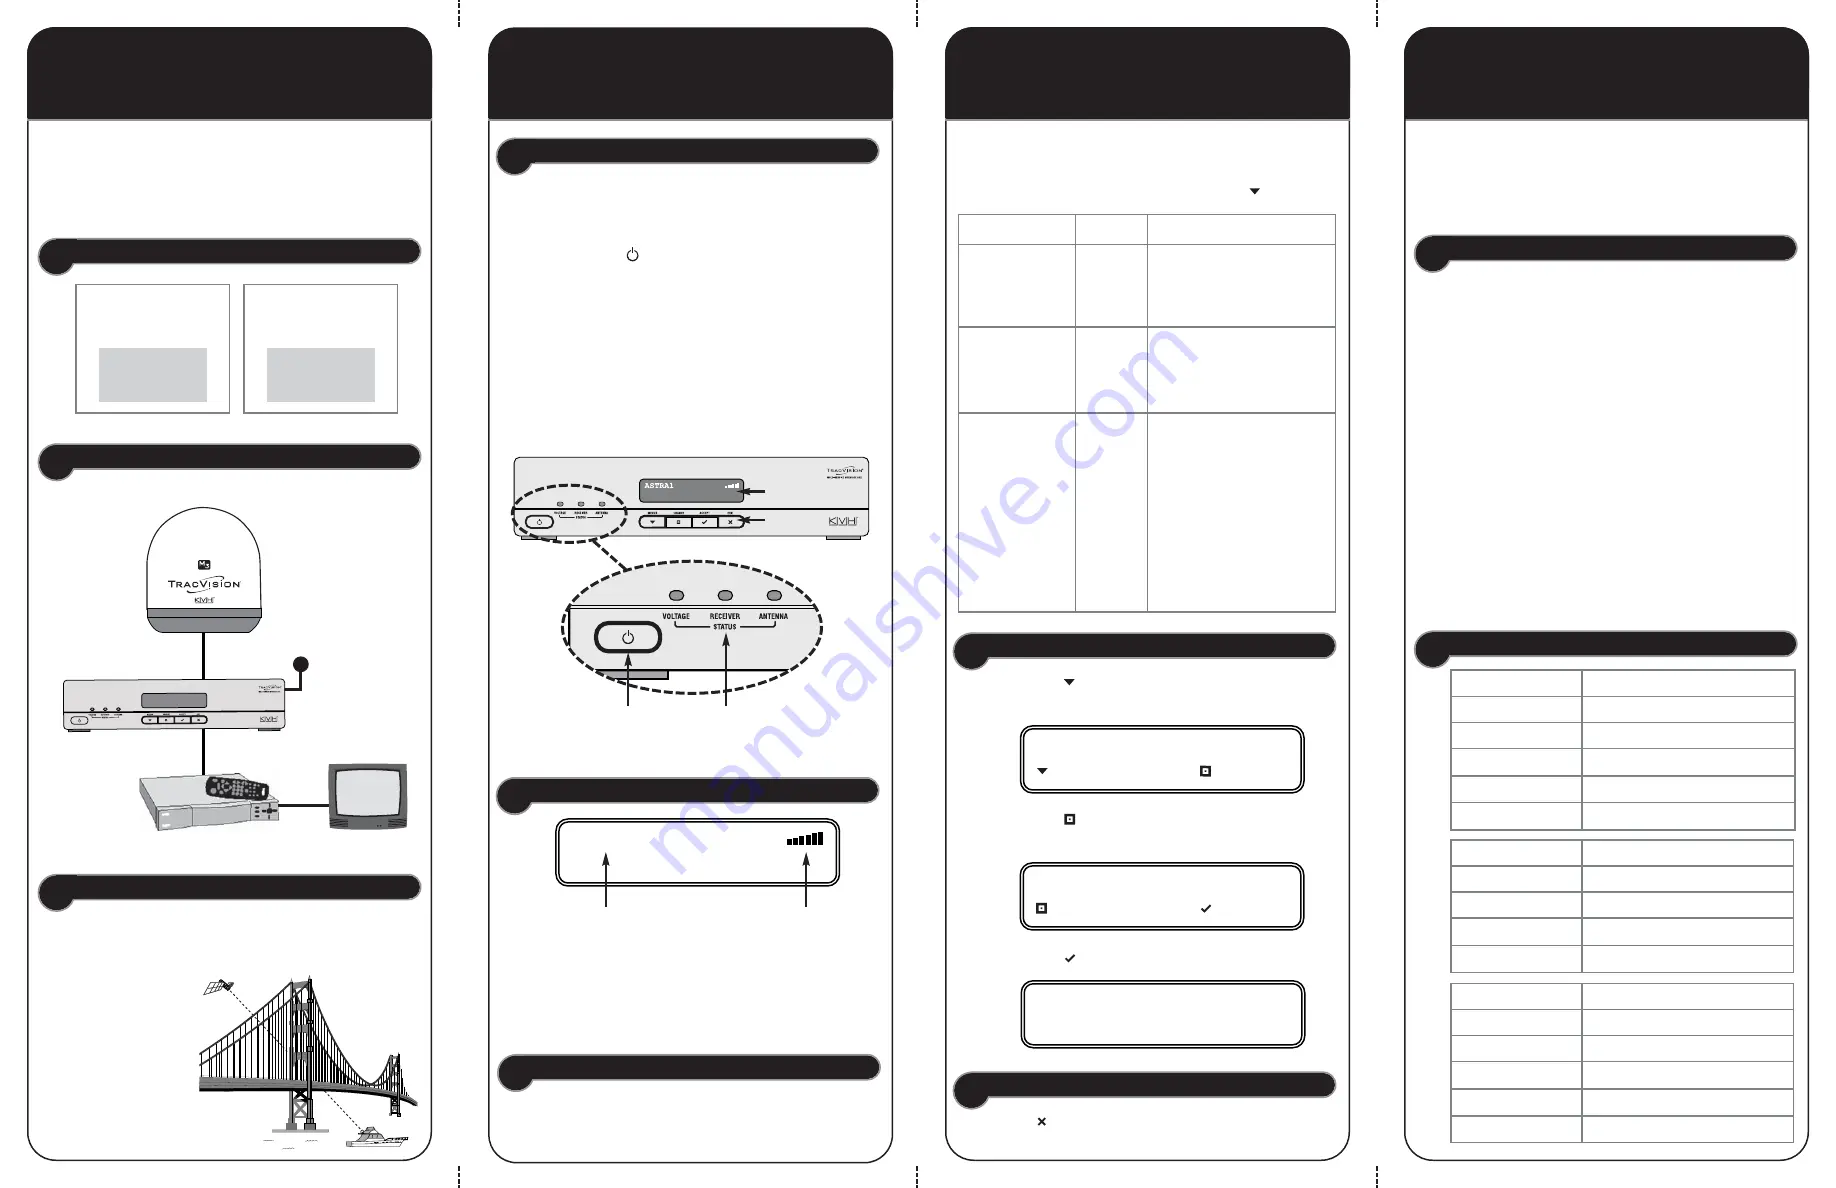
Antenna
Serial Number
Vessel Power
12 VDC
Interface Box
Satellite Receiver
TV
TracVision Antenna
TracVision M3 System Diagram
TracVision Serial Numbers
Turning On the System
Troubleshooting
Menu Functions
Basic Operation
Welcome!
ASTRA1
Understanding the Status Screen
Automatic Satellite Switching
Changing a Setting
Power
Switch
Status
Lights
Receiving Satellite TV Signals
Blocked!
1.
Make sure the antenna has a clear view of the sky.
2.
Turn on your satellite TV receiver and TV.
3.
Press the
Power switch on the front of the
TracVision interface box.
4.
Wait 1 minute for system startup.
Once the antenna finds the satellite, all 3 status lights
should be lit green.
You can now start watching TV!
If any lights are NOT lit green, refer to Chapter 5 of
the User’s Guide for troubleshooting information.
Interface Box
Satellite
If set up to track multiple satellites, the antenna
automatically switches between them as you change
channels using the receiver’s remote control.
2.
Press
CHANGE until the display shows the
desired setting.
3.
Press
ACCEPT to accept the new setting.
Exiting the Menu
Press EXIT
to exit the menu. The display returns
to the status screen.
BRIGHTNESS= MEDIUM?
CHANGE ACCEPT
BRIGHTNESS= MEDIUM
BRIGHTNESS= HIGH
NEXT MENU CHANGE
1.
Press
MENUS until the display shows the
function you want to change
.
Display
Buttons
Interface Box
Serial Number
Signal Strength
Function
Settings
Description
Brightness
HIGH
MEDIUM
LOW
Set the brightness of the
interface box display
Lat/Long
Position
data
Enter your vessel’s lat/long
to enhance performance
and recalculate skew angle
(see Skew Adjustment)
Diagnostics
NO
YES
Enter Diagnostics menu:
• System Reset
• Run Test
• Show Sys Info
• Sat Switch
• Cal Gyro
• Tracking Params
See the User’s Guide for
details.
You can configure and troubleshoot the system from the
interface box. The table below lists the functions that are
available. To access the menu, simply press
MENUS.
Five Simple Checks
Status Lights
First check the five simple things below. If none of these
are the problem, check the status lights on the interface
box and/or perform a diagnostics test, as explained in
Chapter 5 of the User’s Guide.
VOLTAGE
Description
Off
Power off
Green
Good power (10-16 VDC)
Flashing green
Antenna cable disconnected
Orange
Low power
Flashing red
Bad power
RECEIVER
Description
Green
Good receiver comms
Orange
Receiver off or disconnected
Flashing orange
Overload or short circuit
Red
Error
ANTENNA
Description
Off
Antenna off or disconnected
Green
Tracking satellite
Flashing green
Searching for satellite
Flashing orange
Overload or short circuit
Red
Error
Satellite
Indicates the currently
selected satellite
Signal Strength
Indicates antenna is tracking
the selected satellite
More bars = stronger signal


