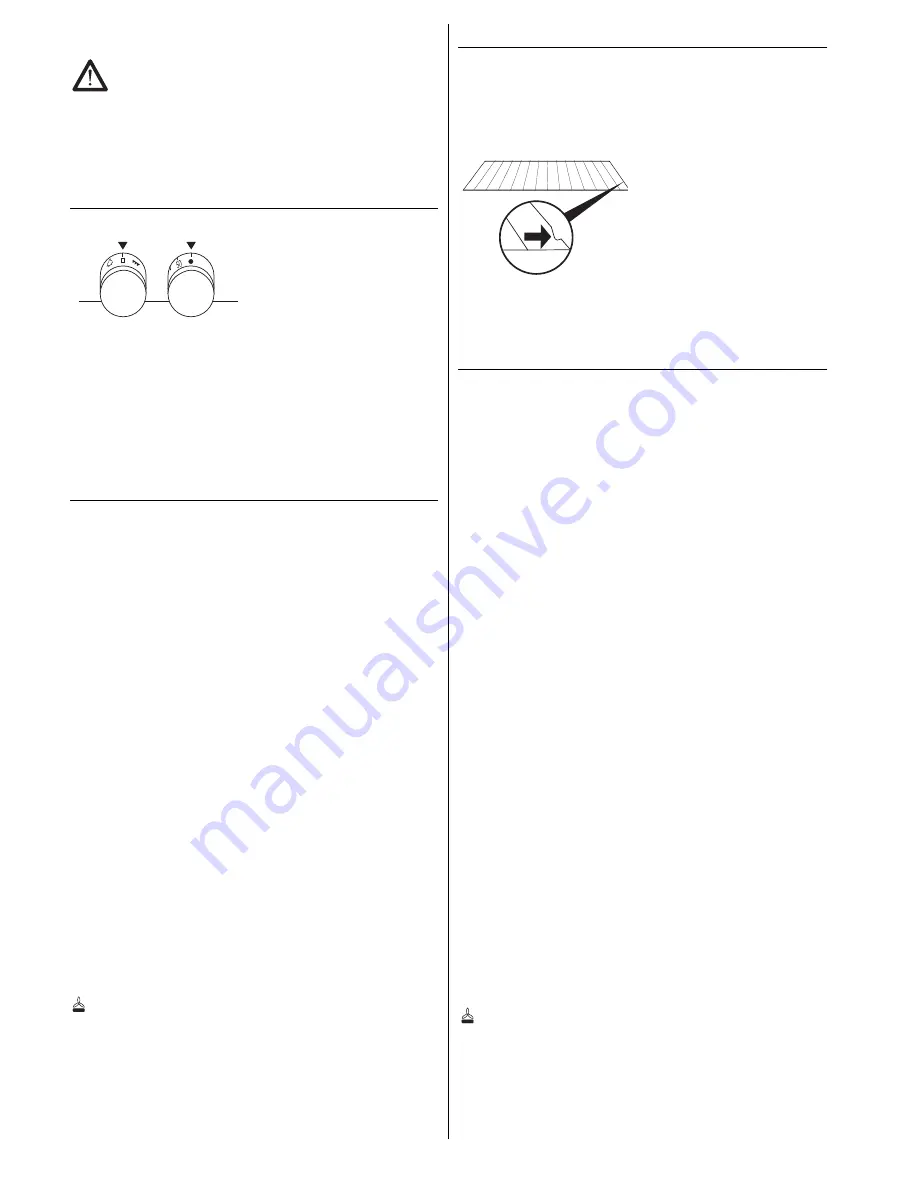
Oven
Please note the safety instructions on page 19!
The oven becomes very hot when in use. If the oven temperature exceeds
95°C the cooling fan will switch on, even if the oven has been switched off.
The oven offers you eight operation modes.
Selecting the operation mode and the temperature
Selecting the operation mode:
Turn the oven selection switch (the
switch on the left) to the right.
Setting the temperature:
Turn the temperature selection switch
(the 2nd switch from the left) to the right.
The heating up indicator on the operation fascia will light up while the app-
liance is heating up and will go out as soon as the set temperature has
been reached.
The controls are of the pop-out type and can be countersunk in every set-
ting. They pop out at a slight press of the finger. No settings can be made
while the controls are countersunk. If the oven selection switch is counter-
sunk the oven lighting will switch off.
Symbols and operation modes
0
OFF
!
Oven lighting
#
Hot air convection
Roasting, baking and cooking on several le-
vels,
#
Cold air convection
without temperature setting, for gently tha-
wing and cooling food.
$
Top heat/bottom heat
Preheating,
Baking sponges and moist cakes
-
Bottom heat
Prebaking very moist cake, preserving
.
Top heat
Browning
*
Grilling
Grilling small portions. Position the pieces of
meat at the centre of the roasting rack.
+
Large-area grill
For grilling larger portions such as steak,
fish and sausages, but also for browning
toast dishes and gratins
0
Intensive hot air
convection
For baking large flat cakes with a dry top-
ping, such as a crumble topping, for intensi-
ve roasting of large joints and large birds
such as goose or turkey.
Pizza mode
For baking bread, pizza and moist cakes,
also for preserving
Insertable parts
Do not line the oven with aluminium foil!
Baking trays:
Lift slightly when removing. After baking trays are placed back into the
oven, the sloping edge of the tray must point towards the oven door.
Roasting rack:
Please ensure that the
catches of the racks always point to-
wards the front (towards you).
Applications
Baking
Notes on baking
#
Hot air convection
No need to preheat the oven - Baking is possible on several levels si-
multaneously.
Rack levels:
One baking tray
3rd rack level from the bottom
Two baking trays
3rd and 6th rack levels
Three baking trays
1st, 4th and 7th rack levels
Four baking trays
1st, 3rd, 5th and 7th rack levels
If you are baking several cakes in baking tins, about 5 to 10 minutes addi-
tional baking time will be needed for each baking tray.
Remove the baking trays individually, depending on how well
browned the cakes are.
Bake using hot air convection at a temperature of 160 °C, if there are no
instructions for baking by hot air convection in your recipe.
Important:
When cakes with a moist fruit topping are being baked, the development of
humidity is particularly high. You should bake no more than two cakes at
the same time.
$
Top heat/bottom heat
Preheating the oven - baking on one level.
Preheat the oven by intensive hot air convection and when the temperature
has been reached, set the oven back to Top heat/bottom heat.
Baking tins made of black metal and aluminium are particularly suitable.
0
Intensive hot air convection
No need to preheat the oven - baking on one level.
Only for large flat cakes with a dry topping, such as a crumble topping.
Pizza mode
Baking on one level
–
for moist cakes
–
for pizza: preheat the oven with a baking tray or a pizza slab (accessory)
–
for bread
EEH 650.0
21


