background image


DATAFLEX

®

 42/1000 

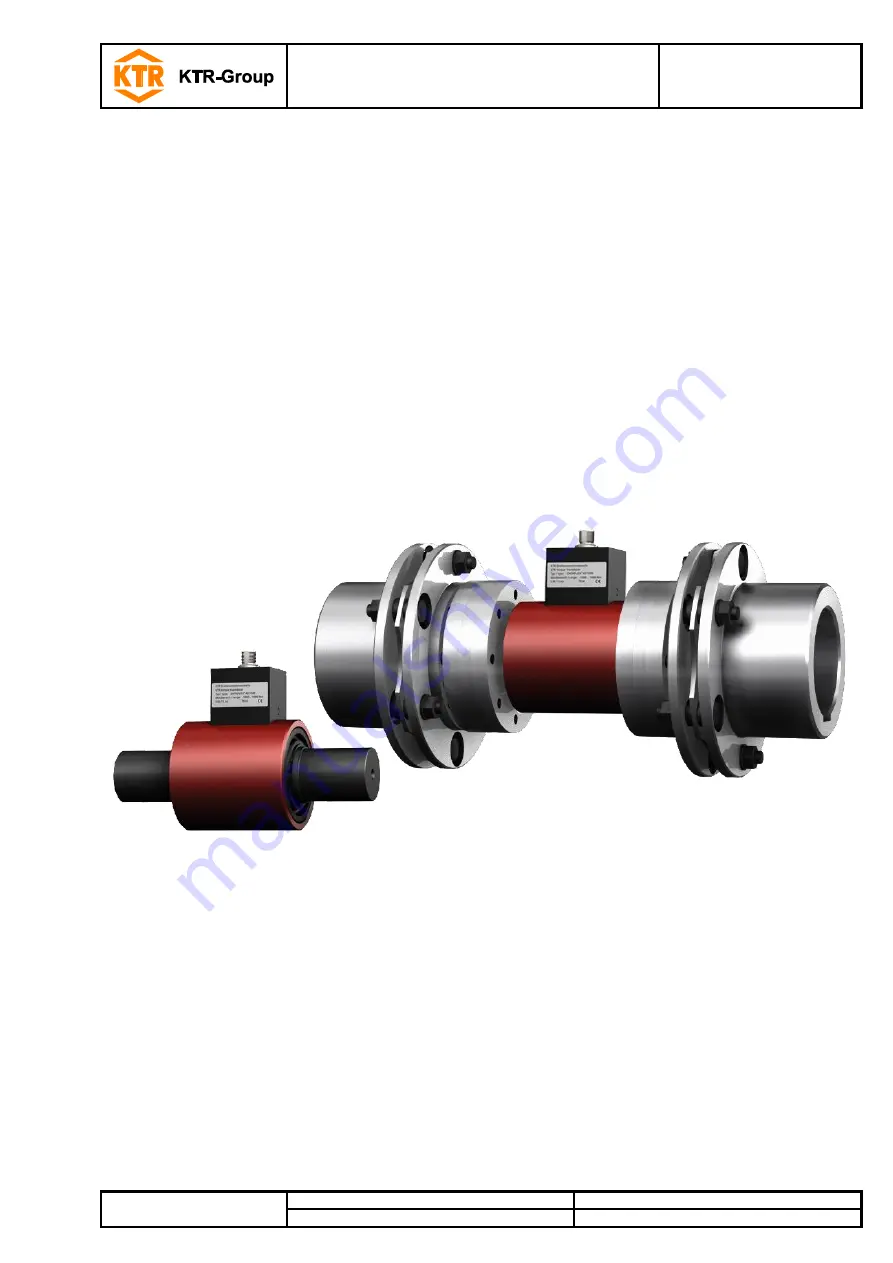
Torque Measuring Shaft 

Operating/Assembly instructions 

KTR-N 
Sheet: 
Edition: 

49016 EN 
1 of 21 


Please observe protection 

note ISO 16016. 

Drawn: 

2017-01-02 Shg/Koe 

Replaced for: 

KTR-N dated 2015-04-13 

Verified: 

2017-01-02 Shg 

Replaced by: 


DATAFLEX

®


Torque measuring shaft type 42/1000 


Summary of Contents for DATAFLEX 42/1000

Page 1: ...ng Assembly instructions KTR N Sheet Edition 49016 EN 1 of 21 2 Please observe protection note ISO 16016 Drawn 2017 01 02 Shg Koe Replaced for KTR N dated 2015 04 13 Verified 2017 01 02 Shg Replaced b...

Page 2: ...bols 5 2 3 General hazard warnings 5 2 4 Intended use 6 3 Storage transport and packaging 6 3 1 Storage 6 3 2 Transport and packaging 6 4 Assembly 7 4 1 Components of DATAFLEX torque measuring shaft 7...

Page 3: ...y incl hysteresis 1 0 1 Influence of temperature 10K 0 05 Nominal temperature range C 0 55 Supply voltage V DC 24 4 Max current consumption mA 100 Torque output Output voltage torque V 10 10 Speed out...

Page 4: ...DEX N Table 3 Dimensions and technical data Coupling size of DATAFLEX 42 1000 Coupling size of RADEX N 80 Dimensions mm Dimension d1 d2 max 80 Dimension D1 179 Dimension D2 117 Dimension L6 222 Dimens...

Page 5: ...mages This symbol indicates notes which may contribute to pre venting material or machine damage General advice This symbol indicates notes which may contribute to pre venting undesirable results or c...

Page 6: ...development we reserve the right for technical modifications The DATAFLEX torque measuring shaft described in here corresponds to the technical status at the time of printing of these operating assem...

Page 7: ...ng position of DATAFLEX is variable The measurement system can be mounted both horizontally and vertically Components of DATAFLEX torque measuring shaft Components of RADEX N coupling Component Quanti...

Page 8: ...Illustration 4 Concentricity and axial runout The displacement figures specified in table 4 provide for sufficient safety to compensate for external influences like for example thermal expansion or fo...

Page 9: ...ower transmission is frictionally engaged Fit pair of shaft clamping ring hub is specified with H7 h6 The following process should be observed with the assembly Please clean and degrease the contact s...

Page 10: ...e illustration 9 The ends of the shafts must not pro trude through the hubs Shift the power packs in axial direction until the dimension L8 is achieved If the power packs are already firmly assembled...

Page 11: ...onents for the time being with the setscrews being assembled displaced from left to right see illustration 11 Tighten the setscrews to the tightening torques mentioned in table 6 by means of a suitabl...

Page 12: ...n or cleaning is not necessary Calibration The transducer is calibrated when being supplied We recommend an annual inspection of the calibration 1 General description The measuring shafts type DATAFLE...

Page 13: ...ply voltage 24V DC 4V 100 mA 11 GND Supply voltage Torque output 4 M U Output voltage 10V 10V RA 1 k 5 GND Ground torque output 6 M I Without function Speed output pulse signal 7 N1 Speed output chann...

Page 14: ...13 Assignment of torque output values c Filter voltage output No 15 The torque signal may be filtered by activating a low pass filter so that high frequency parts of the signal are elim inated Table...

Page 15: ...e signals shifted by 90 de grees N1 N2 A scalable voltage output N U with direction signal R L Illustration 15 Outputs N1 and N2 Each of the speed outputs N1 and N2 provide a square wave signal with a...

Page 16: ...ush pull outputs providing a square wave voltage with an ampli tude of 24V and a maximum switching current of 30 mA The output terminals must not be charged with an external voltage see illustration 1...

Page 17: ...ed direct voltage output Table 11 Switch position S1 S4 and the corresponding scale of the speed output N U Max speed Scaling S1 S2 S3 S4 Illustration 21 10 1 rpm V 0 0 0 0 20 2 rpm V 0 0 0 1 40 4 rpm...

Page 18: ...short blinking of the LEDs of the connection housing Illustration 22 Automatic zero adjustment illustration 23 If the push button T1 is activated for a period of 2 seconds the output of the torque si...

Page 19: ...ntly Each amendment is confirmed by a short blinking of the LED L2 Having performed the setting the new values are stored lastingly by pressing both push buttons again for 2 seconds The LED L1 is illu...

Page 20: ...tion alignment and screw connection of the torque measuring shaft and the condition of the lamina sets of the RADEX N coupling Having started up the torque measuring shaft the tightening torques of th...

Page 21: ...pproximation of the laws of the Member States relating to electromagnetic compatibility and repealing di rective 89 336 EEC Standards applied DIN EN 61000 6 2 Immunity for industrial environments DIN...

Reviews: