Kramer RC-8IR User Manual Download Page 5

KRAMER:  SIMPLE CREATIVE TECHNOLOGY


Overview 


3  Overview 

Kramer’s 

RC-8IR 

one-gang wall plate is a highly versatile controller 

interface that acts as an all-in-one extended remote control panel for control 

of A/V equipment—especially projectors and associated equipment—in any 

room (such as classrooms, boardrooms, or auditoriums). It streamlines 

operations and simplifies control by integrating audio, video, and computer-

video sources into a centralized system. 
The 

RC-8IR

 includes: 


An Ethernet port for configuration and control

1


Configurable backlit buttons


2

 to set up any supported

3


Two bidirectional RS

-

232 wired serial ports, for universal display (for 

example, projectors) and switcher control, and one RS

-

485 serial port 

 command 


Two relays for the simplified and centralized control of room functions 

(such as lighting, closing blinds, screen settings, and so on) 


Two IR control ports 


An IR-learner for the customized control of external sources, receiving the 

IR commands from different remote transmitters without the need for an 

external IR remote control unit 


Macro mode operation, for programming up to 15 commands with the 

press of a single button, and summing up to a total of 120 commands 


Support for firmware upgrade 

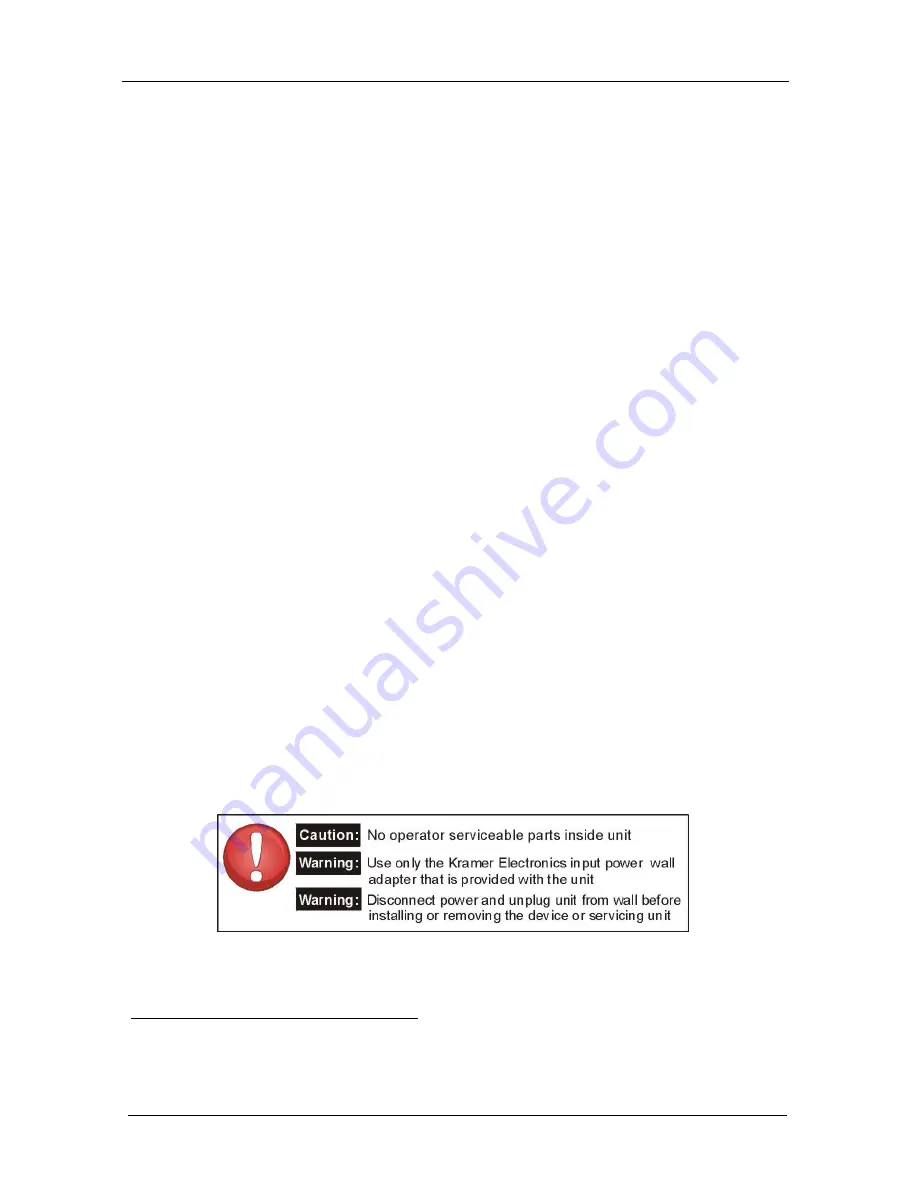
To achieve the best performance: 


Connect only good quality connection cables, thus avoiding interference, 

deterioration in signal quality due to poor matching, and elevated noise- 

levels (often associated with low quality cables) 


Avoid interference from neighboring electrical appliances and position 

your Kramer 

RC-8IR

 away from moisture, excessive sunlight and dust 


1 Of up to five machines with unique IP addresses 
2 Six buttons for RC-6IR, and eight buttons for the RC-8IR 
3 To be configured by the system integrator only 

im Vertrieb von            CAMBOARD Electronics

www.camboard.de

Tel. 07131 911201
Fax 07131 911203

[email protected]

Summary of Contents for RC-8IR

Page 1: ...Kramer Electronics Ltd USER MANUAL Model RC 8IR Universal Room Controller im Vertrieb von CAMBOARD Electronics www camboard de Tel 07131 911201 Fax 07131 911203 ce info camboard de...

Page 2: ...from the Internet 13 7 2 Connecting the PC to the RS 232 Port 14 7 3 Upgrading Firmware 14 7 4 Installing the Web Applet 15 8 Technical Specifications 15 Figures Figure 1 RC 8IR Front Panel 3 Figure...

Page 3: ...tures 4 Table 3 RC 8IR and Rear Panel Features 5 Table 4 Connection Scheme for the example in Figure 8 9 Table 5 The Commands Configuration 10 Table 6 Technical Specifications of the RC 8IR Universal...

Page 4: ...e separate online RC Configuration and Installation Guide for details of how to install and configure the Universal Room Controller 3 We recommend that you Review the contents of this user manual Use...

Page 5: ...g blinds screen settings and so on Two IR control ports An IR learner for the customized control of external sources receiving the IR commands from different remote transmitters without the need for a...

Page 6: ...ent Holes Use to attach the faceplate to the device housing see Table 2 2 IR IN Receiver Accepts IR remote commands for the IR learner feature 3 Configurable Control Buttons Macro Buttons Control the...

Page 7: ...n settings blinds and so on 1 3 RELAY1 4 RS 485 Terminal Block Connector Connect to the RS 485 detachable terminal block on a switcher or PC 5 RS 232 Terminal Block Connector 1 and 2 Connect to the RS...

Page 8: ...her controller through computer networking 6 Grounding Screw Connect to grounding wire 5 Installing the RC 8IR Universal Room Controller This section describes the installation of the RC 8IR and inclu...

Page 9: ...the button cap so that it is oriented as shown in Figure 4 with the wings on the left and right sides and insert the label inside the cap Figure 4 Button Cap Orientation 3 Repeat for all eight caps 4...

Page 10: ...n Figure 6 Figure 6 Mounting the Device Housing 5 3 Mounting the RC 8IR Faceplate 1 Place the faceplate on the RC 8IR so that the two screw mounting holes are aligned see Figure 7 2 Insert the two mou...

Page 11: ...is very easy to use as the example in Figure 8 and Table 4 defines3 Figure 8 Example of a Typical RC 8IR Configuration 1 By authorized Kramer technical personnel or by an external system integrator 2...

Page 12: ...head projector and screen speakers lights and a cabinet with a VCR a DVD and an amplifier inside are all controlled via the RC 8IR The presenter s laptop is located on the podium next to where the RC...

Page 13: ...f The projector selects the PC input OFF Turn lights on Power down the projector Power down the power amplifier Stop the DVD player Power down the DVD player Stop the video player Power down the video...

Page 14: ...Controller 11 6 2 An Example of Operating the RC 8IR Figure 11 shows an operating example Figure 11 RC 8IR Operation Example im Vertrieb von CAMBOARD Electronics www camboard de Tel 07131 911201 Fax 0...

Page 15: ...ked When pressing a button at this stage all the buttons blink twice To unlock the panel buttons press the respective buttons once again All the buttons blink momentarily and unlock You can now use th...

Page 16: ...ing the firmware see section 7 3 Installing the Web Applet see section 7 4 7 1 Downloading from the Internet You can download the up to date file2 1 Go to our Web site at http www Kramerelectronics co...

Page 17: ...hese steps to upgrade the firmware 1 Double click the KFR Programmer desktop icon The KFR Programmer window appears Figure 13 The KFR Programmer Window 2 Select the required COM Port1 3 Click the File...

Page 18: ...port OUTPUTS 2 relays on terminal block connectors 36V AC or DC 2A 60VAC maximum on non inductive load 2 IR emitters on terminal block connectors POWER SOURCE 12V DC 155mA DIMENSIONS 11 4cm x 3 7cm x...

Page 19: ...ion orfailureto followinstructions supplied with theproduct iii Repairorattemptedrepairby anyonenot authorized byKramer iv Anyshipment oftheproduct claims must bepresentedtothe carrier v Removalorinst...

Page 20: ...ibutors visit our Web site www kramerelectronics com where updates to this user manual may be found We welcome your questions comments and feedback Caution Safety Warning Disconnect the unit from the...

Reviews: