


66
To change the way in which sampling is initiated,
change the “Trigger” setting. If you set this to Thresh-
old, resampling will begin the instant the input level
exceeds the specified value.
Use the page menu command “Select Bank & Smpl
No.” (0–7A) to select the sampling-destination sample
memory (RAM).
If you want to continue recording successive samples
during playback, set “Auto Optimize RAM” (Global P0:
0–3b) Off.
If you continue sampling after executing In-Track Sam-
pling, successive samples will automatically be
assigned to C#2, D2, ... etc. However if you execute
Auto Sampling Setup once again and then sample, the
samples will be created in a new multisample.
If you selected S/P DIF for “Source Audio,” you can
use “System Clock” (Global P0: 0–2a) to change the sys-
tem clock.
For additional information, see
b)–f) of “If you
selected Resample SEQ Play.”
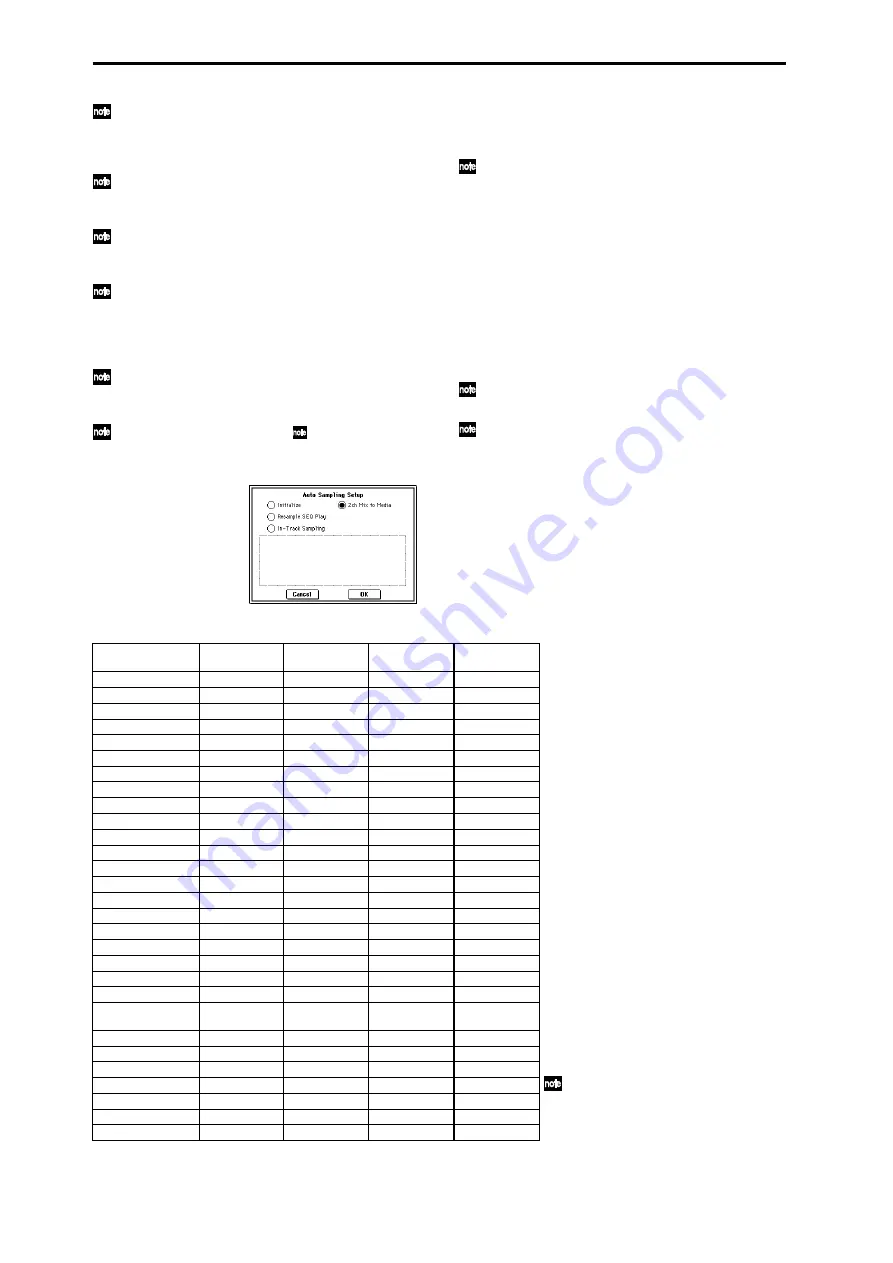
If you selected 2ch MIX to Media:
Press the OK button to execute “2ch Mix to Media,” or
press the Cancel button if you decide to cancel. (
☞
For
the parameters and values that will be set, refer to p.66)
After you’ve executed the 2ch Mix to Media command,
use the following procedure to actually convert the
song into a two-channel WAVE file.
1)
Select the song that you want to resample.
2)
Press the SAMPLING [REC] key and then the
[START/STOP] key (Standby).
3)
Press the SEQUENCER [START/STOP] key. The
song will play back, and resampling will begin at the
same moment.
4)
When song playback ends, resampling will stop, and
a WAVE file will be created. Even if you press the
SEQUENCER [START/STOP] key during playback,
playback and resampling will stop, and a WAVE file
will be created.
To audition the WAVE file you created, use the page
menu command “Select Directory.”
Use the page menu command “Select Directory” to
specify the location in which the new WAVE file will be
created.
Audio Sampling Setup, Automatically-set parameters and their values
Parameter
1. Initialize
2. Resample
SEQ Play
3. In-Track
Sampling
4. 2ch Mix to
Media
Input (Input Source):
Analog, S/P DIF
*1
Analog, S/P DIF
*1
Source Audio
*2
Analog, S/P DIF
*1
Input1:
Level
127
127
127
127
Pan
L000
L000
L000
L000
BUS Select
Off
Off
1/2
Off
Send1
000
000
000
000
Send2
000
000
000
000
Input2:
Level
127
127
127
127
Pan
R127
R127
R127
R127
-: Not set automatically
Settings enclosed in parentheses ( ) are
set automatically according to the param-
eters in the dialog box.
*1
:The specified setting for Analog or S/P
DIF (“Input1” or “Input2”) will be made
automatically.
*2
:The input source setting (“Input1” or
“Input2”) specified in the “Source
Audio” field of the dialog box will be
made automatically.
*3
:If “Source Audio” is Mono-1 this will be
L-Mono
, if Mono-2 it will be R-Mono,
and if Stereo this will be Stereo.
*4
:If “Save to” is RAM, and “Convert to
Program” is On.
When you select and execute In-Track
Sampling
, the track selected in “To”
will automatically be set to a “Status”
of BTH.
BUS Select
Off
Off
1/2
Off
Send1
000
000
000
000
Send2
000
000
000
000
Sampling Setup:
Source BUS
L/R
L/R
Indiv.1/2
L/R
Trigger
Sequencer START SW
Note On
Sampling START SW
Sequencer START SW
Save to
RAM
(Save to)
RAM
DISK
Mode
Stereo
Stereo
(Source Audio)
*3
Stereo
Sample Time: RAM
Maximum
-
-
-
Sample Time: Media
4min 59.999sec
-
-
-
Recording Level [dB]
–12.0 –12.0
+0.0
–12.0
Select Bank & Smpl No.
(Page Menu Command):
Auto +12dB On
On
On
Off
-
Convert to Program
Off
(Convert to Program)
On
-
Program
-
(Program)
(Program)
-
MS
-
Newly created
*4
Newly created
*4
-
Orig.Key
-
C2
*4
C2
*4
-
Seq.Event
Off
Off
On
-
Track
-
-
(To)
-
Summary of Contents for TRITON Extreme
Page 1: ...2 E ...
Page 11: ...xii ...
Page 111: ...100 9 5 Page Menu Command 0 1A 0 1I 0 1J Program 9 5A ...
Page 185: ...174 ...
Page 215: ...204 ...
Page 281: ...270 ...
Page 349: ...338 ...
Page 350: ...339 ...
Page 351: ...340 ...
Page 352: ...341 ...
Page 353: ...342 ...


