16
Play mode
In Play mode you can use the padKONTROL’s controllers
and functions to control a connected external MIDI device or
a software synthesizer or DAW running on your computer.
When you power-on the padKONTROL, it will always enter Play
mode with scene 1 selected. The display will indicate “
”.
In Play mode the [SETTING/ENTER] key will be dark.
If you want to change from Setting mode to Play mode, press
the [SETTING/ENTER] key to make it go dark.
Using the controllers
In Play mode you can use four types of controllers.
■
Trigger pads
Each time you press a trigger pad, the assigned note
data or control change will be transmitted.
Trigger pads to which a control change is assigned will
remain lit in Play mode so that they can be easily
identified.
When you press a trigger pad to which a note message
is assigned, the note message will be transmitted at the
assigned velocity value. (p.20)
When you press a trigger pad to which a control change
is assigned, the control change will be transmitted with
the assigned On value when pressed, and transmitted
again with the assigned Release value when released.
(p.21)
Display indication
When you press a trigger pad to which a note message
is assigned, the display will indicate the velocity value.
After a time, the display will revert to the scene number.
When you press a trigger pad to which a control change
is assigned, the display will indicate the control change
value. After a time, the display will revert to the scene
number.
■
Pedal
Each time you operate a pedal connected to the Pedal
jack, the assigned note data or control change will be
transmitted.
If a note message is assigned, the note message will be
transmitted with the assigned velocity value. (p.23)
If a control change is assigned, the message will be
transmitted with the specified On value and Release
value. (p.24)
Display indication
If a note message is assigned to the pedal, the display
will indicate the velocity value. After a time, the display
will revert to the scene number.
If a control change is assigned, the display will indicate
the control change value. After a time, the display will
revert to the scene number.
■
X-Y pad
When you operate the X-Y pad, the assigned MIDI
messages will be transmitted. (p.24)
The upper edge and right edge of the X-Y pad produce
higher values, and the lower edge and left edge produce
lower values. You can reverse these directions if desired.
When you take your finger off of the X-Y pad, it will return
to the specified point (Release Point). (p.25)
< Example > While striking a trigger pad to which a snare
drum sound is assigned, you can operate the X-Y pad to
change the pitch, or some other aspect of the sound.
■
Assignable Knobs 1/2
When you turn assignable knobs 1/2, the assigned MIDI
messages will be transmitted. (p.25)
< Example > While striking a trigger pad to which a tom
sound is assigned, you can assign one of the knobs to
Pan, and turn it to move the tom sound between left and
right, or control it in other ways.
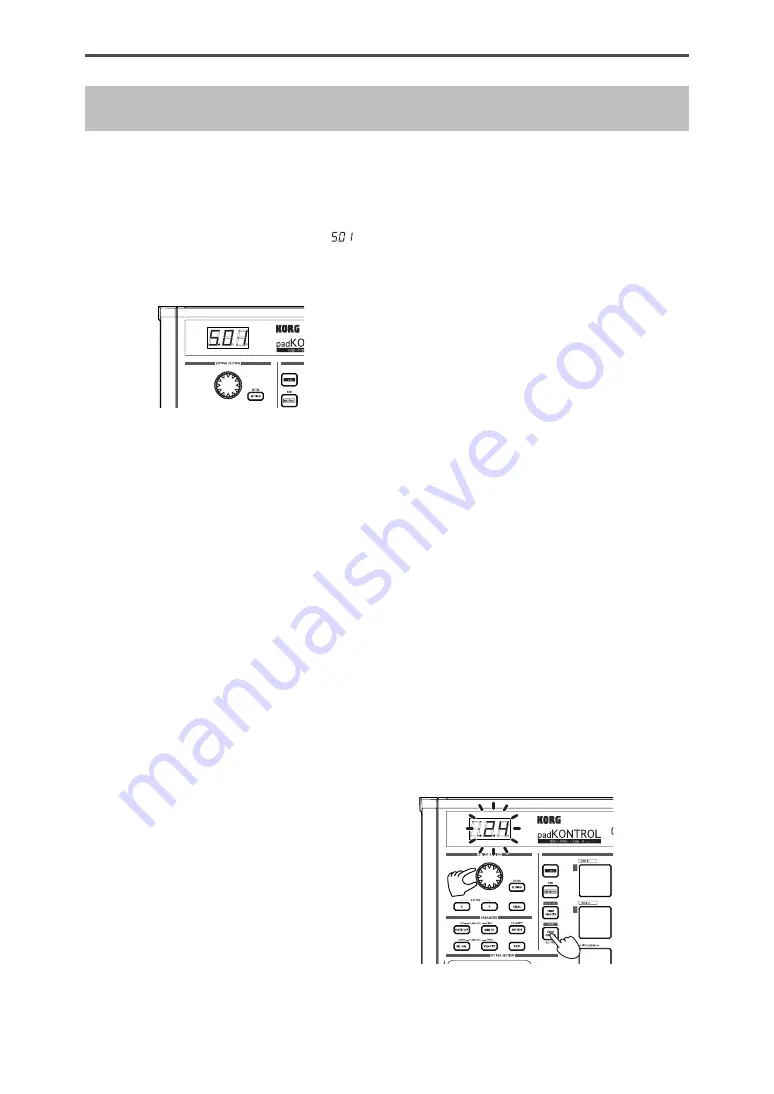
Transmitting a Program Change
Here’s how you can transmit a program change message in
Play mode.
1
Hold down the [PROG CHANGE/WRITE/ALL PAD] key
and turn the encoder.
The program number will blink in the display.
< Example > Program number 24


