18
Demo Box Installation | Korenix
3-2-2-3
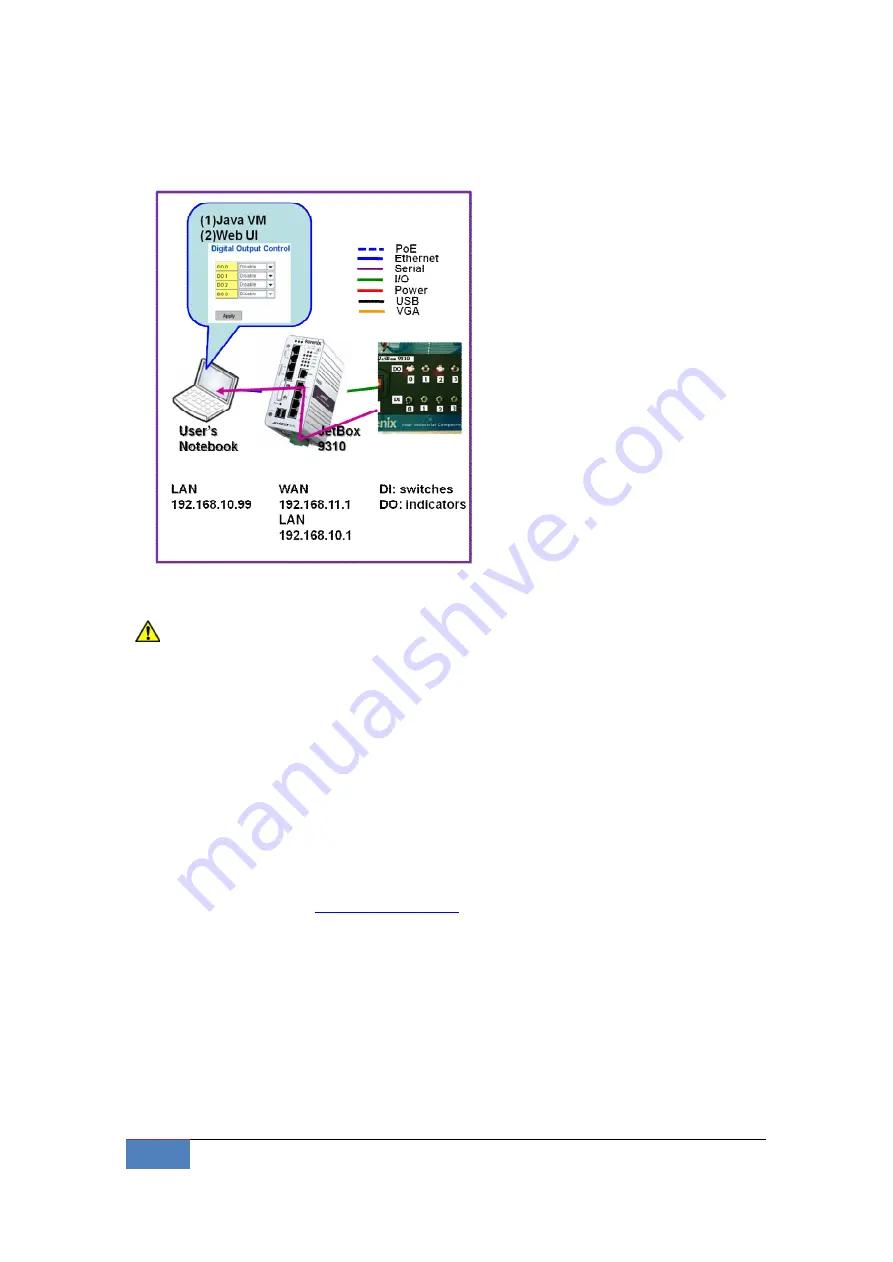
DIO Control & Web UI
Picture 23: The demo diagram of DIO control and Web UI
Notice 5:
In this DIO demo, you need to enable DO 0 to provide the power to DIs
first, otherwise, DIs don’t have power to do the demo. Keep DO 0 enabled during this
DIO demonstration.
Demo Purpose:
Control switches and indicators on the demo box front panel though the JetBox 9310
Web UI DIO functions
Step by step to demo DIO control and Web UI:
1.
Enter the JetBox 9310 Web UI by LAN IP address. (Default: 192.168.10.1).
Open browser. Enter
http://192.168.10.1
User name: admin
Password: admin
2.
Control switches and indicators on the demo box front panel though the JetBox
9310 Web UI DIO functions. (Refer to the JetBox 9310 user manual to operate.)
3.
Enable or disable indicators (DO) in the JetBox 9310 Web UI| DIO configuration|
Digital output control.


