


KBox C-102 - User Guide, Rev. 1.0
// 45
6.2.
Opening and Closing the KBox C-102
The pictures in this section correspond to a KBox C-102-2 system.
The “opening/closing” procedure description can be applied to all system variants, under
consideration of the different mechanical specifications of the KBox C-102; refer to the
section 16.1 “Mechanical Specifications of the KBox C-102”.
For opening/closing the KBox C-102, please perform the following steps:
The system must be powered off and disconnected from the main power supply, before you
attempt to open the KBox C-102. Ensure that you have a clean, flat and ESD-safe surface to
work on. Also disconnect all peripheral devices from the KBox C-102. Please observe the
instructions contained in the chapter 8/ “Installation Instructions”.
1.
Close all applications. Shut down the system properly and disconnect the connection to the power source.
Disconnect all peripherals.
2.
The KBox C-102 should lay on a flat, clean surface with the top side facing upwards.
3.
Loosen the knurled screws, which secure the top cover on the front of the system (see Figure 59/Figure
61/Figure 64, pos. 2 and Figure 34).
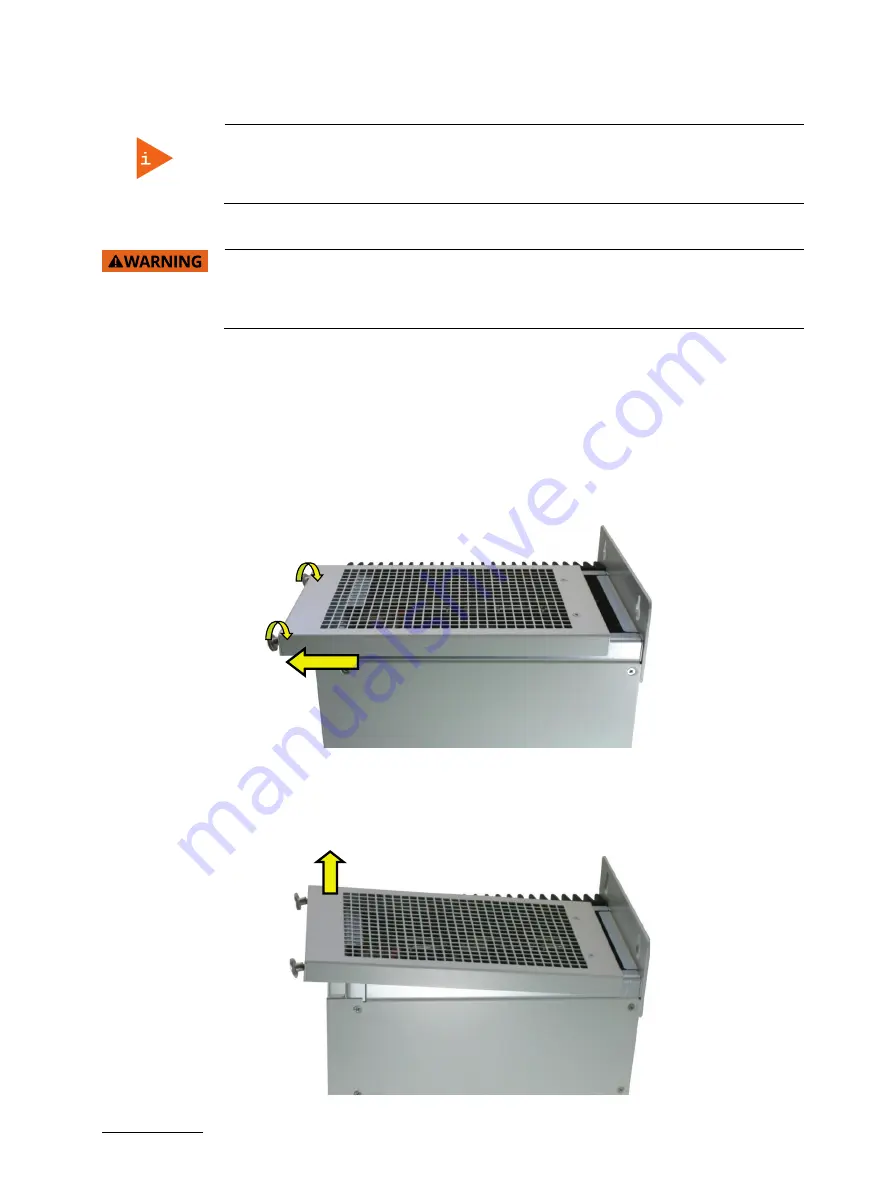
4.
Pull the cover out a little bit, as shown in Figure 34, to release the cover centering and fixing brackets.
Figure 34: Removing the centering and fixing bracket of the top cover (detail of the KBox C-102-2)
5.
Lift the top cover up (on the front edge) and remove it (Figure 35). Now you have access to the internal sockets
(PCI/PCIe/Mini PCIe and mSATA) or to the corresponding cards/devices, in order to install or remove internal
hardware components.
Figure 35: Removing the cover (detail of the KBox C-102-2)


