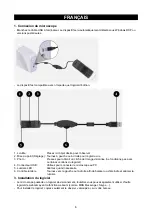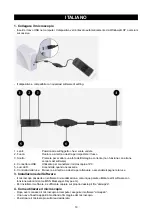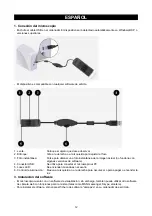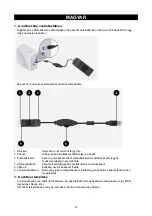
4. How to use the microscope
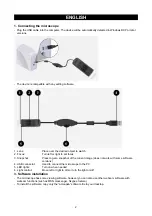
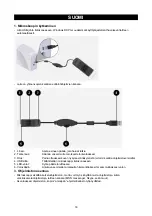
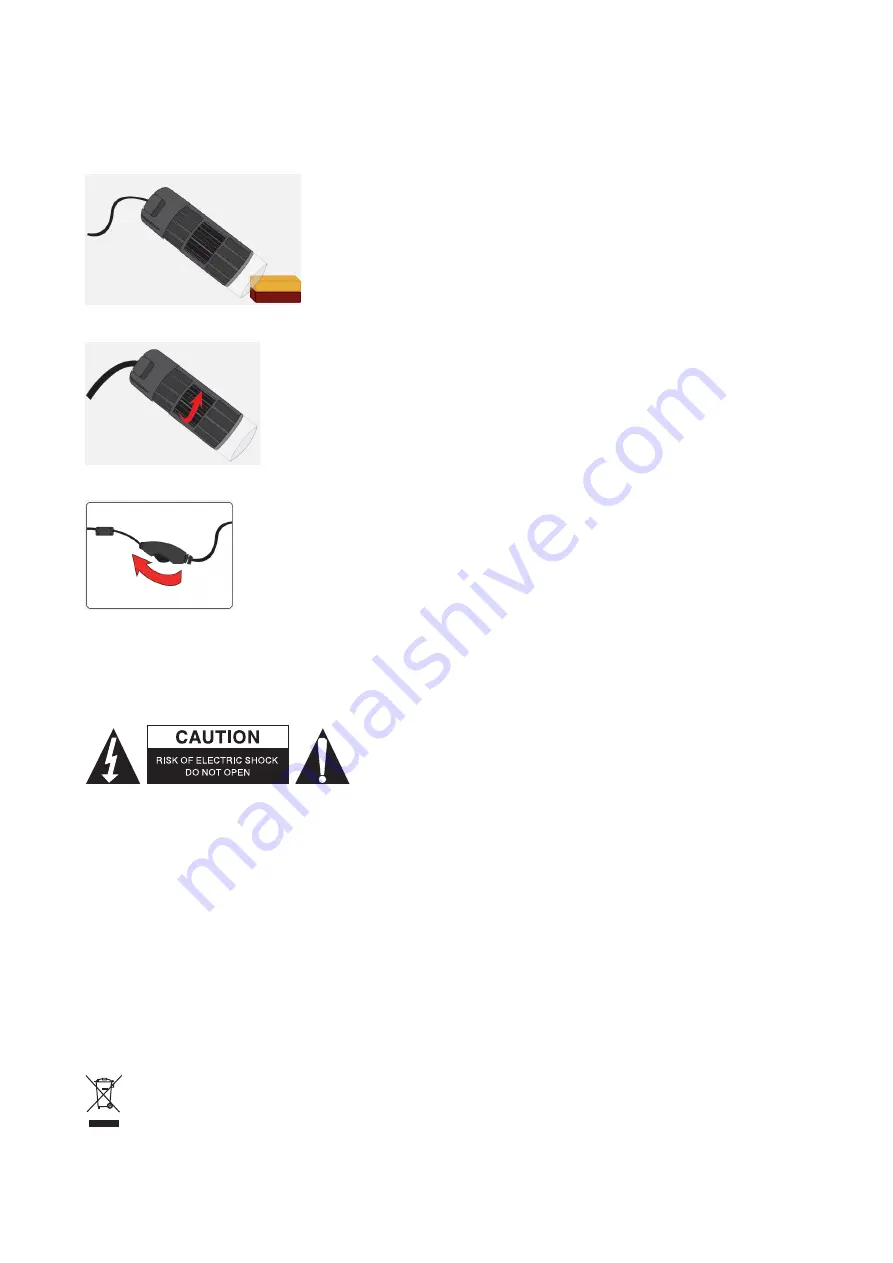
- After connecting the microscope to the computer, run the “amcap2a” software.
- A new window will appear showing the microscope image.
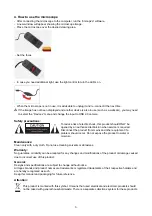
- Place the microscope over the desired viewing area.
- Set the focus.
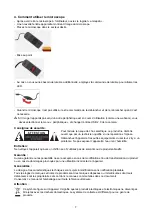
- In case you need additional light, use the light control to turn the LED’s on.
- When the microscope is not in use, it is advisable to unplug it and re-connect it the next time.
If the image has not been displayed and another device is also in use (such as a webcam), you may need
to select the “Devices” menu and change the input to USB 2.0 camera.
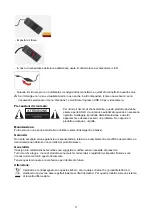
Safety precautions:
To reduce risk of electric shock, this product should ONLY be
opened by an authorized technician when service is required.
Disconnect the product from mains and other equipment if a
problem should occur. Do not expose the product to water or
moisture.
Maintenance:
Clean only with a dry cloth. Do not use cleaning solvents or abrasives.
Warranty:
No guarantee or liability can be accepted for any changes and modifications of the product or damage caused
due to incorrect use of this product.
General:
Designs and specifications are subject to change without notice.
All logos brands and product names are trademarks or registered trademarks of their respective holders and
are hereby recognized as such.
Keep this manual and packaging for future reference.
Attention:
This product is marked with this symbol. It means that used electrical and electronic products should
not be mixed with general household waste. There is a separate collections system for these products.
3
Summary of Contents for CMP-USBMICRO30
Page 25: ...LED web USB 2 0 25...


