


MFP Laser
- 20 -
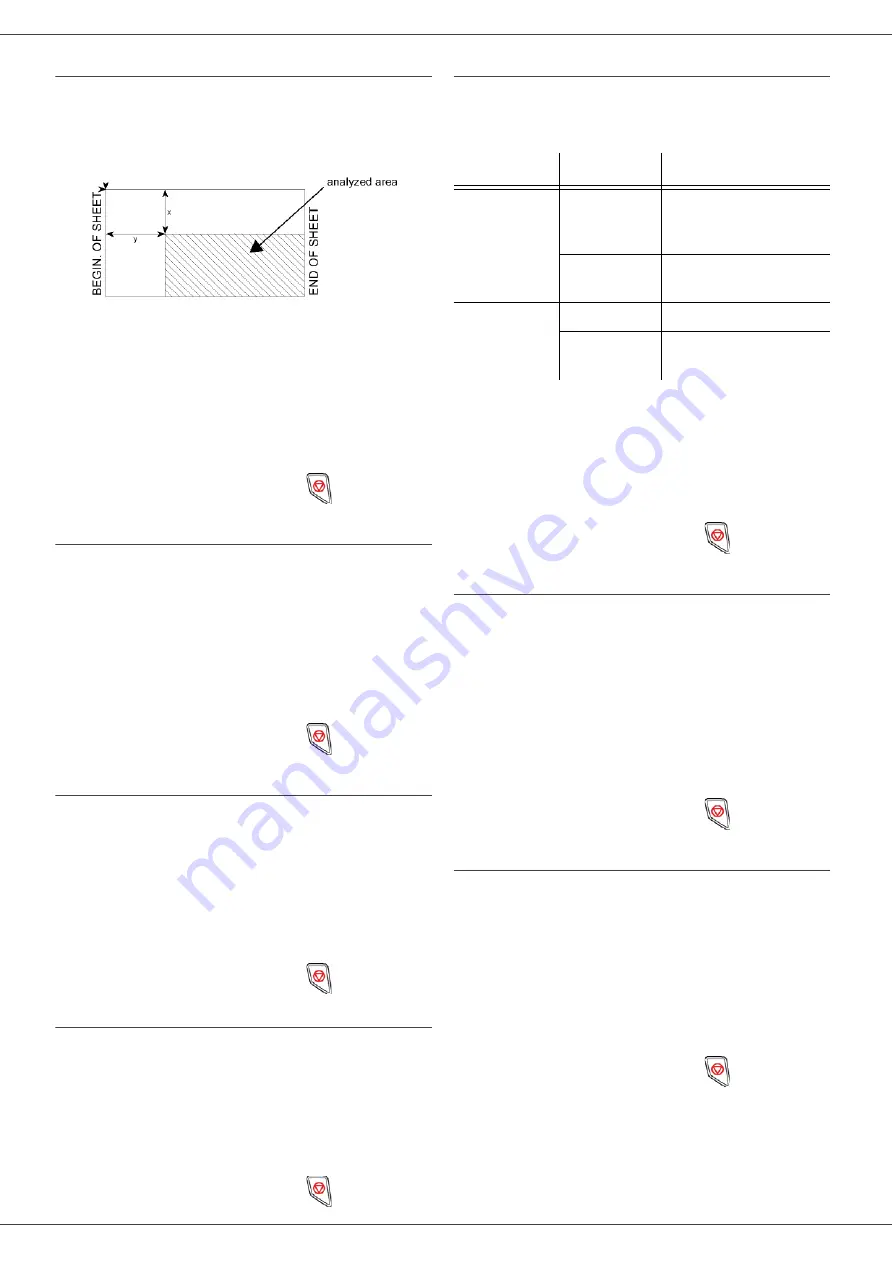
Analysis origin setup
If you want, you can change the origin of the scanner.
By entering new values for X and Y in mm (X < 209 and
Y < 280), you move the analysed area as shown on the
diagram below.
843 - ADVANCED FCT/COPY/ORIGIN
1
Press
, enter
843
using the keypad.
2
Select the X and Y coordinates with the buttons
or
.
3
Setup the desired coordinates with the numerical
keypad or the buttons
and
.
4
Confirm your choice by pressing the
OK
button.
5
Quit this menu by pressing the
button.
Contrast setup
The
CONTRAST
parameter allows to choose the
photocopy contrast.
844 - ADVANCED FCT/COPY/CONTRAST
1
Press
, enter
844
using the keypad.
2
Setup the desired level of contrast with the buttons
and
.
3
Confirm your choice by pressing the
OK
button.
4
Quit this menu by pressing the
button.
Brightness setup
The
BRIGHTNESS
parameter allows to lighten or darken
your output.
845 - ADVANCED FCT/COPY/BRIGHTNESS
1
Press
, enter
845
using the keypad.
2
Setup the desired brightness with the buttons
and
.
3
Confirm your choice by pressing the
OK
button.
4
Quit this menu by pressing the
button.
Paper type setup
851 - ADVANCED FCT/SCAN. & PRINT/PAPER
TYPE
1
Press
, enter
851
using the keypad.
2
Select the paper
NORMAL
or
THICK
that you use
with the buttons
and
.
3
Confirm your choice by pressing the
OK
button.
4
Quit this menu by pressing the
button.
Paper tray selection
The
Automatic
selection can have two meanings
depending on the paper format defined on the paper
trays. The following table describes the different cases.
852 - ADVANCED FCT/SCAN. & PRINT/TRAY
PAPER
1
Press
, enter
852
using the keypad.
2
Select the default paper tray to use,
AUTOMATIC
or
MANUAL,
with the buttons
and
.
3
Confirm by pressing the
OK
button.
4
Quit this menu by pressing the
button.
Flat-bed analysis margins setup
If you want to, you can offset the lateral margins of the
document to the left or right during the analysis with your
flat-bed scanner.
854 - ADVANCED FCT/SCAN. & PRINT/
FLATBED MARG
1
Press
, enter
854
using the keypad.
2
Setup the left / right margins offsets (by 0.5 mm
steps) with the buttons
and
.
3
Confirm by pressing the
OK
button.
4
Quit this menu by pressing the
button.
Left and right printing margins setup
If you want to, you can offset the lateral margins of the
document to the left or right during printing.
855 - ADVANCED FCT/SCAN. & PRINT/
PRINTER MARG
1
Press
, enter
855
using the keypad.
2
Setup the left / right margins offsets (by 0.5 mm
steps) with the buttons
and
.
3
Confirm by pressing the
OK
button.
4
Quit this menu by pressing the
button.
Default tray
Tray used for copy
Same paper
format in the
trays
AUTOMATIC
Selection between the
main tray and the
manual tray.
MANUAL
The manual tray is
used.
Different
paper format
in the trays
AUTOMATIC
The main tray is used.
MANUAL
The manual tray is
used.


