C353P
10-48
Troubleshooting
10
10.9
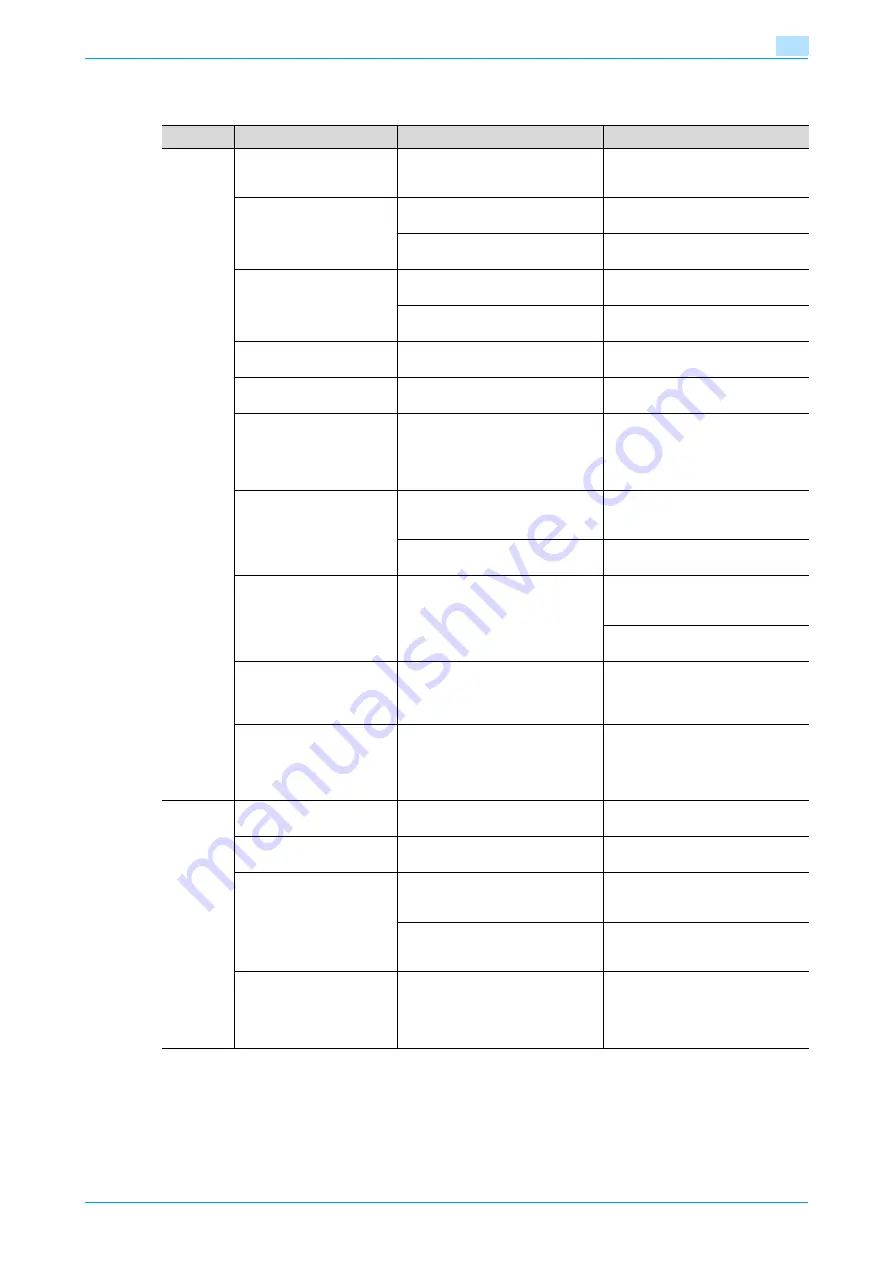
Simple troubleshooting
If any message other than those listed above appears, perform the operation described in the message.
If the problem is not corrected after the described operation is performed, contact your technical
representative.
Symptom
Possible cause
Remedy
Main unit
The machine does not
start up when the power
switch is turned on.
Is no power supplied from the elec-
trical outlet?
Correctly insert the power supply
plug into the electrical outlet.
The machine does not
start printing.
Is the right-side door of the ma-
chine open?
Securely close the right-side door
of the machine.
Is there no paper that matches the
document?
Load paper of the appropriate size
into the paper tray.
The printed output is too
light.
Was the print density changed
from the printer driver?
Check the printer driver setting.
Is the paper damp?
Replace the paper with new paper.
(See
,
The printed output is too
dark.
Was the print density changed
from the printer driver?
Check the printer driver setting.
The printed output is blur-
ry.
Is the paper damp?
Replace the paper with new paper.
(See
,
There are dark specks or
spots throughout the print-
ed output.
There are streaks in the
printed output.
Is the electrostatic charger wire
dirty?
Use the charger-cleaning tool to
clean the electrostatic charger
wire. (See
.)
The image is not aligned
properly on the paper.
Are the lateral guides incorrectly
positioned against the edges of the
paper?
Slide the lateral guides against the
edges of the paper.
Was curled paper loaded into the
paper tray?
Flatten the paper before loading it.
The printed page is curled.
Was paper that curls easily (as with
recycled paper) used?
Remove the paper from the paper
tray, turn it over, and then load it
again.
Replace the paper with paper that
is not damp.
Even though the paper
misfeed was cleared,
prints cannot be pro-
duced.
Are there paper misfeeds at other
locations?
Check the control panel for other
paper misfeed indications, and
then remove any misfed paper at
all other locations. (See
Printing is not possible
even though the password
is entered on a machine
with user authentica-
tion/account track set.
Did the message "Over Max Allow-
ance Total Ctr for User Please de-
lete job." appear?
Contact your administrator.
Finisher
The finisher cannot be
used.
Is no power supplied to the con-
nector?
Check that the cord is correctly in-
serted into the connector.
The pages cannot be sta-
pled.
Have the staples run out?
Replace the staple cartridge. (See
The pages that were fed
out were not uniformly
loaded and the punched
holes or staples are incor-
rectly positioned.
Is the paper curled?
Remove the paper from the paper
tray, turn it over, and then load it
again.
Is there a gap between the lateral
guides in the paper tray and the
side of the paper?
Slide the lateral guides in the paper
tray against the side of the paper
so that there is no gap.
Even though a Punch set-
ting was selected, holes
are not punched. (when
Punch Kit is installed on
Finisher)
Did the message "Punch Scrap
Box Full." appear?
Empty the punch scrap box.
Summary of Contents for BIZHUB C353P
Page 1: ...User s Guide...
Page 27: ...C353P x 26 Explanation of manual conventions...
Page 28: ...C353P x 27...
Page 31: ...C353P x 30...
Page 32: ...1 Before using the machine...
Page 77: ...C353P 1 46 Before using the machine 1...
Page 78: ...2 Network settings...
Page 97: ...C353P 2 20 Network settings 2...
Page 98: ...3 Installing the printer driver for Windows...
Page 135: ...C353P 3 38 Installing the printer driver for Windows 3...
Page 136: ...4 Installing the printer driver for Macintosh...
Page 153: ...C353P 4 18 Installing the printer driver for Macintosh 4...
Page 154: ...5 Print functions of the printer drivers for Windows...
Page 172: ...6 Print functions of the printer driver for Macintosh...
Page 199: ...C353P 6 28 Print functions of the printer driver for Macintosh 6...
Page 200: ...7 Function detail description...
Page 242: ...8 Settings for control panel...
Page 249: ...C353P 8 8 Settings for control panel 8 User Setting Menu...
Page 251: ...C353P 8 10 Settings for control panel 8 System Setting Menu...
Page 252: ...C353P 8 11 Settings for control panel 8...
Page 254: ...C353P 8 13 Settings for control panel 8 Admin Settings Menu...
Page 270: ...9 PageScope Web Connection...
Page 328: ...C353P 9 59 PageScope Web Connection 9 Specify the following settings...
Page 363: ...C353P 9 94 PageScope Web Connection 9...
Page 364: ...10 Troubleshooting...
Page 415: ...C353P 10 52 Troubleshooting 10...
Page 416: ...11 Replacing consumables...
Page 440: ...12 Care of the machine...
Page 445: ...C353P 12 6 Care of the machine 12...
Page 446: ...13 Specifications...
Page 454: ...14 Authentication unit Biometric type AU 101...
Page 476: ...15 Authentication unit IC card type AU 201...
Page 496: ...16 Appendix...
Page 497: ...C353P 16 2 Appendix 16 16 Appendix 16 1 Configuration page...
Page 498: ...C353P 16 3 Appendix 16 16 2 Font list 16 2 1 PCL Font List...
Page 499: ...C353P 16 4 Appendix 16 16 2 2 PS Font List...
Page 500: ...C353P 16 5 Appendix 16 16 2 3 Demo page...
Page 508: ...17 Index...
Page 515: ...C353P 17 8 Index 17...
Page 516: ...http konicaminolta com Copyright 2007 2007 9 A02E 9990 00...


