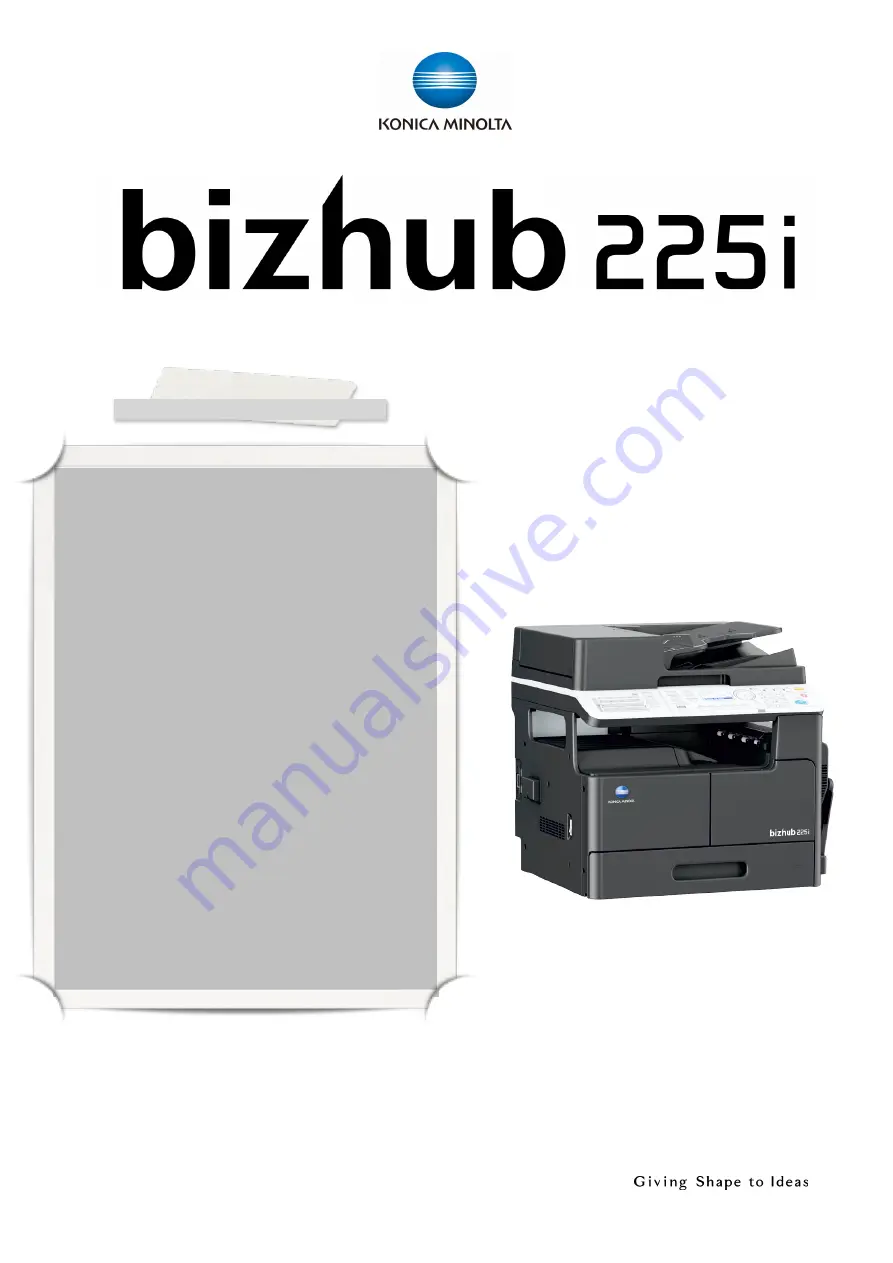
Konica Minolta bizhub 225i Shortcut Manual Download Page 4

A) Product Specifications 

產品規格


!


!

4

System  speed  A4

22  ppm

System  Memory:

256  GB  (Standard/Max)  

Interface:

10/100-BASE-T-Ethernet;

  USB  2.0

Network  protocols:

TCP/IP  (IPv4/IPv6),  SMB,  LPD,  IPP,  SNMP,  HTTP,

Automatic  document  feeder(Optional):

Up  to  130  originals

Paper  Input  Capacity(Standard/Max):

350  sheets/  1,350  sheets

Bypass  tray:

100  sheets,  A6-A3,  Customs  sizes,  64-157  gsm

System  dimensions(Without  Options)  :

[W  ×  D  ×  H]  607×  570  ×  458  mm

Weight  (Without  Options):

Approx.  28.2  kg

Product Specifications 

產品規格

Summary of Contents for bizhub 225i

Page 1: ...1 Shortcut Manual...

Page 2: ...Bypass Tray Setting 7 3 Density 8 4 Quality 8 5 Sort Group 9 6 Zoom 9 7 Duplex 10 8 Combine Original 11 9 ID Copy ID 12 10 Book Separation 13 11 Erase 13 12 Outer Erase 14 13 Black and White Reversed...

Page 3: ...20 7 Color Setting 20 E Scan Function 21 1 Scan Density Setting 21 2 Scan to USB USB 21 F Print Function 22 1 Paper Selection 22 2 Simplex Duplex 23 3 Combine 24 4 Print Envelope or custom size paper...

Page 4: ...protocols TCP IP IPv4 IPv6 SMB LPD IPP SNMP HTTP Automatic document feeder Optional Up to 130 originals Paper Input Capacity Standard Max 350 sheets 1 350 sheets Bypass tray 100 sheets A6 A3 Customs...

Page 5: ...Quality 10 Zoom 11 Paper 12 AddressBook 13 Mode Memory 14 ID Copy 15 Combine Original 16 Finishing 17 Simplex Duplex 18 Printer Indicator 19 Printer 20 Fax 21 Scan 22 Copy 23 Reset 24 Clear Stop 25 St...

Page 6: ...2 Control Panel Part 2 6 Control Panel Manual 1 Auto Rx Indicator 2 Memory Tx 3 On Hook 4 Redial Pause 5 Speed Dial 6 Switching Plate 7 One Touch Dial Key 1 2 3 4 5 6 7...

Page 7: ...PE press 1 Paper 2 OK 3 Tray Selection 1 Load the paper in bypass tray Blank page facing Down 2 Use to select PAPER SIZE then press OK 3 Use to select the appropriate paper size then press OK 4 Press...

Page 8: ...K Density Quality 1 Press Quality 2 Use to select Text Photo Text or Photo then press OK 1 Quality 2 OK 7 COPY SETTING 1 6 3 Use to select a target quality then press OK This returns to the COPY SETTI...

Page 9: ...OK 1 Finishing 2 OK Sort Group 1 Press Zoom 2 Fixed Zoom Use to select Fixed then press OK Use to select desired zoom ratio then press OK Auto Zoom Use to select Auto then press OK Manual Zoom Use to...

Page 10: ...de 1 Side 1 Side 2 Side 2 Side 1 Side 2 Side 2 Side 1 Simplex Duplex 2 Duplex a 1 Side 2 Side Single sided Original to Double sided Copy b 2 Side 1 Side Double sided Original to Single sided Copy 2 Si...

Page 11: ...8 Combine Original 11 Copy Function 1 Press Combine Original 2 Use to select 2 in1 or 4 in1 then press OK 1 Combine Original 2 2 1 4 1 OK Combine Original...

Page 12: ...wn 2 Press ID Copy to choose ID copy function 3 Press Start 4 Place back side of the card facing down on the left corner and then press OK 5 If you want to copy more than one ID Card press ID Copy to...

Page 13: ...al glass 2 Press Function 3 Use to select Book Sep then press OK 4 Use to select Separation or Spread then press OK 1 2 Function 3 OK 4 OK Erase 1 Press Function 2 Use to select Erase then press OK 3...

Page 14: ...Function Outer Erase 1 Press Function 2 Use to select Outer Erase then press OK 3 Use to select Rectangular Rctngl Center Bevel Bevel Center then press OK 1 Function 2 OK 3 OK Rectangular Rctngl Cent...

Page 15: ...1 Press Function 2 Use to select Neg Pos then press OK 3 Use to select ON then press OK 1 Function 2 OK 3 OK Black and White Reversed Page Margin 1 Press Function 2 Use to select Page Margin then pre...

Page 16: ...OK 3 Use to select desired stamp then press OK 1 Function 2 OK 3 OK Stamp 1 Press Function 2 Use to select X Y Zoom then press OK 3 Use to select ON then press OK 4 Press to X Y zoom setting 5 Use ke...

Page 17: ...e Memory 3 Use to select Register then press OK 4 Use to select the program number to be registered then press OK 1 2 Mode Memory 3 OK 4 OK Register Program Recall Program 1 Press Mode Memory 2 Use to...

Page 18: ...me then press OK 6 Enter an E mail Fax address then press OK 1 Utility 2 OK 3 OK 4 01 32 5 OK 6 OK Registration of One Touch Dial Registration of Speed Dial 1 Press Utility 2 Press select Dial Registr...

Page 19: ...nput fax number 1 Scan Fax 2 Destination Selection 1 Select or direct input destination 2 Press Simplex Duplex 3 Press to select 2 Side then press OK 1 2 Simplex Duplex 3 OK 1 Select or direct input d...

Page 20: ...Color Setting then press OK 4 Press to select BW Gray or Color 5 Press OK 1 Select or direct input destination 2 Press to display setting screen 3 Press to select Image format 4 Select file format TIF...

Page 21: ...direct input destination 2 Press Density 3 Use to select a density then press OK 1 2 Density 3 OK Scan Function Scan Density Setting USB Scan to USB 1 Plug in USB memory to machine To Scan to USB Mem...

Page 22: ...puter 2 Go to the printer driver 3 Click Setup 4 Select a paper size in Paper Size 5 Select a paper tray in Paper Source 6 Execute printing The Zoom ration will adjust automatically according to the o...

Page 23: ...x 23 1 2 3 4 5 Print Simplex or Duplex 1 Open the document file in your computer 2 Go to the printer driver 3 Click Layout 4 Select 1 sided or 2 sided in Double Sides 5 Execute printing Print Function...

Page 24: ...1 16 1 6 Print multiple pages on the same side 1 Open the document file in your computer 2 Go to the printer driver 3 Click Layout 4 Click Combination 5 Select 2 in1 4 in1 6 in1 9 in1 or 16 in1 6 Exe...

Page 25: ...ss OK 4 Use Keypad to enter the length of X and Y then press OK 5 Press Back to return to the previous screen 6 Use to select PAPER TYPE then press OK 7 Use to select the correct paper type then press...

Page 26: ...alue Width Length 6 Select the name you input in Original Size 7 Check that Paper Size is set to Same as Original Size 8 Select Bypass Tray from Paper Source 9 When printing envelopes you can choose f...

Page 27: ...ty 2 Press to select Confirm Mode then press OK 3 Press to select Total Page 4 Press OK 1 Utility 2 OK 3 4 OK Print Fax TX Fax Mode only 1 Press Utility 2 Press to select Confirm Mode then press OK 3...

Page 28: ...H Remove Jammed Paper 28 Remove Jammed Paper...

Page 29: ...I Change Toner Cartridge 29 If a toner is near empty the screen will show a toner empty message Change Toner Cartridge...

Page 30: ...30...

Page 31: ...31...

Page 32: ...com Meter Reporting Fax 2565 2128 2856 2008 Email bhkg_csmeter gcp konicaminolta com Toner Paper Ordering Fax 2565 2128 2856 2008 Email bhkg_csorder gcp konicaminolta com Sales Enquiry Fax 2565 2111 E...

Reviews: