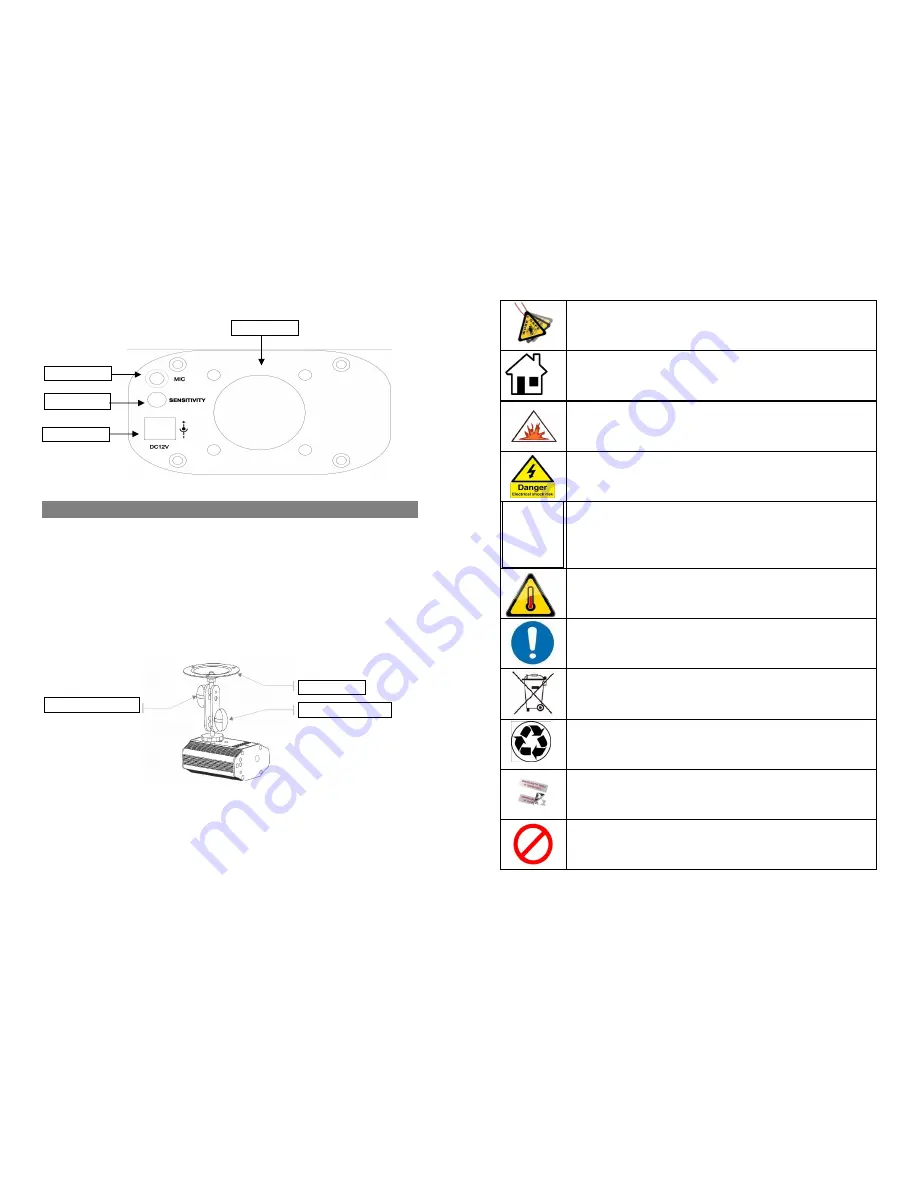
Mounting
Rigging
Be sure that the structure can support the weight of the fixture. Please see the “Technical
Specifications” for a detailed weight listing. Mount the fixture securely. Do this with a screw,
nut and bolt, or a hanging clamp. When rigging, consider routine maintenance.
Please see the following notes on installation.
*When aiming the fixtures, you may use the bracket adjustment knob(s). Loosen the
knob(s), adjust to the desired angle, and then tighten the knob(s) by turning clockwise. Do
not use tools for this step, as it may cause damage.
Page 5
Page 2
To protect the environment, recycle packing material wherever possible.
Do not remove or break the warranty label, otherwise it void the warranty.
There are no serviceable parts in the light. Please have all servicing and
adjustments made by a qualified service engineer.
The maximum ambient temperature (Ta) is 104 F (40 C). Do not operate the
fixture at a higher temperature. In case of a serious operating problem, stop
using this product immediately!
Use cleaning tissue to remove the dust absorbed on the external lenses
periodically to optimize light output.
Don’t throw this product away just as general trash, please dispose of this
product following the abandon electronic product regulation in your country.
This product is for indoor use only! Use only in dry locations. Keep this
device away from rain and moisture, excessive heat, humidity and dust. Do
not allow contact with water or any other fluids, or metallic objects.
Make sure there are no flammable materials close to the fixture(s) while
operating.
Please prevent this light away from electrical shock
Always make sure that you are connecting the light to the proper voltage, as per the
specifications in this manual or on the product's sticker. Never connect the light to a
dimmer pack. Make sure that the power cable is not cracked, crimped or damaged. Ne
Avoid direct eye exposure to the light source while the fixture is on. Always disconnect
the light from its power source before servicing. Always connect the light to a grounded
circuit to avoid the risk of electrocution.
Power
110V 240V
Ground
Microphone
Sensitivity
Cooling Fan
12V Power In
Angle Adjustment Knob
Adjustable Stand
Angle Adjustment Knob


