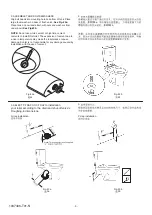
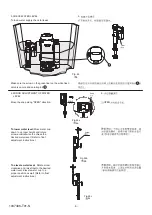


4 Connect fill valve to water supply with hose only.
4
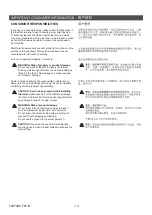
4. INSTALL THE TOILET & CONNECT WATER SUPPLY
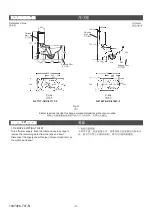
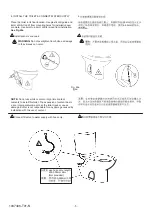
Place the toilet in its final location. Use plastic drill guide and
8mm drill bit to drill floor mounting holes for installation over
concrete. Use 4mm to 4.5mm drill for wood floor installation.
.
3
See Fig.#4a
Install anchors and caps.
WARNING:
Do not overtighten floor bolts, as damage
to the vitreous can occur.
4.
8mm
4-4.5mm
4a
3
NOTE: use hose only, length:
200-300mm mini.
(Not provided.)
200-300mm
(
)
4
Fig. #4a
4a
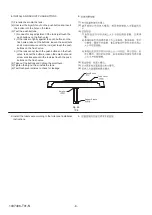
NOTE:
Do not use white cement or high lime content
cements to install this toilet. The expansion of cement due to
a rise in temperature may make the toilet crack or cause
damage. Kohler is not responsible for any damage caused by
installation with the use of cement.
-5-
1037406-T01-N


