background image

1019706-5-

A

5

Kohler Co.

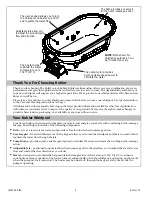
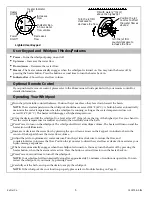
Lighted User Keypad

Heater

On/Off

Increases

Flow

Decreases

Flow

Power

On/Off

Indicator Bar--

Shows water

flow volume

Heater Indicator

Light

Turn the jet trim

clockwise to

decrease the flow

Turn the jet trim

counterclockwise to

increase the flow

Fill with water 2” (5cm)

above the highest jet

Position the jet

nozzles to direct

the water flow as

desired

User Keypad and Whirlpool Modes/Features

S

Power -

Turns the whirlpool pump on and off.

S

Up Arrow -

Increases the water flow.

S

Down Arrow -

Decreases the water flow.

S

Heater -

The heater automatically engages when the whirlpool is turned on. You may turn the heater off by

pressing the heater button. Press the button a second time to turn the heater back on.

S

Indicator Bar -

Shows the water flow volume.

Optional Remote Control

If you purchased a remote control, please refer to the Homeowners Guide packed with your remote control for

detailed information.

Operating Your Whirlpool

-

Turn the jet trim fully counterclockwise. Position the jet nozzles so they face down toward the basin.

NOTE:

The water temperature in the whirlpool should never exceed 104

_

F (40

_

C). A built-in heater automatically

maintains the water temperature when the whirlpool is running, as long as the water temperature does not

exceed 104

_

F (40

_

C). The heater will disengage at higher temperatures.

-

Close the drain, and fill the whirlpool to a level at least 2” (5cm) above the top of the highest jet. Use your hand to

test the water temperature for comfort and safety, then carefully enter the bath.

-

Press Power to turn on the whirlpool. The whirlpool will start at medium volume. The heater will turn on and the

heater icon will illuminate.

-

Increase or decrease the water flow by pressing the up or down arrows on the keypad. An indicator bar in the

center of the keypad shows the water flow volume.

-

Adjust the jets for optimum air/water mixture. Turn the jet trim clockwise to reduce the flow, and

counterclockwise to increase the flow. Position the jet nozzles to direct the water flow as desired to maximize your

hydro-massage experience.

-

The heater automatically engages when the whirlpool is turned on. You may turn the heater off by pressing the

heater button, when the heater mode is active. Press the button a second time to turn the heater back on.

-

Press Power a second time to turn off the whirlpool.

NOTE:

Your whirlpool will automatically stop after approximately 20 minutes of continuous operation. You can

restart the whirlpool, if you desire, by pressing Power.

-

Carefully exit the bath, and open the drain to empty the whirlpool.

NOTE:

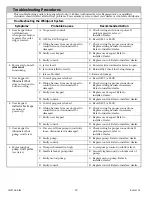
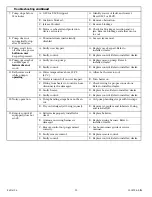
If the whirlpool does not function properly, please refer to Troubleshooting on Page 10.

Summary of Contents for K-724

Page 1: ...1019706 5 A Bath Whirlpool Homeowners Guide K 723 K 724...

Page 2: ...ELCB Such a GFCI or ELCB should be provided by the installer and should be tested on a routine basis To test the GFCI or ELCB press the test button The GFCI or ELCB should interrupt power Press the re...

Page 3: ...hirlpool 4 User Keypad Whirlpool Modes Features 5 Optional Remote Control 5 Operating Your Whirlpool 5 Care and Cleaning 6 One Year Warranty U S A and Canada 7 Limited Lifetime Warranty U S A and Cana...

Page 4: ...available at the time of publication At Kohler we constantly strive to improve the quality of our products We reserve the right to make changes in product characteristics packaging or availability at...

Page 5: ...ong as the water temperature does not exceed 104_F 40_C The heater will disengage at higher temperatures Close the drain and fill the whirlpool to a level at least 2 5cm above the top of the highest j...

Page 6: ...occurence of stubborn stains use abrasives or abrasive cleaners sparingly but not on the Safeguard surface on the bottom of the whirlpool For occasional rust removal you may use WhinkR Rust Iron Stain...

Page 7: ...nd 1 800 964 5590 from within Canada Implied warranties including that of merchantability and fitness for a particular purpose are expressly limited in duration to the duration of this warranty Kohler...

Page 8: ...product is installed with all other terms of this warranty applying except duration All other components other than the enameled cast iron carry Kohler s one year limited warranty unless otherwise sp...

Page 9: ...ve the invoice or receipt as additional protection as it may substitute the warranty in the case that there is a discrepancy in the validity of the warranty EXCEPTIONS AND RESTRICTIONS The Warranty wi...

Page 10: ...ted but does not respond to buttons or ring B Wiring harness from user keypad to control is loose disconnected or damaged B Check wiring for proper connections Replace wiring harness if necessary Refe...

Page 11: ...ol B Replace control Refer to installer dealer 11 Bath water cools while pump is operating A Water temperature above 104_F 40_C A Allow bath water to cool operating B Heater is turned off on user keyp...

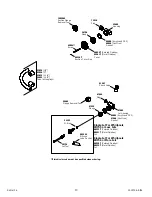
Page 12: ...C1 6 7 8 17 5cm 93948 D1 6 15 2cm 93948 E1 4 5 8 11 7cm Hose 94318 A2 16 1 2 41 9cm 94318 B2 15 1 2 39 4cm 94318 C2 13 1 2 34 3cm 94318 D2 7 1 2 19 1cm 94318 E2 5 1 2 14cm 94318 F2 18 1 4 46 4cm 9431...

Page 13: ...88529 Metal Finishes Jet 93836 1 2 93838 1 93839 1 1 4 94853 1 1 2 Tube w Couplings 93685 Housing 96708 Flange 96895 Colored Finishes 65061 Metal Finishes Cover 65886 Acrylic and FRP 60050 Cast Iron G...

Page 14: ...4cm 1019445 B 2 3 4 7cm 1019445 C 3 7 6cm 1019445 D 2 1 2 6 4cm 1019445 E 2 5 1cm 1019445 F 2 1 4 5 7cm 1019445 G 3 1 4 8 3cm 1019445 H 3 1 2 8 9cm 1019445 J 3 3 4 9 5cm 1019445 K 4 10 2cm 1019445 L...

Page 15: ...019446 B 2 3 4 7cm 1019446 C 3 7 6cm 1019446 D 2 1 2 6 4cm 1019446 E 2 5 1cm 1019446 F 2 1 4 5 7cm 1019446 G 3 1 4 8 3cm 1019446 H 3 1 2 8 9cm 1019446 J 3 3 4 9 5cm 1019446 K 4 10 2cm 1019446 L 1 1 2...

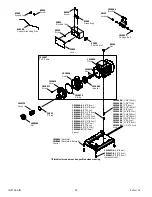
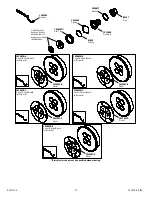
Page 16: ...Heater 94821 O Ring 94821 O Ring 1012977 Adapter 1012916 Nut w Screws 1011679 Gasket 1012977 Adapter 1011679 Gasket 94821 O Ring 1012653 Adapter 1012916 Nut w Screws 1018709 Heater Finish color code...

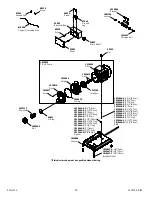
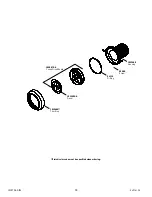
Page 17: ...service part identification 1013497 A Decal 1013497 B Decal 1013497 C Decal 1013497 D Decal 1013497 E Decal 1020678 A Cover Circuit Board w Wrench 1023381 Wrench 1020678 B Cover Circuit Board w Wrench...

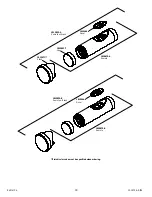
Page 18: ...1019706 5 A 18 Kohler Co 1013460 Housing 59588 Screw 94110 O Ring 1013459 A Decal 1013469 Trim Ring 1020679 A Cover Circuit Board Finish color code must be specified when ordering...

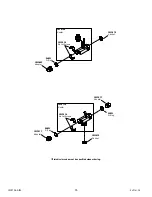
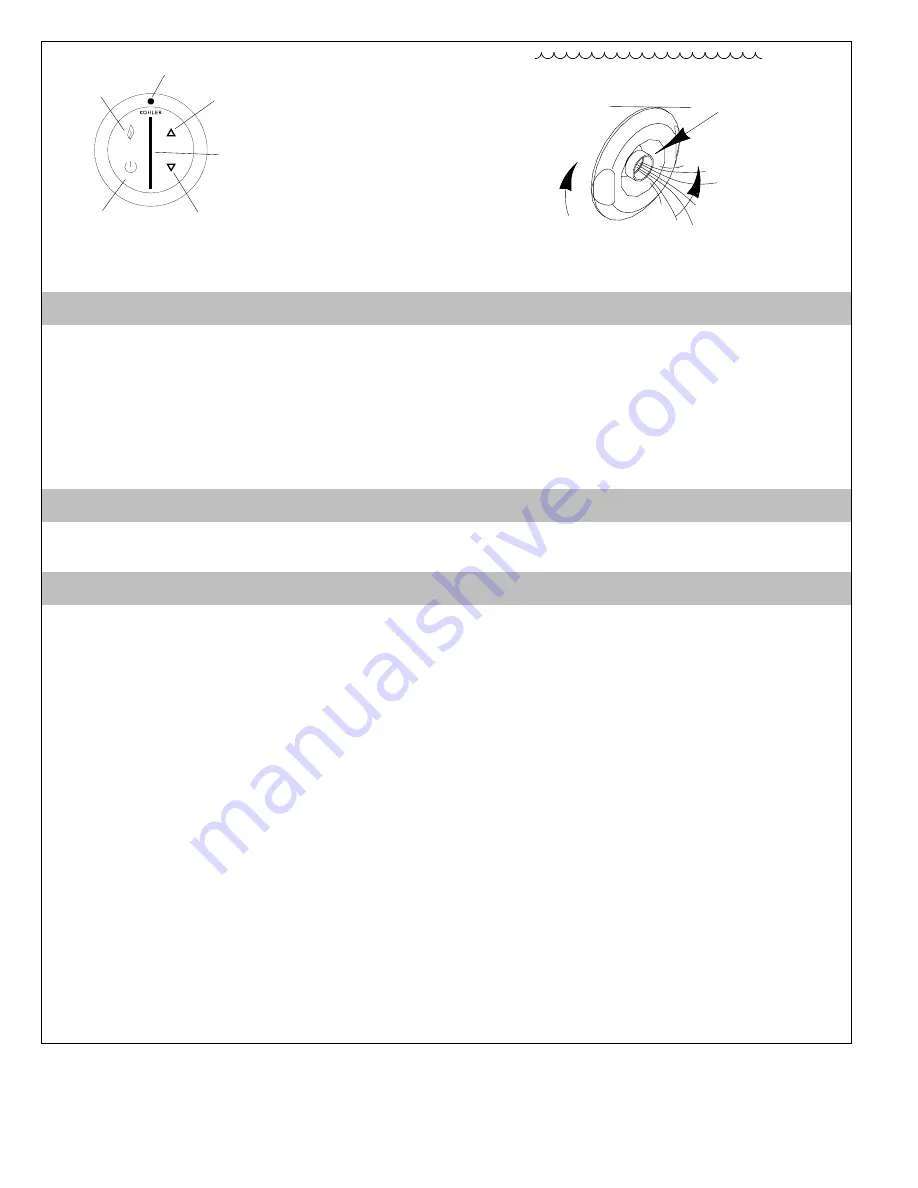
Page 19: ...5 A 19 Kohler Co 1023091 Cap 1013471 Stand 1013464 A Decal 1013464 B Decal 1020679 B Remote 1020679 A Remote 1013822 A Remote w Stand 1013822 B Remote w Stand Finish color code must be specified when...

Page 20: ...1019706 5 A 20 Kohler Co E2003 Kohler Co 1019706 5 A USA 1 800 4 KOHLER Canada 1 800 964 5590 Mexico 001 877 680 1310 kohler com...

Reviews: