


19
KODAK Picture/JPEG CD Playback
To start the slide show from the thumbnail pictures:
1.Press
o
/
a
/
p
/
b
button to select the desired picture.
• To go to the next or previous thumbnail pictures, press
e
or
f
button.
2. Press OK or
a
button
(Play)
to
start
the slide show
from
the selected picture.
During the slide show:
•Press
l
button to pause. Press
a
button (Play) to continue.
•Press
e
or
f
button, it skips to the next or previous file.
•If
the picture
appears
upside down or
sideways,
press
button to fl
ip / rotate the picture.
Initial settings
Once the
initial settings have
been
completed,
the unit
canalways
be
operated
under the
same conditions.Th
e
settings
will be
retained
in the
memory
until
they ar
e
changed,even if the power is turned off.
Press DVD.
SETUP button
to
activate
the DVD
player
OS
D menu.
Press
b
/
a
button to
move and highlight
between different
sub-menu.
Press
o
/
p
button to enter the highlighted sub-menu.
Press DVD.SETUP button to exit the OSD menu.
•
•
•
•
General setup menu
IMPORTANT NOTICE
The factory setting of PIN Code is "0000".
If you forgot
the
password you've set,
input
the initial password "2008".
General
AUDIO
Dolby
VIDEO
Preference
--ANALOG AUDIO SETUP PAGE--
DOWNMIX
General
AUDIO
Dolby
VIDEO
Preference
--DOLBY DIGITAL SETUP--
DUAL MONO
DYNAMIC
General
AUDIO
Dolby
VIDEO
Preference
--VIDEO SETUP PAGE--
SHARPNESS HIGH
BRIGHTNESS OO
CONTRAST OO
General
AUDIO
Dolby
VIDEO
Preference
--PREFERENCE PAGE--
AUDIO ENG
SUBTITLE OFF
DISC MENU HEBREW
PARENTAL
PASSWORD
DEFAULT
TV TYPE NTSC
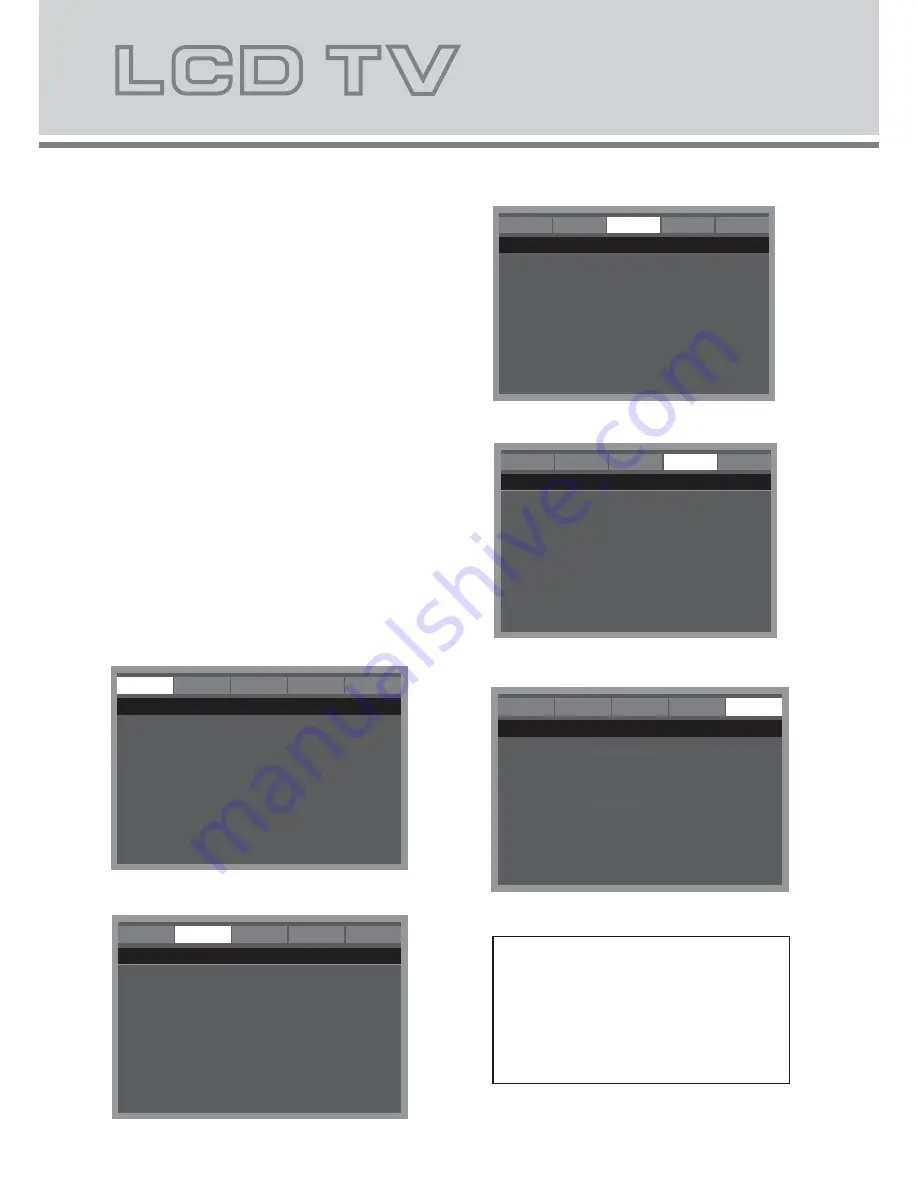
Audio setup menu
Dolby Digital setup menu
Video setup menu
Preference setup menu
ENG
PAL
General
AUDIO
Dolby
VIDEO
--GENERAL SETUP PAGE--
ANGLE MARK ON
OSD LANGUAGE ENG
SCREEN SAVER ON
LAST MEMORY OFF
Preference
TV DISPLAY Wide
o
/
a
/
p
/
b
Summary of Contents for KGN1080P-PRO32VAA
Page 1: ...KGNϭϬϴϬWWZKϯϮs USER MANUAL ...
Page 2: ...20 16 DVD Operation 21 22 ...
Page 3: ......
Page 18: ......
Page 22: ...20 ...
Page 23: ...21 ...


