•
Clock Adjustment: press MENU to show the options in frequency adjustment, then press
up or down to adjust the image clock to track stability.
•
Phase Adjustment: press MENU to show the options in phase adjustment, then press up
or down to start pixel sampling.
•
Sharpness Function: press MENU to enter the sharpness adjustment mode, then press up
or down to select the value. Then press MENU to change the sharpness of the image.
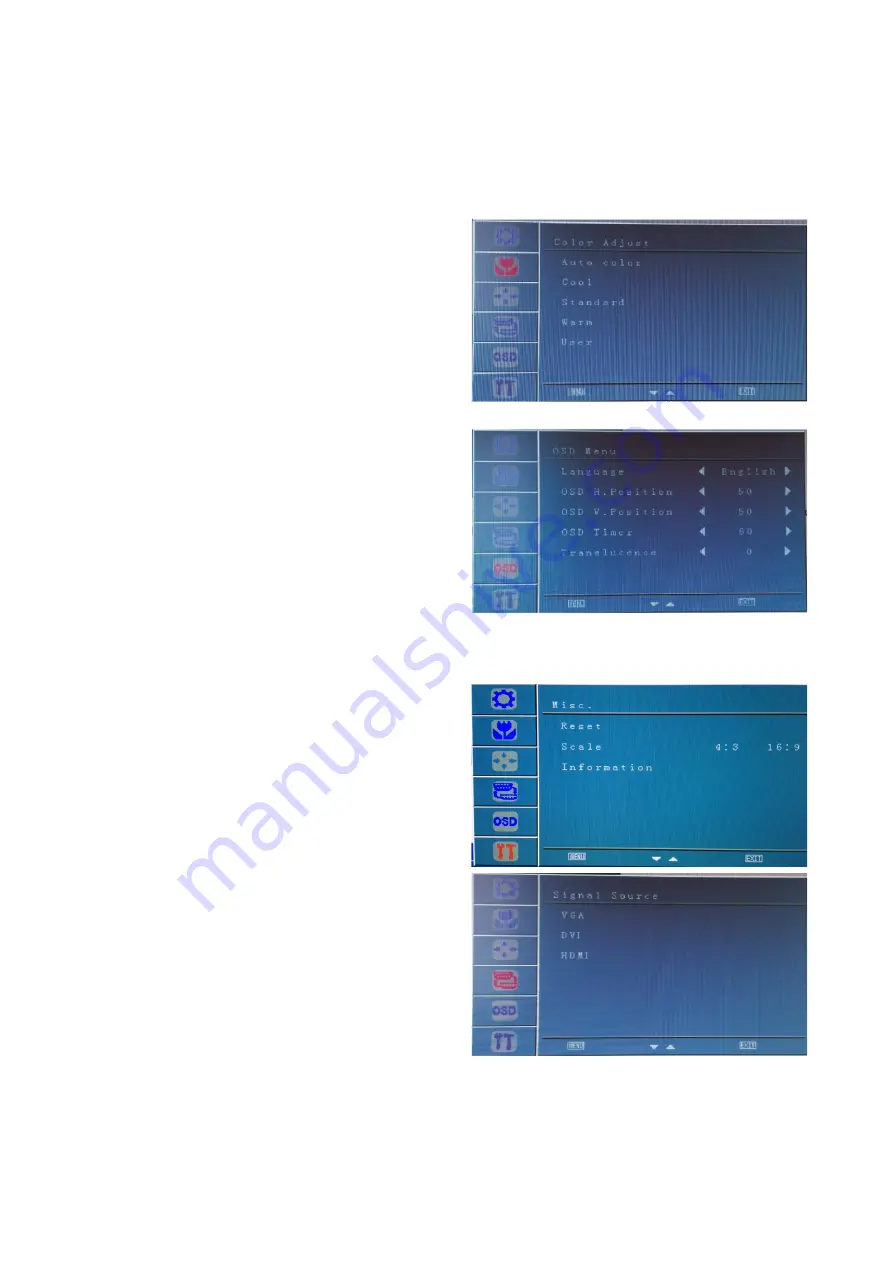
Colour Adjustment
This selection will change the amounts of red,
green and blue present in the images. Warm mode
will give a redder display, while cool mode will give
a bluer display. User mode will allow you to make
your own adjustments to the red, green and blue
levels.
OSD Menu
•
Language: this allows you to select the
language you want the menu to appear in.
•
OSD H-position Adjustment: this changes
the horizontal position of the On Screen
Display Menu. Use
the up and down buttons to move the
position left or right.
•
OSD V-position Adjustment: this changes
the vertical position of the On Screen
Display Menu. Use the
up and down buttons to move the position
up or down.
•
OSD Timer: this adjusts how long the OSD menu will appear on the screen.
•
Translucence: this adjusts the transparency of the OSD menu.
Misc
•
Factory Reset: this will reset the monitor to
the original factory settings.
•
Scale: select screen sizes between 4:3 or
16:9.
Signal Source
Press MENU twice to enter menu, then press up or
down to select between the difference sources to
the source you require.
4


