background image

21

Using Media Center 

Introduce

Media center allows you to browse and play media 

¿

les such as videos, photos and music 

¿

les stored 

on a data disc or a USB 

À

 ash drive.

Supported Functions

Your player supports the following functions:

Video playback:


> Pause, Resume, Stop, Fast forward, Fast 

reverse, Repeat.


> Skip to next video, skip to previous video.

Audio playback:


> Pause, Resume, Stop, Fast forward, Fast 

reverse,


> Repeat.


> Skip to next song, skip to previous song.

Image playback:


> Thumbnail Display


> Slideshow

Tips:

‡

To implement these functions, please refer to 
“Remote Control”.

‡

You can use OSD menu to control the playback, 
please refer to “On Screen Display Menu” for 
OSD operation.

Operation Steps

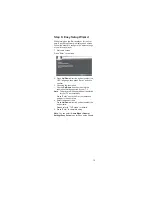
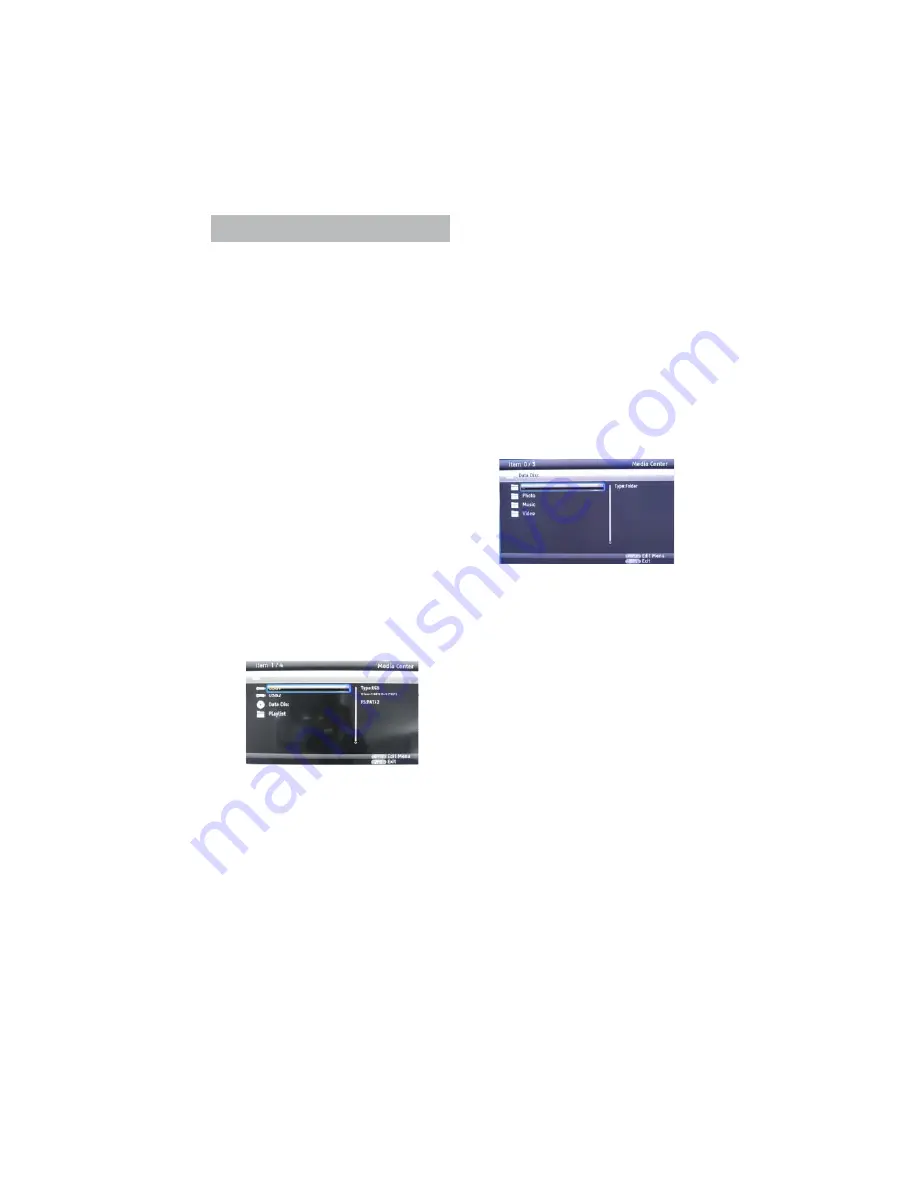
1. Selecting playback source 

After inserting a disc/USB 

À

 ash drive, press Media 

Center to display the Media Center screen, shown 
as below:

Using 

Up/Down

 direction button to select the 

SOD\EDFNVRXUFHDQGSUHVV(QWHUWRFRQ¿

 rm.

Note

:  To select Media Center during disc 

playback, you should stop playback 

¿

rst.

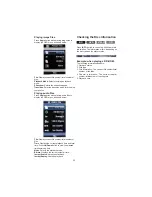
1.1 Using Pop up Menu
Press Pop up button to display pop up menu after 
selecting a 

¿

le/folder.

Pop up menu allows the user to perform 

¿

le/folder 

operations , shown as below:

Add to the playlist

: To add 

¿

les/folders to the 

play list.

Select all:

 To select all 

¿

les/folders.

Clear all: 

To clear all selections.

Cancel: 

To exit.

1.2 Playlist
You can customize your playlist by adding 

¿

les/

folders to the playlist. The steps are shown as 
below:
a.  Select playlist and press Enter to enter the sub-

menu: Photo, Music and Video.

b.  Select the media type you want to play and 

press Enter to enter the folder.

c.  Select the desired 

¿

le and press Enter to start 

playback.

Note

: The current playlist will be cleared after 

restarting.

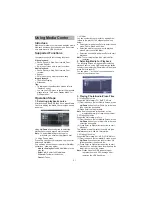
2. Selecting Media for Playback

The following screen will appear after selecting 
playback source, using Up/Down direction button 
to select the media type (Photo/Music/Video) and 

SUHVV(QWHUWRFRQ¿

 rm.

You can press “..” or the Left direction button to 
return to the previous menu.

3. Playing Photo/Audio/Video Files

3.1 Playing Photo 

¿

les

Supported 

¿

le formats: JPG, BMP, PNG etc..

(1) From the above (Select Media) Screen, press 

Up/Down

 button to enter Photo 

¿

 le folder and 

then select the desired 

¿

le.

(2) Press Enter to start playback.

Note

:  Some supported images may not be 

displayed normally for resolution problem.

3.2 Playing Audio 

¿

les

Supported 

¿

le formats: mp3 etc..

(1) From the above (Select Media) Screen, press 

Up/Down

 button to enter Music 

¿

 le folder and 

select the desired 

¿

le.

(2) Press Enter or Right direction button to start 

playback.

The preview area will display the audio 

¿

le type, 

total playback time, title etc. information.

3.3 Playing Video 

¿

les

Supported 

¿

le formats: AVI, MPG, VOB, RM, etc..

(1) From the above (Select Media) Screen, press 

Up/Down

 direction button to enter video 

¿

le 

folder and select the desired 

¿

le.

(2) Press Enter or Right direction button to start 

playback.You can view video thumbnails in the 
lower right corner of the screen.

Note

: Please close the USB rubber stopper 

to prevent dust and ESD damage after 
removing the USB 

À

ash drive.

Summary of Contents for KABRP21SLMB

Page 1: ...KABRP21SLMB USER MANUAL ...

Page 2: ...les HDMI Cable 12 Step 2 Connecting the Audio Cables 13 Step 3 Connecting to Network 14 Step 4 Connecting the Main Lead 14 Step 5 Preparing the Remote 14 Step 6 Easy Setup Wizard 15 Home Menu Operation 16 Using the Home Menu 16 General Setting 16 Display Setting 18 Audio Setting 18 System Information 19 Basic Operations 19 Playing a Disc 19 On screen Display Menu 19 Playing video les 19 Playing im...

Page 3: ...here you purchased the product The above symbol is applicable in the European Union and other European countries with separate collection systems Disposal of waste batteries applicable in the European Union and other European countries with separate collection systems This symbol on the battery or on the packaging indicates that the battery provided with this product shall not be treated as househ...

Page 4: ...LQ D SODFH VXEMHFW WR GLUHFW VXQOLJKW H FHVVLYH GXVW RU PHFKDQLFDO VKRFN On operation I WKH SOD HU LV EURXJKW GLUHFWO IURP D FROG WR D ZDUP ORFDWLRQ RU LV SODFHG LQ D YHU GDPS URRP PRLVWXUH PD FRQGHQVH RQ WKH OHQVHV LQVLGH WKH SOD HU 6KRXOG WKLV RFFXU WKH SOD HU PD QRW RSHUDWH SURSHUO Q WKLV FDVH UHPRYH WKH GLVF DQG OHDYH WKH SOD HU WXUQHG RQ IRU DERXW KDOI DQ KRXU XQWLO WKH PRLVWXUH HYDSRUDWHV KH...

Page 5: ...factured under license under U S Patent Nos 5 956 674 5 974 380 6 226 616 6 487 535 7 392 195 7 272 567 7 333 929 7 212 872 other U S and worldwide patents issued pending DTS HD the Symbol DTS HD and the Symbol together are registered trademarks DTS HD Master Audio Essential is a trademark of DTS Inc Product includes software DTS Inc All Rights Reserved 5 1 ch Manufactured under license under U S ...

Page 6: ...ueHD Dolby Digital Plus Dolby Digital MP3 LPCM JPEG PNG GIF Supported le formats MP4 MKV XviD MP3 TS AVI M2TS VOB FLV MPG JPG PNG GIF Notes about BD ROM compatibility 7KLV SOD HU VXSSRUWV 520 3UR le 2 0 only Playback of later versions and BDs other than BD ROM is not guaranteed Since the Blu ray Disc speci cations are new and evolving some discs may not play depending on the disc type and the vers...

Page 7: ...W FRQIRUP WR WKH VWDQGDUG DQG PD QRW EH SOD DEOH E WKLV SURGXFW 3 Note on Dual Discs XDO LVF LV D WZR VLGHG GLVF SURGXFW ZKLFK PDWHV 9 UHFRUGHG PDWHULDO RQ RQH VLGH ZLWK GLJLWDO DXGLR PDWHULDO RQ WKH RWKHU VLGH RZHYHU VLQFH WKH DXGLR PDWHULDO VLGH GRHV QRW FRQIRUP WR WKH RPSDFW LVF VWDQGDUG SOD EDFN RQ WKLV SURGXFW LV QRW JXDUDQWHHG 4 Note about double layer DVDs 7KH SOD EDFN SLFWXUHV DQG VRXQG PD...

Page 8: ...3 76 9 0 76 92 9 03 3 31 6XSSRUWHG FRGHF IRUPDWV 09 9 03 YL 760 76 76 LJLWDO 6XUURXQG ROE TrXH ROE LJLWDO 3OXV ROE LJLWDO 03 3 0 3 31 6XSSRUWV SOD EDFN RI PRVW RI QHWZRUN YLGHRV 6XSSRUWV SOD EDFN RI ODUJH OHV OH VL H EOX UD GLVFV DQG 5 08 OHV Unpackaging 3OHDVH PDNH VXUH RX KDYH WKH IROORZLQJ LWHPV LQ RXU SDFNDJH OX UD SOD HU 9 FDEOH 5HPRWH FRQWURO AAA EDWWHULHV ...

Page 9: ...I OUT 4 AUDEO OUT L R jacks 5 Standby Turns on the player or sets to standby mode 6 USB Port 5 VIDEO OUT 6 COAXIAL jack 7 AC IN terminal 2 1 6 5 4 3 7 Front Panel 1 Lights up during playback 2 Pause playback 3 dts indicator 4 Playback information 5 DVD indicator 6 BD indicator 7 Dobby Digital indicator 1 2 3 4 5 6 7 Front Panel Display 2 0 Ch Output Rear Panel 1 2 3 4 5 6 ...

Page 10: ...AT button should be pressed until Repeat OFF is shown on the TV Note Repeat A B may be not available on VRPH GLVF GXH WR LWVHOI FRQ guration or because the disc itself can not support the two features User can contact the disc suppliers to acquire the info 4 Number buttons Enter the title chapter numbers etc 5 HOME Invoke the setup menu of the BD player 6 Menu Navigation Keys These keys are used w...

Page 11: ...er the selected item 16 RETURN When navigating les on a data CD or USB stick press to return the previous folder or menu 17 MENU Press to stop playback immediately and bring up the main or top menu of the BD or DVD disk 18 TOP MENU Pressing to enter top menu of the BD or DVD disk 19 CLEAR When entering numeric values via the numeric keypad this button is used to clear a number entered incorrectly ...

Page 12: ...VWHUHG WUDGHPDUNV RI 0 LFHQVLQJ Notes I WKH 79 YLGHR UHVROXWLRQ ZDV VHW WRR KLJK WKHUH ZLOO EH D EODFN VFUHHQ SUREOHP SUHVV WKH 0 RQ WKH 5HPRWH FRQWURO WR VZLWFK D VXLWDEOH UHVROXWLRQ IRU WHOHYLVLRQ RXWSXW 1RW DOO 0 FRPSDWLEOH AV DPSOL HUV UHFHLYHUV DFFHSW FK LQHDU 3 0 VLJQDOV 6HH DOVR WKH RSHUDWLQJ LQVWUXFWLRQV VXSSOLHG ZLWK WKH FRQQHFWHG AV DPSOL HU UHFHLYHU When connecting to a standard 4 3 scr...

Page 13: ...ed Be sure to disconnect the HDMI cable when moving the player If you place the player on the cabinet with the HDMI cable connected do not apply too much pressure to the cabinet wall It may damage the HDMI OUT jack or the HDMI cable When connecting or disconnecting do not screw in or rotate the HDMI connector Notes 1 RQVXPHUV VKRXOG QRWH WKDW QRW DOO KLJK GH nition television sets are fully compat...

Page 14: ...5 VL H EDWWHULHV E PDWFKLQJ WKH DQG HQGV RQ WKH EDWWHULHV WR WKH PDUNLQJV LQVLGH WKH EDWWHU FRPSDUWPHQW KHQ XVLQJ WKH UHPRWH SRLQW LW DW WKH UHPRWH VHQVRU RQ WKH SOD HU Warning 7KH EDWWHU SDFN RU EDWWHULHV LQVWDOOHG VKDOO QRW EH H SRVHG WR H FHVVLYH KHDW VXFK DV VXQVKLQH ILUH RU WKH OLNH 1 5HPRYH WKH EDWWHU FRYHU RI UHPRWH FRQWURO 2 QVHUW EDWWHULHV LQ WKH FRUUHFW SRVLWLRQ 5HSODFH WKH EDWWHU FRYHU ...

Page 15: ... Enter button to FRQ rm 3 Choosing the resolution Use the Up Down direction to select the resolution that is supported by your TV Auto The player will choose the best resolution for your TV automatically 3UHVV QWHU NH WR FRQ rm your selection and get to the next step 4 Select the aspect ratio Press Up Down direction button to select the aspect ratio Please refer to TV Screen for details 5 Press En...

Page 16: ...u Set the menu language Audio Set the audio output language Subtitle Set the subtitle display language Note Not all the supported languages of the player are available on all discs Some discs may not allow the audio language to be set on the settings menu of the player In this case select the audio language from the menu of the disc Home Menu Screen General Setting System Language Playback Securit...

Page 17: ...new password 3 QSXW WKH QHZ SDVVZRUG DJDLQ WR FRQ rm Note The default initial password is 0000 Parental Control This option allows the user to select a rating level to restrict the play of discs to children you will be prompted to enter the default password before being allowed to change this setting Available rating level are KID SAFE G PG PG13 PGR R NC17 and ADULT Note The default initial passwo...

Page 18: ...rmal 4 3 Pan Scan 4 3 Letterbox Resolution Use this option to select the video output resolution Auto 480i 576i 480p 576p 720p 1080i or 1080p Auto The player will select the resolution that best matchs your TV automatically The number indicates the number of scanning lines I p indicates the scanning format of an image signal TV System Use this option to set the TV system in your area PAL NTSC Auto...

Page 19: ...layback time and total time Press Up Down direction button to view the remaining time Mode Select the playback mode Audio Sets the audio output language of BD DVDs discs Press Up Down direction button to select the desired language Angle Displays the current angle information Press Up Down direction button to select the best viewing angle Only applicable to the discs that have multi angle capabili...

Page 20: ...k the title chapter etc information The information differs depending on the disc type and the player status Example when playing a BD ROM The following information appears 1 Playback status 2 Disc type 3 Title information The current title number total number of the titles 4 Chapter information The current chapter number total number of the chapters 5 Playback time File Displays current le number...

Page 21: ...low a Select playlist and press Enter to enter the sub menu Photo Music and Video b Select the media type you want to play and press Enter to enter the folder c Select the desired le and press Enter to start playback Note The current playlist will be cleared after restarting 2 Selecting Media for Playback The following screen will appear after selecting playback source using Up Down direction butt...

Page 22: ...output from the HDMI OUT jack Try the following 1 Turn the player off and on again 2 Turn the connected equipment off and on again 3 Disconnect and then reconnect the HDMI cord The HDMI OUT jack is connected to a DVI device DVI jacks do not accept audio signals The sound volume is low The sound volume is low on some BDs DVDs The sound volume may improve if you adjust the TV or PSOL er volume outpu...

Page 23: ...GITAL OUT COAXIAL Phono jack 0 5 0 6Vp p 75 ohms VIDEO Phono jack 1 0 Vp p 20mv 75 ohms HDMI OUT HDMI 19 pin standard connector General Power requirements Power consumption Operating temperature Operating humidity AC 100 240 V 50 60 Hz 20W 5 o c 35o c 25 80 Dimensions approx Weight approx 260X38X253 mm width height depth 1 7kg Hint Speci cations and design are subject to change without notice ...

Page 24: ......

Reviews: