12
Table of Advanced Video Adjustment Settings
Setting
Options
Description
DNR
Off, Low, Medium,
Strong, Auto
Select to control the sharpness
and noise reduction.
CTI
Off, Low, Medium, Strong
Select to improve the dynamic color level.
Flesh Tone
On, Off
Select “On” to correct the flesh
tone automatically.
Adaptive
Luma
Control
On, Off
When this is on, this feature will set
the contrast and brightness levels
for optimum performance.
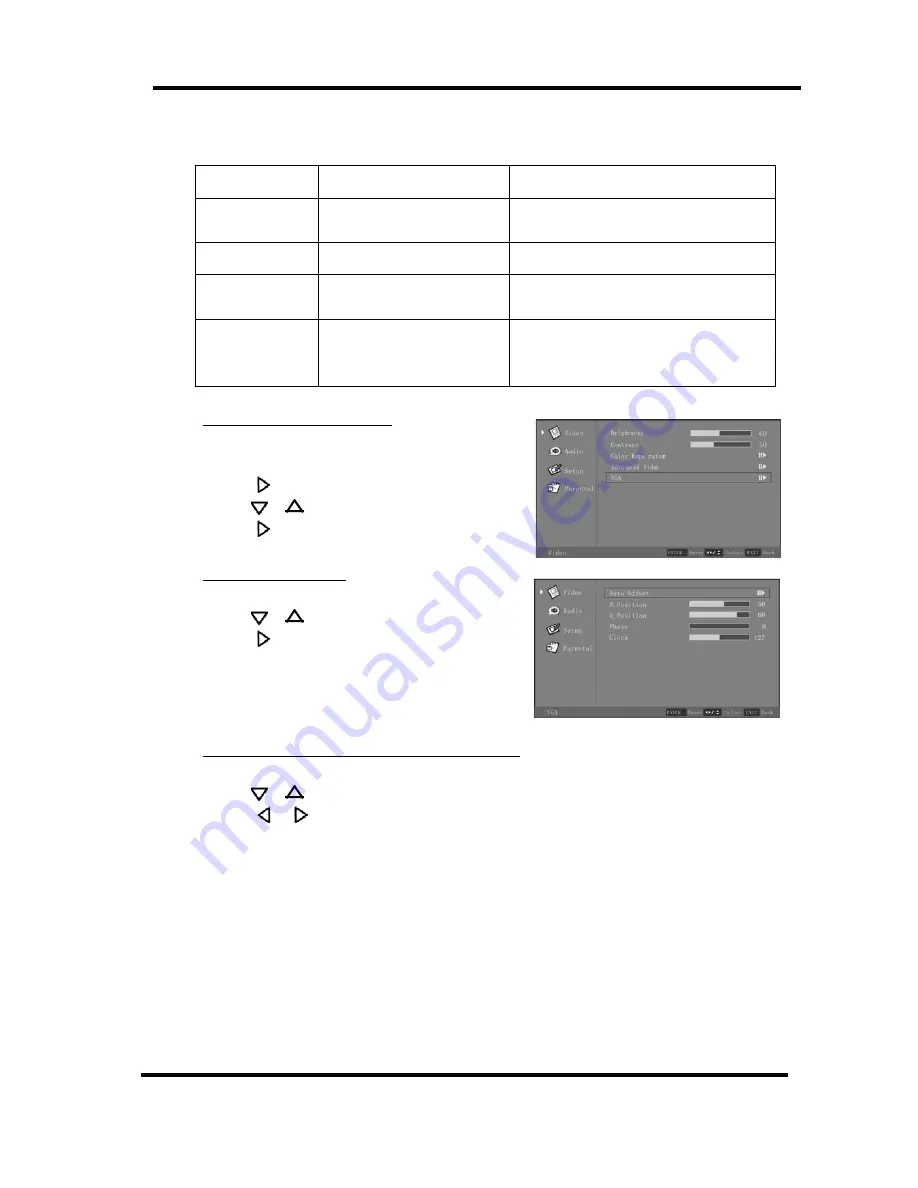
Selection of “VGA” (only for VGA)
1. Press the Menu button, and the “Video” menu
appears.
2. Press
or Enter to enter the “Video” sub menu .
3. Press
or
to highlight “VGA”
4. Press
or Enter to enter the VGA submenu.
Selection of “Auto Adjust”
After entering the “VGA” menu:
1. Press
or
to highlight “Auto Adjust”
2. Press
or Enter to confirm your selection.
3. Press the Menu button to exit the OSD Menu, or
press Exit to make another selection.
Note: This item will auto-adjust the picture display.
Selection of “H. Position”, “V. Position”, “Phase”, “Clock”.
After entering the “VGA” menu:
1. Press
or
to highlight your selection
2. Press
or
to adjust.
3. Press the Menu button to exit the OSD Menu, or
press Exit to make another selection.


