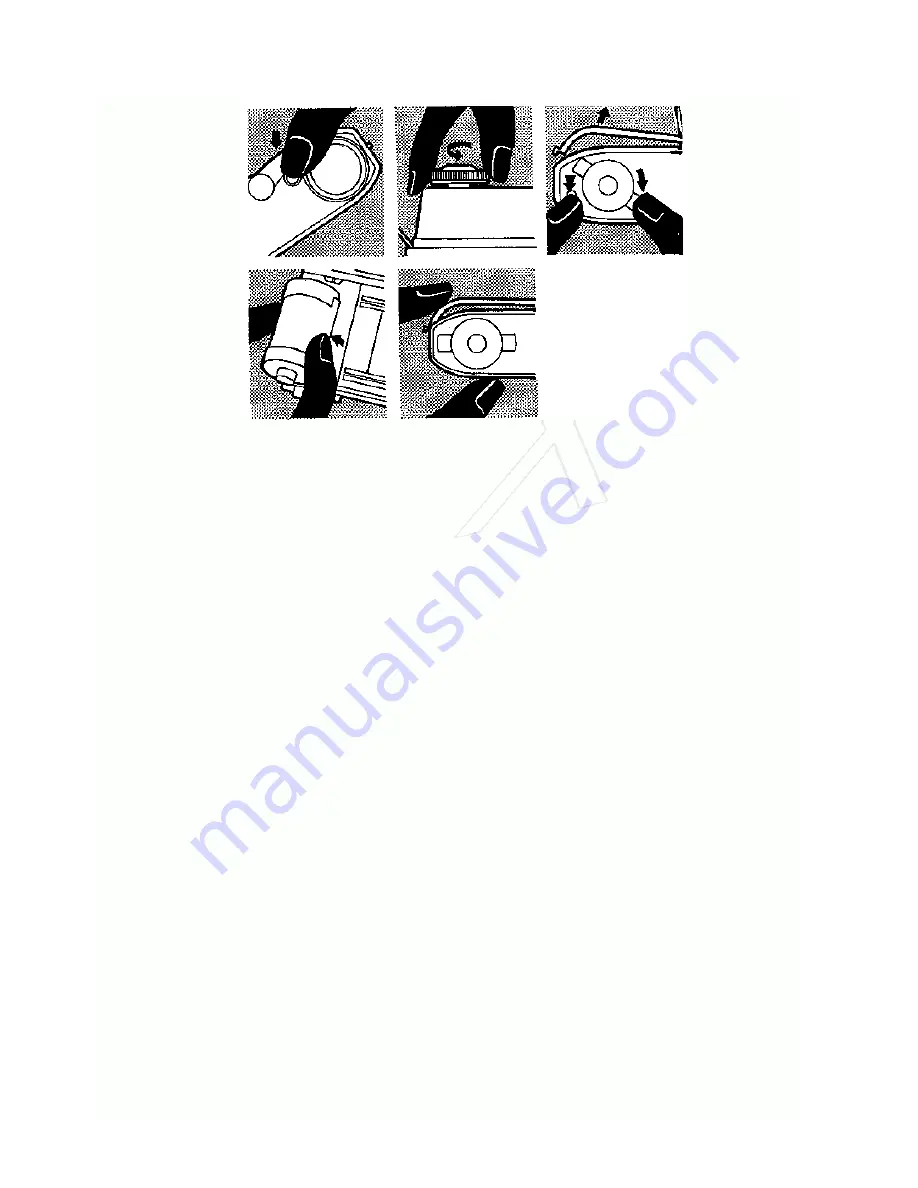
Top left: Press down the rewind button in the base of the camera.
Top centre: Rewind the film.
Top right: Open the camera back.
Bottom left: Pull out the rewind knob fully and take out the cassette.
Bottom right: Close the camera back or reload with a new film.
Cutting Off Exposed Lengths
If a film which is only partly exposed has to be processed, it can be cut off in the darkroom or in complete
darkness. After the last exposure wind on the film transport once more, open the camera back in the
darkroom, and cut the film about ½ in. away from the cassette. The exposed part on the take-up spool is
removed by winding the film from the take-up spool and wrapping it up in three pieces of black opaque
paper. The remaining film in the cassette can now be re-inserted on the take-up spool and the camera
closed. If the re-inserting has been done in the darkroom no further blind exposure is necessary; if the
film has been re-inserted in daylight, two blind exposures should be made and the film counter should be
advanced by two divisions. Note that short lengths of some makes of colour reversal film will not be
accepted for processing.
Changing Partly-Exposed Films
To replace a partly-exposed film by another one, for instance if you want to take a few colour photographs
in between some black-and-white shots, proceed as follows:
1.
Check the number of exposed frames
on the film counter.
2.
Rewind the film
but stop immediately you feel a slight resistance. This resistance comes from
pulling the film end from the take-up spool. If the film is to be reloaded again, you must not pull the
whole film into the cassette, otherwise the film end would have to be extracted by opening the
cassette in the darkroom for subsequent re-insertion into the camera.
3.
Unload
the re-wound film and note the number of exposures taken on the beginning of the film.
Now you can load the camera with any other type of film.
WHEN RELOADING, load the partly-exposed film in the same way as a new one. Push the film
counter setting button (model III only) in the direction of the arrow, and hold it there. Wind the
transport lever until the film counter has advanced by the number of frames already exposed. On
earlier models press the film release button every time. To be on the safe side it is advisable to
allow one more frame to pass.
The rest of the film can now be exposed in the usual way.
The Film Release of the Retina Reflex
The film release (not on Model IV) helps in rectifying any jamming which may lock the mechanism of the
rapid winder. Pushing the film counter-setting button in the direction of the arrow (on earlier models :
pressing the film release button next to the shutter release) clears the winder, without losing a frame or
risking a double exposure. If the film release does not release the winder, this automatically indicates that
the end of the film has been reached.


