


Reviewing and editing
www.kodak.com/go/support
29
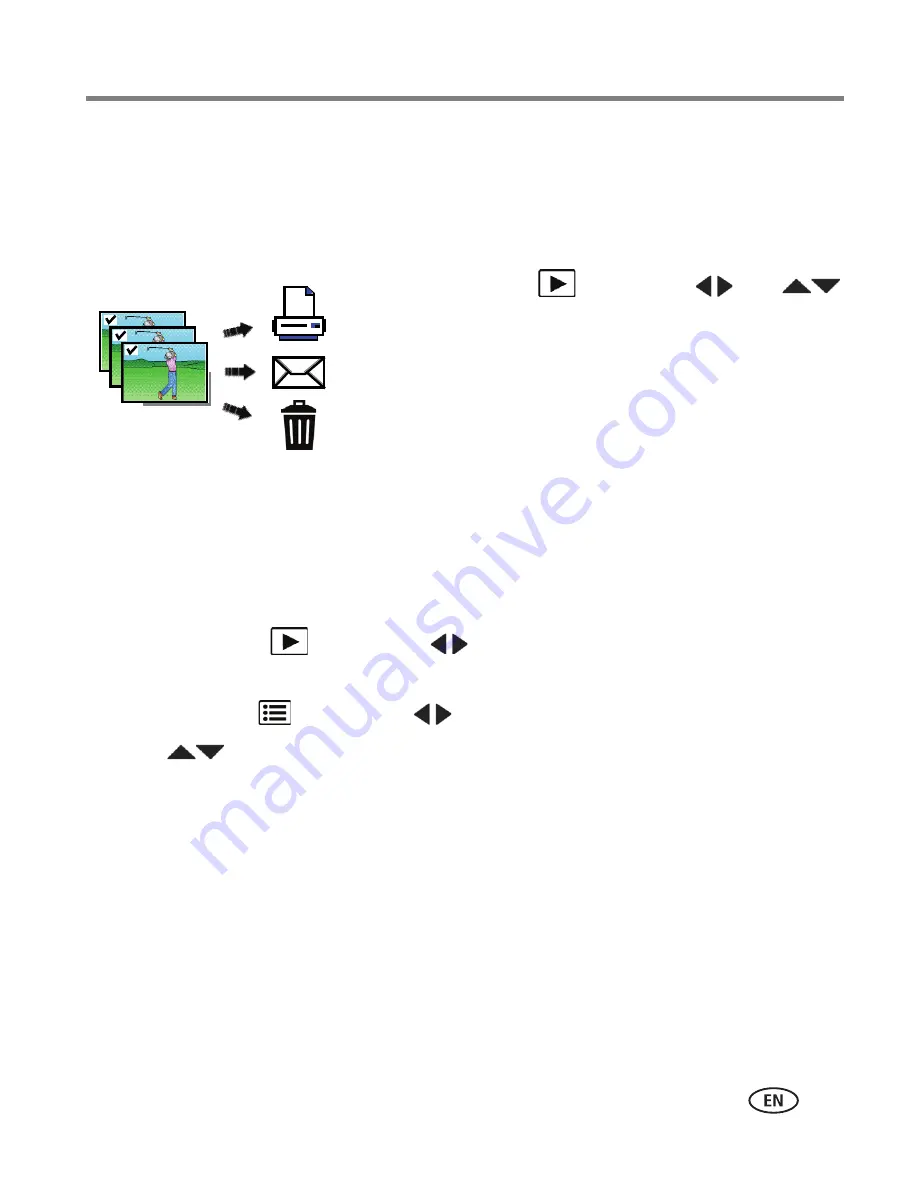
Selecting multiple pictures/videos
Use the multi-select feature when you have two or more pictures to print, share,
delete, protect/unprotect, tag with keyword, etc. Multi-select is used most effectively
in thumbnail view. See
Viewing as thumbnails
.
1
Press the Review
button, then
(and
if you’re in thumbnail view) to find a picture/video.
2
Press OK to select pictures/videos.
A check mark appears on the picture. (Press OK again
to remove a check mark.) You can now print, transfer,
delete, etc. the selected pictures.
Copying pictures/videos
You can copy pictures/videos from a card to internal memory or from internal memory
to a card.
Copy pictures/videos:
1
Press the Review
button, then
to find a picture. (You can also use
multi-select. See
Selecting multiple pictures/videos
.)
2
Press the Menu
button, then
to choose the Edit tab.
3
Press
to choose Copy, then press OK. Follow the prompts, then press OK.
NOTE: Pictures/videos are copied, not moved. To remove pictures/videos from the original location after
copying, delete them (see
page 23
).
To access your camera’s Help system, see
page 43
.
Selected
pictures


