background image

Safety Precautions


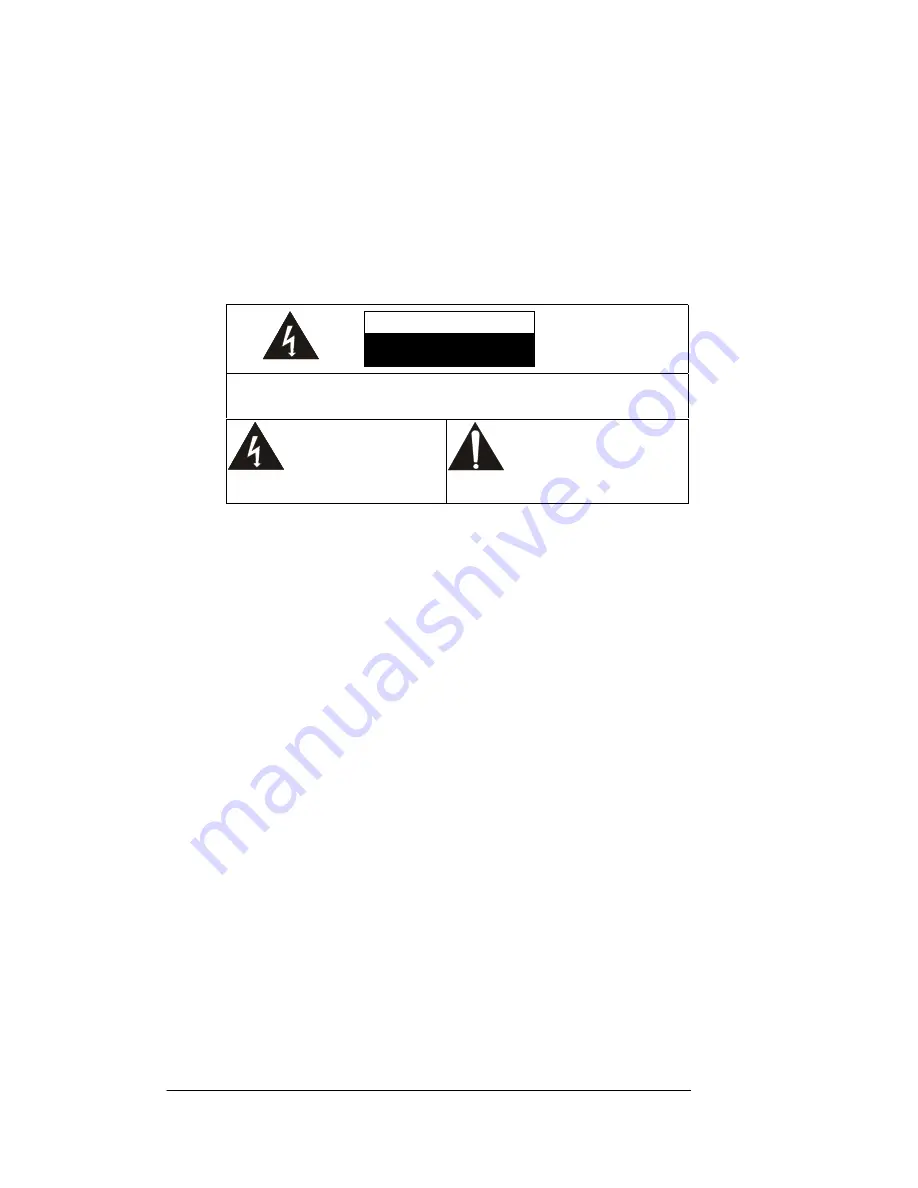
TO REDUCE THE RISK OF ELECTRIC SHOCK, DO NOT REMOVE COVER (OR BACK).
NO USER-SERVICEABLE PARTS INSIDE. REFER SERVICING TO QUALIFIED
SERVICE PERSONNEL.

THIS SYMBOL INDICATES
THAT DANGEROUS
VOLTAGE CONSTITUTING A
RISK OF ELECTRIC SHOCK
IS PRESENT WITHIN THIS
UNIT.

THIS SYMBOL INDICATES THAT
THERE ARE IMPORTANT
OPERATING AND MAINTENANCE
INSTRUCTIONS IN THE
OWNER’S MANUAL WITH THIS
UNIT.

1. 

Do not place the projector on an unstable trolley, stand or table.

2. 

Do not use the projector near water or sources of heat.

3. 

Use attachments only as recommended.

4. 

Use the type of power source indicated on the projector. If you are not sure of the type of power available
consult your dealer or local electricity company.

5. 

Place the projector near a wall outlet where the plug can be easily unplugged.

6. 

Use only a harmonized connecting cable with molded IEC 320 outlet and IEC 83/C4 plug (Schuko-plug),
(connecting cable: <HAR> H05VV-F 3G 1.0 mm

2

). Do not handle the plug with wet hands.

7. 

Always take the following precautions when handling the plug. Failure to do so may result in sparks or fire.


8. 

Do not overload wall sockets, extension leads or multi-way plug boards as this may cause fire or electric shock.

9. 

Do not place the projector where the cord can be stepped on as this may result in fraying or damage to the lead
or the plug.

10. 

Unplug the projector from the wall socket before cleaning. Use a damp cloth for cleaning. Do not use liquid or
aerosol cleaners.

11. 

Do not block the slots and openings in the projector case. They provide ventilation and prevent the projector
from overheating. Do not place the projector on a sofa, rug or other soft surface or in a built-in installation
unless proper ventilation is provided. Do not place the projector on top of or close to a computer or other heat
producing equipment.

12. 

Never push objects of any kind through cabinet slots. Never allow liquid of any kind to spill into the projector.

13. 

Except as specifically instructed in this Owner's Manual, do not attempt to service this product yourself.
Opening or removing covers may expose you to dangerous voltages and other hazards. Refer all servicing to
qualified service personnel.

14. 

Unplug the projector during thunderstorms or if it is not going to be used for an extended period. Do not place
the projector or remote control on top of beat-emitting equipment or heated objects such as a car, etc.

15. 

Do not place the projector and remote control on top of heat-producing equipment or in a heated place, such as
a car.

16. 

In the following situations unplug the projector from the wall outlet and refer servicing to qualified service

CAUTION

RISK OF ELECTRIC SHOCK

DO NOT OPEN

Summary of Contents for KP1300X

Page 1: ...TIM McCANN 3 26 00 ALL RIGHTS RESERVED KP1500A KP1300X KP1800X Projectors Manual Cover...

Page 2: ...where the cord can be stepped on as this may result in fraying or damage to the lead or the plug 10 Unplug the projector from the wall socket before cleaning Use a damp cloth for cleaning Do not use l...

Page 3: ...personnel Service Lamp Compartment Hot Surfaces Safety Standard 0 12 3 4 5 67 85 39 2 3 5 5 67 85 67 67 85 Electromagnetic Compatibility...

Page 4: ...e 4 2 9 8 A5 4A 1 9 45 5 5 4 2 9 58 B 458 9 A8 8 5C 9 8 B 4C8 2 92 C CA A 9 C BC A CC 9 454 2 92 92 8 C C C 92 C 88 C B 3 93 B4 58 C 6D 3 7 CA 4 48 8 8B8 58C AC 3 93 84 B8 7 EBB CA 4 4 8 Trademarks F...

Page 5: ...2 2 1 4 4 83 A 415 64 14B 14 94 14 7 2 9 1 C4 6 2 1 415 64A 4 8 4A 7 14 77 0 41 2 2 42 264 1 14 6 2 2 1 6 2 A 1 7 14 4 4 7 4 83 69 1 2 6 874 4 2 941 0 11 2 4 4 14 7 4 1 4169 2 8 7 3 1 24 1 1 6 7 1 1 4...

Page 6: ...video output capability 16 Connecting a Video Player 17 Connecting to a Mic 18 USING THE PROJECTOR 19 Basic Image Adjustment 19 Using the Control Panel 20 Using the Remote Control 20 Projector Status...

Page 7: ...Contact...

Page 8: ...uction D 7 0 0 2 0 Compatibility F 8 C 8 B A DG8 H DG 8C H 8 B C4B A DG8 F G 8 C 8 B A DG8 H DG 8C H 8 B A4C C DG8 F 0 I 0 Unpacking the Projector 2 6 F 7 G J 2 7 G 01 G 90 G F 901 01 9F F 9 F 2 F G2...

Page 9: ...I2 D I2 D I2 2 J 2 G...

Page 10: ...Projector G B 9 8 85 9 BC B 9 48 8 9 B4 9 8 5 9 8 8 8 B 9 B A 9 8CA 5 9 B 9 4 8 A 9 C 8 B 9 C 98 8A4K 9 B4 K 9 A4 9 8 5 9 4 C4 9 A 8 G 2 8 4 9 C9B 4 4 9A 5 A5 C95 5 B 5A C98 8 98 4 8B C98C 8C 9 5 8 5...

Page 11: ...iption VGA IN VGA IN AUDIO IN CONTROL AUDIO IN CONTROL MIC IN AUDIO OUT MONITOR OUT VIDEO L AUDIO R S VIDEO Y Cb Cr 8 9 8 01 G 8 01 01 G 01 F 01 2 B G 8 G 8 F 4 G A G F C 0 0 5 I I 8 7 7 88 2 0 2 0 8...

Page 12: ...Connecting to a Computer KP1300X and KP1800X 2H1 H1 201 01 I 01 201 2H1 0 KP1500A H1 201 01 I 01 H1 10...

Page 13: ...er VGA IN VGA IN AUDIO IN CONTROL AUDIO IN CONTROL MIC IN AUDIO OUT MONITOR OUT VIDEO L AUDIO R S VIDEO MONITOR CABLE PS 2 PORT PS 2 MOUSE CABLE AUDIO PORT CABLE SERIAL PORT SERIAL MOUSE CABLE VGA CAB...

Page 14: ...A IN AUDIO IN CONTROL AUDIO IN CONTROL MIC IN AUDIO OUT MONITOR OUT VIDEO L AUDIO R S VIDEO Y COMPUTER OUTPUT PS 2 PORT MOUSE CABLE PS 2 AUDIO PORT AUDIO CABLE SERIAL PORT SERIAL MOUSE CABLE VGA CABLE...

Page 15: ...er VGA IN VGA IN AUDIO IN CONTROL AUDIO IN CONTROL MIC IN AUDIO OUT MONITOR OUT VIDEO L AUDIO R S VIDEO Y VGA CABLE ADB MOUSE CABLE AUDIO PORT AUDIO CABLE Cb Cr MAC VGA ADAPTER VGA MAC ADAPTER ADB POR...

Page 16: ...VGA IN VGA IN AUDIO IN CONTROL AUDIO IN CONTROL MIC IN AUDIO OUT VIDEO L AUDIO R S VIDEO VGA CABLE MAC VAG ADAPTER ADB MOUSE CABLE AUDIO PORT AUDIO CABLE Y Cb Cr ADB PORT F G Make sure your PowerBook...

Page 17: ...5 F 901 G Connecting a Video Player VGA IN VGA IN AUDIO IN CONTROL AUDIO IN CONTROL MIC IN AUDIO OUT MONITOR OUT VIDEO L AUDIO R S VIDEO Y Cb Cr AUDIO VIDEO OUTPUT VCR S VIDEO OUTPUT S VIDEO INPUT 4...

Page 18: ...C IN AUDIO OUT MONITOR OUT VIDEO L AUDIO R S VIDEO Y Cb Cr VCR Y Cb Cr Output AV Output AV Cable A 0 G 9 9 0 9 9 G 0 64 74 Connecting to a Mic VGA IN VGA IN AUDIO IN CONTROL AUDIO IN CONTROL MIC IN AU...

Page 19: ...Using the Projector Basic Image Adjustment G 0 2 2 9 2 8 G L 5 8 8 8 8 9 4 L 01 9 3 3 3...

Page 20: ...Using the Control Panel 9 2 2 8 M 7 2 6 9 I 1 4 9 2 2 Using the Remote Control I G F G 2 B Note 9...

Page 21: ...2 2 8 7 I 9E 7 2 6 I 2 1 4 9 2 8 5 3 10 2 01 8 10 2 01 41 2 2 2 0 41 2 2 0 66 0 0 2 2 D F 2 2 D F 2 G G...

Page 22: ...Projector Status Indicators 6 SYSTEM LAMP TEMP 7 2 F 2 F 1 1 N I 6 2 F 3 I I I...

Page 23: ...2 F 3 I I...

Page 24: ...Accessing the main menu Controlling the menu 8 G F G 9 G E9 B G G G F Main Menu B 8 F 01 F 01 90 6 0 F F 4 4 4...

Page 25: ...2 F 7 F D F 7 0 I I 0 1 2 3 3 VGA menu B 01 0 G...

Page 26: ...F 2 2 2 7 4 5 6 2 or 7 8 99 9 99 8 Video Menu B 0 F...

Page 27: ...7 2 2 0 0 2 I B 84 5 2 F 2 2 3 2 F Audio Menu B B F 0 F 2...

Page 28: ...9 Setting Menu B 2 F G 2 6 O P E 2 2 7 6 O P E 7 7 I1 G 6 I 1 O P E G F 7 2 6 O P E 0 2 2 2 3 2 3 2 B B G 7 G 7 F G 7 3 2 F 6 O P E...

Page 29: ...G 2 3 I I E 6 O P E 2 6 2 6 O P E I 6 O P E G 2 2 6 O P E I 1 2 2...

Page 30: ...Image Manager Menu B 4 F F G G D D F 3 2 F 3 2 G G 7 F 3 2 G G F 3 2 0 G 2...

Page 31: ...Factory Reset Menu B A I F I I...

Page 32: ...Maintenance G D B Cleaning the Lens Cleaning the Projector 9 5 5 5...

Page 33: ...Cleaning the Air Filter 8 8 2 2 G D B 8...

Page 34: ...Replacing the Lamp 7 FG I G7 5 7 8 6 I 7...

Page 35: ...Troubleshooting D 2 B Problem with the projector 2 4 8 7 A A 3 A I A 7 F 1 6 6 6...

Page 36: ...Problems with the Image or Sound A 2 8 B A4C 7 7 10 A 2 0 6 3 7 01 0 2 J M 9 G 01 2 G 01 F 7 I1 0 A L 0 A 6 I A 3 G...

Page 37: ...Appendix Compatible Computer Graphic Display mode KP1300X and KP1800X 8 B A4C 8 B A4C 8 B A4C 7 7 7...

Page 38: ...KP1500A C 4 C 4 C 4 VGA In Connector Pin Assignment 0 1 2 3 2 3 2 3 4...

Page 39: ...Monitor Out Connector Pin Assignment 1 2 3 2 3 2 3 Contact 4 3 5 67 8 8 8 1 9 8 8 7 66 9 8 8 8 6 8 5 8 8 8 57 8 8 8...

Reviews: