


Page | 30
Parent Unit Options
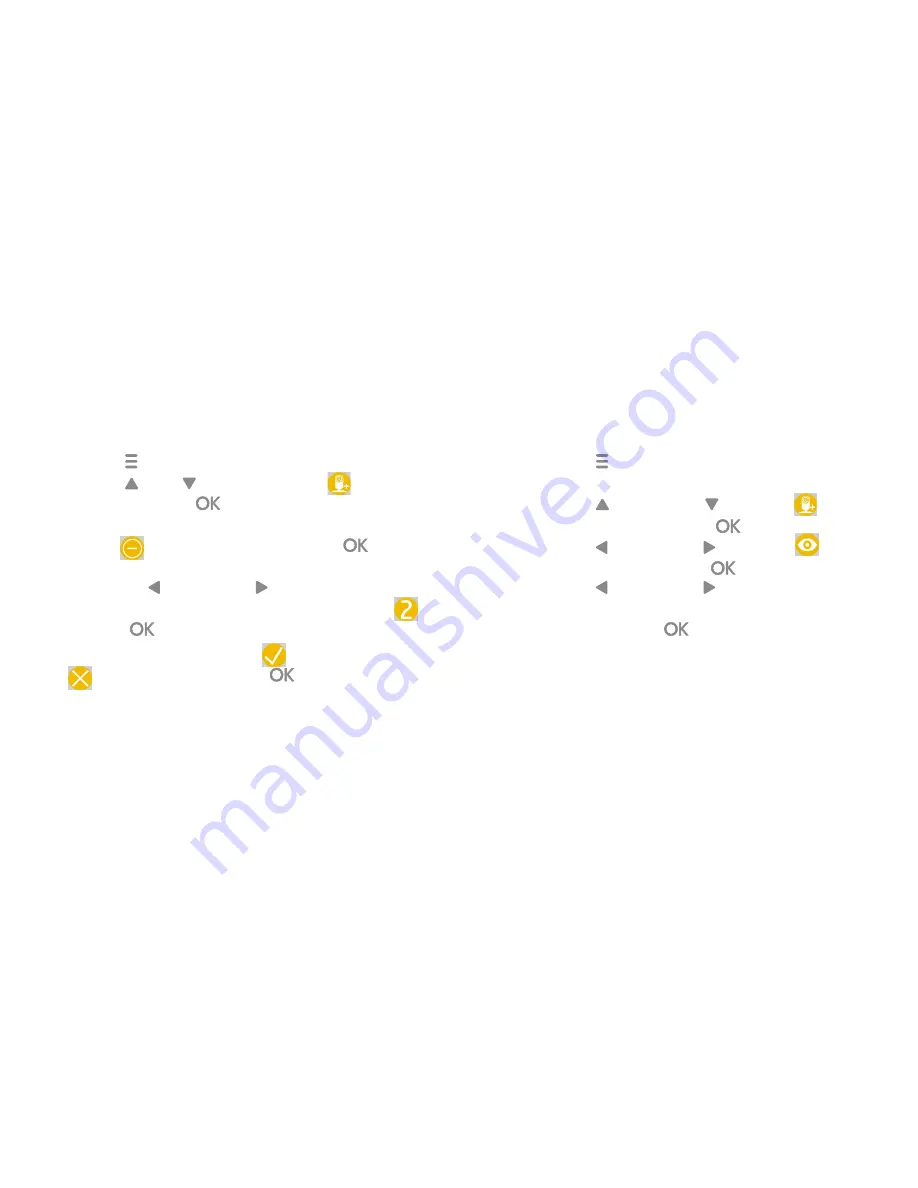
4.2.3 View Camera
1.
Press the “ ” button of the Parent Unit for the
menu bar.
2. Press the “ ” button or “ ”to select
(CAMERA) icon, and press “
” to confirm.
3. Press the “ ” button or “ ” to select
(VIEW
CAMERA) icon, and press “
” to confirm.
4. Press the “ ” button or “ ” button to select the
desired camera (Camera 1/ 2/ 3/ 4) that you want
to view, then press “
” to view the picture from
that camera.
NOTE:
•
If there is only 1 camera in the Parent Unit, you
are not allowed to remove the camera. You can
re-register the same camera using other camera
number.
•
If there is no more camera connected to the Parent
Monitor, you will see the warning message “Please
pair with camera.”
1.
Press “ ” on the Parent Unit for the menu bar.
2. Press “ ” or “ ” button to select
(CAMERA)
icon , and press “
” to proceed to the next
step.
3. Press “
” to remove camera, then “
” to
proceed.
4. Press the “ ” button or “ ” button to select the
camera number that you want to delete. (e.g:
) Press “
” to confirm.
5. An alert will pop up, click “
” to remove, and “
” to cancel, then press “
” to confirm.
4.2.2 Delete a Camera
Summary of Contents for CHERISH C225
Page 40: ......