background image

How to Set OSD MENU SET UP Functions

27

3) After setting CAMERA ID as "ON," press SET UP button.

Camera ID

A B C D E F G H I J K L M

N O P Q R S T U V W X Y Z

a b c d e f g h i j k l m n o

p q r s t u v w x y z

- . 0 1 2 3 4 5 6 7 8 9

<- -> CLR POS END

- - - - - - - - - - - - - - -

4) Up to 15 letters are available for CAMERA ID.

Camera ID

- - - - - - - - - - - - - - -

(1) Using LEFT or RIGHT button, move cursor to a desired letter.
(2) Using UP,DOWN or LEFT, RIGHT button, select letters out of 
     A to Z, a to z, or 0 to 9.
(3) Press SET UP, fix a selected letter.

 If pressing SET UP button to fix a selected letter, 

     cursor moves the next space.
(4) After completing to input a desired CAMERA ID, place cursor at "END" 
     and press SET UP button to finish.

[Notes]

If a wrong ID is input, move cursor to CLR and press SET UP to clear all letters input. To modify a letter, 
move cursor to the arrow at the bottom left corner and press SET UP. Move and place cursor to a letter 
that a user wants to input, and press SET UP button.

Camera ID

A B C D E F G H I J K L M

N O P Q R S T U V W X Y Z

a b c d e f g h i j k l m n o

p q r s t u v w x y z

- . 0 1 2 3 4 5 6 7 8 9

<- -> CLR

POS

END

- - - - - - - - - - - - - - -

28

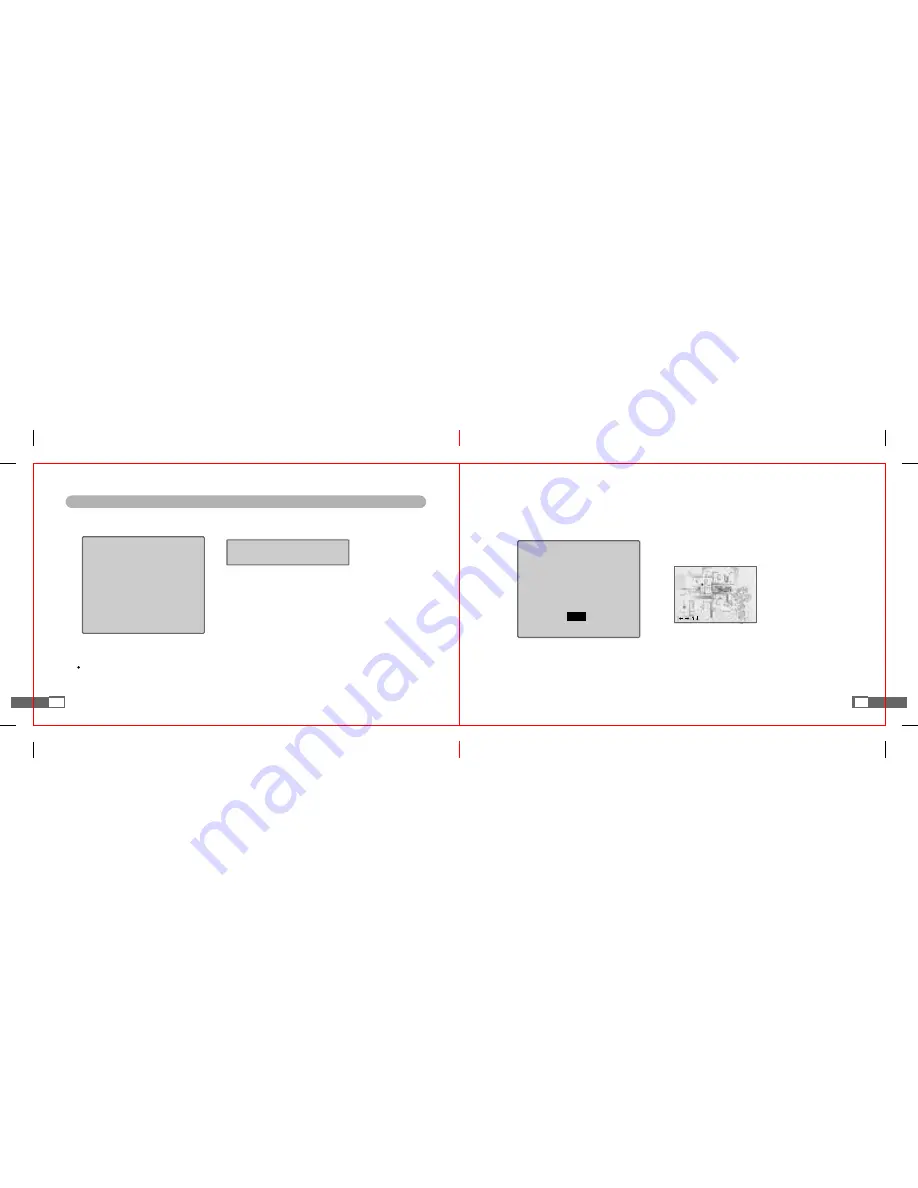
5) If CAMERA ID is created, select the location where created CAMERA ID is displayed.

(1) After moving cursor to "POS," press SET UP.

(2) A created CAMERA ID is displayed at the upper 
     left corner of screen.

KCC-D51

to Locate, then SET

(3) If CAMERA ID is displayed as shown in the picture above, select the location of CAMERA ID 
     in the screen using UP, DOWN or LEFT, RIGHT button, and press SET UP.
(4) After the location is fixed, select "END" and press SET UP to finish ID input.

Summary of Contents for KCC-D51

Page 1: ...roduct quality without notice KCC D51 User s Manual High Resolution Day Night Color Camera 540 TV lines On Scree n D i s p l a y M e n u S u p e r D i g i t a l N o i s e R e d u c t i o n S D N R Ple...

Page 2: ...0 10 10 12 13 14 15 2 Functions of OSD MENU Buttons How to Set OSD MENU SET UP Functions Lens Selection LENS Shutter Selection SHUTTER White Balance Selection WHITE BALANCE Backlight Compensation Sele...

Page 3: ...the day settings it is switched into B W mode for more improved discernability of dim settings under the night settings Electronic IRIS Function Provides automatic shutter control in a continuous way...

Page 4: ...either disassemble the product at user s discretion nor insert any alien material into it Do not personal installation by a user Do not touch a plug with a wet hand Stop to use the product if smoke co...

Page 5: ...Side 8 A groove for fixing the C CS mount Fix C CS mount here using L Wrench A groove for fixing the support Please use the screws complying with the following standards to fix the product 1 4 20 UNC...

Page 6: ...m of the outer skin of the insulated conductor inside the lens cable About 8mm About 2mm Names of Product Parts Back Side VIDEO OUT Terminal Outputs video signal and connects to video input terminal o...

Page 7: ...removing connection plug cap from automatic iris lens connect and solder lens cable to connector pins of connection plug 4 After removing the lens protection cap in the front side of the product comb...

Page 8: ...ase refer to the user s manual of such equipment Be sure to connect when the equipment is turned off Camera Camera Monitor Intermediate Video Equipment End Monitor Power Connection Be sure to check th...

Page 9: ...ETECTION PRIV ACY MIRROR SHARPNESS RESET RETURN LENS selectslens SHUTTER adjustsshuttermodeandspeed WHITEBALANCE adjustswhitebalance BACKLIGHT providesbacklightcompensation AGC AUTOGAINCONTROL DNR Dig...

Page 10: ...up states 18 Using LEFT or RIGHT button to change the present modes SETUP DC LENS SHUTTER WHITE BAL ATW BACKLIGHT OFF AGC MIDDLE DNR LOW SENS UP OFF SPECIAL EXIT Using UP or DOWN button to select a de...

Page 11: ...discordance in frequency select FLK mode ESC Can automatically control shutter speed Selecting ESC automatically controls shutter speed according to the brightness of screen MANUAL Can manually contr...

Page 12: ...nthescreen Notes Inthefollowingconditions WHITEBALANCEmaynotfunctionwell 1 Ifsurroundingsofthesubjecthaveextremelyhighcolortemperature e g clearsky atdusk 2 Ifsurroundingsofthesubjectisdark 3 Ifcamera...

Page 13: ...PressSETUPbutton BRIGHTNESScanbeadjusted withintherangefrom1to70 4 Afterfinishingsetup pressSETUPbutton 24 SETUP MANUAL LENS SHUTTER ESC WHITE BAL A TW BACKLIGHT OFF AGC MIDDLE DNR LOW DNRFunction DIG...

Page 14: ...ur Butsuchphenomenonisnormal Notes IfAGCissetasOFFmode SENSUPfunctiondoesn twork IfSHUTTERissetasMANUALmode SENSUPfunction doesn twork AUTO Automaticmode OFF De selectionmode 26 SPECIALFunctions 1 IfS...

Page 15: ...ontofinish Notes IfawrongIDisinput movecursortoCLRandpressSETUPtoclearalllettersinput Tomodifyaletter movecursortothearrowatthebottomleftcornerandpressSETUP Moveandplacecursortoaletter thatauserwantst...

Page 16: ...od AC24V PressSETUPbutton Ausercanselectadesiredphaseamong0to359 Note InaproductusingDC12V SYNCisfixedat INT mode 30 MOTIONDETECTION MOTION DETECTION Press SET to Return AREA 1 AREA SEL AREA ST A TE O...

Page 17: ...adjust the size of an area to be hidden 5 Using AREA TONE adjust the TONE of an area to be hidden MIRROR OFF sets the reversal of a horizontal image ON deselects the reversal 32 SHARPNESS Press SET to...

Page 18: ...focus of camera Adjust the monitor state If automatic iris lens is used properly adjust the brightness of the lens Check whether WHITE BAL is properly set in functional setup Check the adaptor connect...

Page 19: ...C MANUAL 1 800 K 10 500 K DC12V 300mA 1 3 INCH SONY SUPER HAD COLOR CCD 795 H x 596 V 752 H x 582 V 811 H x 508 V 768 H x 494 V 2 1 Interlace 15 625KHz H x 5OHz V 15 734KHz H x 59 94Hz V Internal 36 D...

Reviews: