4
5
6
ASSEMBLY INSTRUCTIONS
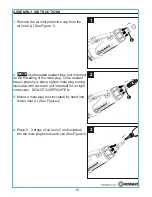
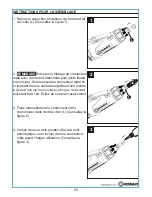
5. Remove the bolt (E) and washer (F) by using
the hex key (BB) and turning counterclockwise
while holding the wrench (AA) on the flat sides
of the collet holder (G) (See Figure 4).
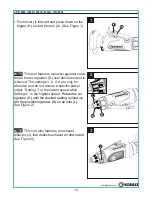
6. Mount a cutting wheel (B) onto the
hex key (BB) by turning clockwise while
holding the wrench (AA) on the flat sides of the
collet holder (G). Make sure the cutting wheel
(B) has been securely tightened before use
(See Figure 5).
tool (A).
the washer (F) and bolt (E) with the
Reattach
WARNING
11
7. Connect air supply hose to the male plug. Set
the working pressure at 90 PSI for best tool
performance. (See Figure 6)
NOTE
Working pressure refers to the air line
pressure set to tool when the tool is under working
conditions.
Only use cutting wheels that have a RPM
rating equal or greater than the tool itself
and are compatible with the tool. Before
using tool, always make sure attachments
are properly tightened. If attachments are
not properly tightened, they can present a
serious hazard and may cause bodily injury
for the operator or anyone in or around the
work area. Always follow the attachment
manufacturer’s specifications for properly
attaching accessories to tool.


