3
1
kobalttools.com
9
2
K
K
A
1
3
ASSEMBLY INSTRUCTIONS
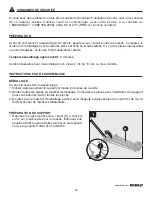
3. Loosen the locking knob (K) but do not remove
it. Place the rod on the left work support (A) into main
unit as shown. Tighten the locking knob (K).
Repeat for the right work support (E).
Note:
Hand tighten locking knob.
ATTACHING SAW TO MOUNTING BRACKETS
Make sure the saw is positioned for best balance and stability. All corners of the saw must be bolted
securely to the mounting brackets before use. Make sure no bolts extend above the saw table.
Note:
Only 4 sets of securing hardware are provided with the stand. If this provided hardware does not
work with your saw, use hardware that will properly secure you saw.
Mounting brackets when slots align with saw mounting holes
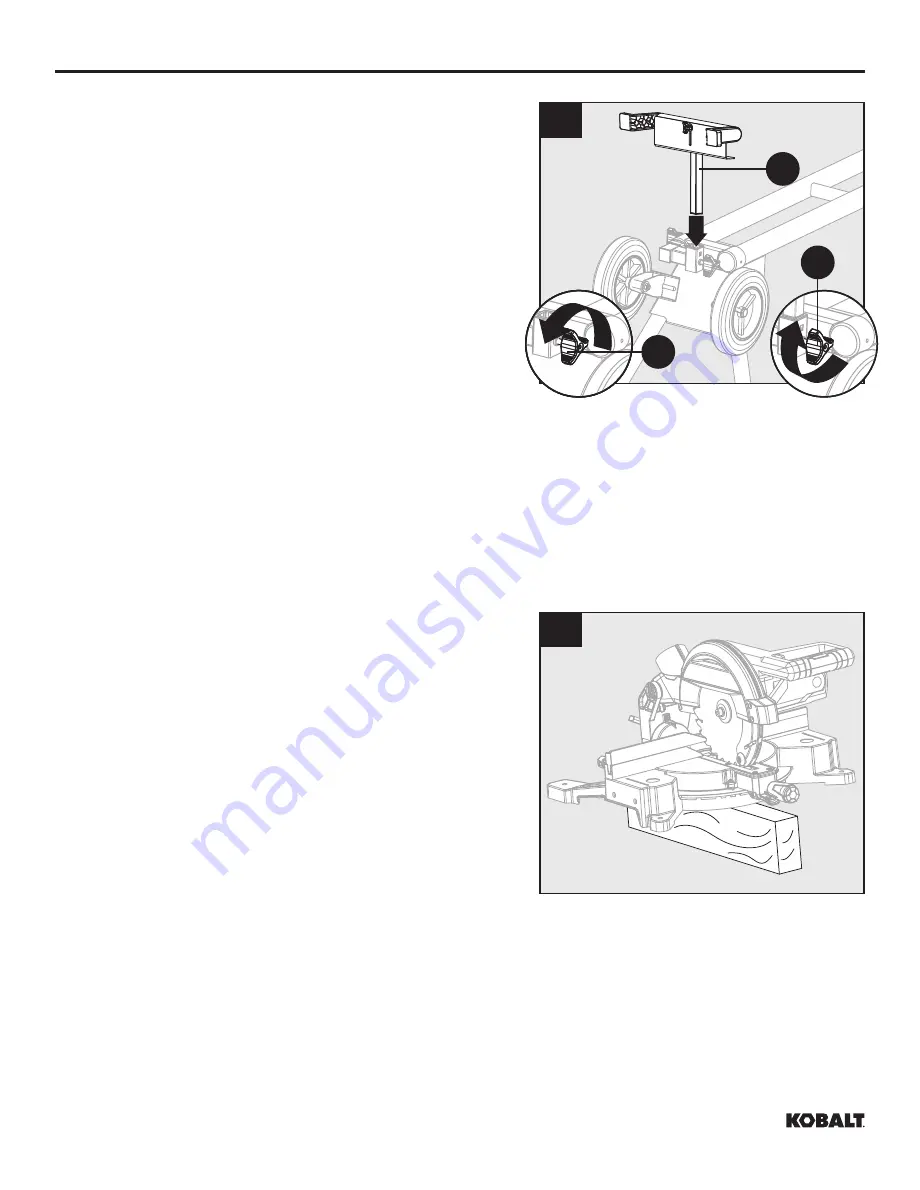
1. Unplug saw and lock cutting head into down position;
Place a 2x4 or similar type of stable support underneath
the saw to raise the saw and allow access to the saw’s
mounting feet.


