BAC-19xxxx FlexStat Application Guide
7 AG200824A
Start learns as days pass the optimal times to
begin and end occupied mode and adjusts the
schedule times accordingly.
•
DCV Mode
= Select None, Basic, or Standard
.
•
AUX Heat
= Select None, 3rd stage, or
Compressor Lockout for (HPU) Auxiliary Heat.
Trends and Alarms
NOTE:
Trend logs for the space temperature,
active cooling setpoint, and active
heating setpoint are created by default.
Use KMC software to access these
features.
PASSWORDS
FlexStats have security options for two levels of
passwords as described below and in
.
LEVEL DEFAULT PROTECTS DESCRIPTION
Level 1
0000
Setpoints
Four digits, with
each digit being a
number 0 to 9. If
all four numbers
are 0, no pass-
word is required
of the user for
that level.
Level 2
(See the
Conquest
Controllers
Default
Password
Technical
Bulletin
)
Configuration
NOTE:
If an optional
Level 1
password is
set, users must enter that password
to change a setpoint. No password
required (0000) is the default.
NOTE:
FlexStats are factory-set with a default
Level 2
password for configuration.
For more information about the default
password, log in to the KMC web site
Default Password Technical Bulletin
NOTE:
For security purposes, change the
controller’s default password(s).
Be
sure to document any changes made
to passwords!
COMMUNICATION OPTIONS
Configuration via Display Menus
NOTE:
FlexStat communications can be set
in the built-in display menu system or
through software.
Use the built-in menus to select the appropriate
MS/TP or Ethernet/IP communication method and
address information. See
Ethernet/IP Configuration via Software
“E” model FlexStats have a default configuration of
BACnet Ethernet
and a
Device ID of 1
. To config
-
ure the FlexStat to BACnet
IP
using KMC software
BAC-190000 Series FlexStats data sheet
for versions that support FlexStats), perform the
following steps:
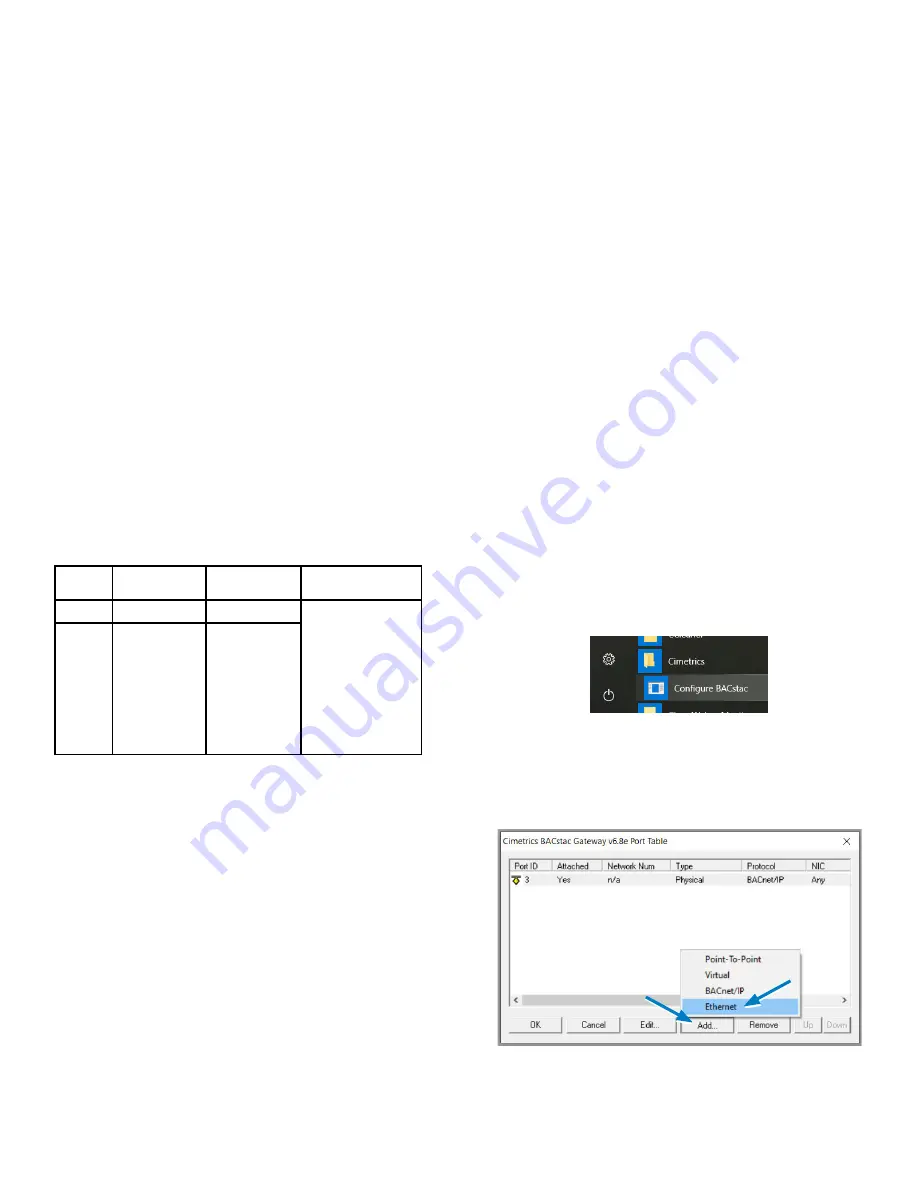
1. If necessary to see the FlexStat under Network
Manager, add or change a port in BACstac to
Ethernet:
A.
Click the Microsoft
®
Windows
®
Start Menu
at the lower left corner of the screen.
Starting BACstac
B. Click
Cimetrics
.
C. Click
Configure BACstac
.
Creating an Ethernet Port in BACstac
D. Click
Add
.


