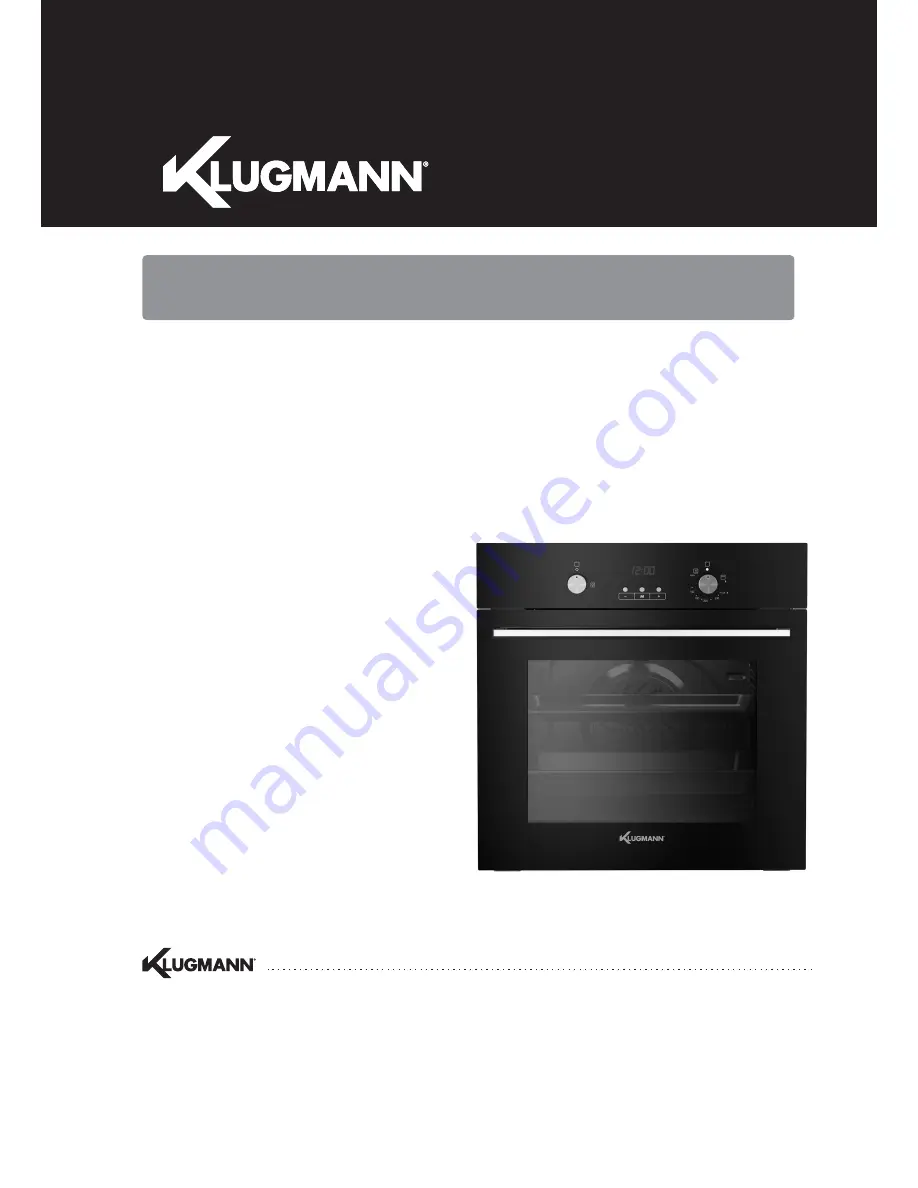
KGO600GGFX
Oven
INSTRUCTION MANUAL
Klugmann Hausgeraete GmbH.
Gropiusstraße 7,
48163 Münster, Deutschland+49 (0)2501 - 963 5732
+49 (0)2501 - 963 1834
[email protected]
www.klugmann-hausgeraete.de
Page 1: ...KGO600GGFX Oven INSTRUCTION MANUAL Klugmann Hausgeraete GmbH Gropiusstra e 7 48163 M nster Deutschland 49 0 2501 963 5732 49 0 2501 963 1834 service klugmann hausgeraete de www klugmann hausgeraete de...
Page 2: ...ong installation or misuse of the appliance Appliance Information Please note below the information on appliance plate for reference to record the warranty of the appliance and help Customer Call Cent...
Page 3: ...lso made by a competent engineer Do not attempt to change the technical characteristics of the appliance as its use can be dangerous Important Precautions and Advices Regarding Use of Electrical Appli...
Page 4: ...r product meets all the safety conditions foreseen for this product category But special care should be given to the rear and bottom sides of the appliance since it can have sharp or hard corners that...
Page 5: ...anical timer control knob 3 Upper and lower gas burner control knob Note Electrical ignition is integrated to thermostat control knob Appliance is equipped with a safety valve system Gas flow will be...
Page 6: ...lowing equipment One gas oven burner 2 50 kW mounted on the floor which provides automatic ignition and safety device One gas grill burner 1 80 kW mounted on the ceiling provides automatic ignition an...
Page 7: ...aged during gas oven or gas grill operation oven or grill burner automatically shuts down after approximately 20 minutes In that case do not use the appliance and call Post Sale Service If the cooling...
Page 8: ...r is still not ignited wait for around one 1 minute and repeat the ignition To operate the oven manually in case of an electrical malfunction bring a flame close to the point A on the floor Figure 5 a...
Page 9: ...nger than 15 seconds If the burner is still not ignited wait for around one 1 minute and repeat the ignition To operate the oven manually in case of an electrical malfunction bring a flame close to th...
Page 10: ...F O position wait for at least one 1 minute and repeat the ignition procedure Some parts might be very hot during and after using the grill Keep children away CAUTION Never turn the thermostat before...
Page 11: ...for visual inspection during cooking To turn on the oven lamp bring the knob seen in Figure 8 to position Traditional Grill Warning Grill burner is used only when the door is open Leave it to heat up...
Page 12: ...u can get the best results by switching the racks in the middle of cooking time Safety NEVER allow oil to gather on the oven floor As in all ovens clean the oil from walls and oven floor regularly to...
Page 13: ...n Cold or slow oven Biscuits flat cakes i e Madeira frying in low temperature 4th Region Warm oven Flat cakes Victorian sandwich mince pie chicken 5th Region Medium warm oven Small cakes pies fish 6th...
Page 14: ...13...
Page 15: ...14...
Page 16: ...15...
Page 17: ...enamel parts are cleaned only with sponge and soap water or otherwise non abrasive products Drying with a microfiber or soft cloth is preferred Stainless Steel Aluminum Painted Parts and Silkscreen S...
Page 18: ...cover A Figure 10 Remove the bulb B and replace with a bulb suitable for high temperatures 300 C that is 230 V or 220 240 V E14 specifications Check the Watt power on the bulb Replace the protective c...
Page 19: ...igure 13 Completely open the A arm on the left and right hinges Figure 14 Hold the door as shown in Figure 12 Close the door slowly Figure 15 until the left and right hinge arms A lock on the B part o...
Page 20: ...Make sure the oven and all its parts are cooled down Do not attempt to replace the parts of a hot oven Exercise maximum caution when working with the glass pane Ensure the glass edges to not crash in...
Page 21: ...re 20 Completely open the A arm on the left and right hinges Figure 21 Close the door slowly Figure 22 until the left and right hinge arms A lock on the B part of the door Figure 22 2 Remove the inner...
Page 22: ...er Service To install the inner glass pane 1 Make sure the door is open 2 Replacing the inner glass pane Ensure that four rubber seats are in place Figure 25 IMPORTANT When reinstalling the glass we r...
Page 23: ...inegar coffee milk salt water lemon or tomato juice to come into contact with enamel parts inside the oven or over the oven tray To not use abrasive cleaning agents or powders that scratch the surface...
Page 24: ...arp or hard corners that can cause injuries and these areas should not be touched Location The appliance can be installed to the kitchen kitchen living room or living room but it cannot be installed i...
Page 25: ...ation can cause the appliance to overheat or cause the units around to malfunction Place the oven on the rack carefully but DO NOT lift by the door handle When you take the oven door down you will see...
Page 26: ...ors next to the oven IMPORTANT To prevent the lower rail from being damaged follow the instructions below Lower rail is designed to ensure better ventilation and correct opening of the oven door To ma...
Page 27: ...directly outdoors continuous ventilation is not required Continuous ventilation is not required for rooms with over 10 m 3 volume Not Irrelevant with the room size all the rooms that the appliance is...
Page 28: ...do not work with another gas LPG without being modified Appliances are designed to be converted to LPG Products supplied for LPG are adjusted only for this type of gas and do not work with another ga...
Page 29: ...ordance with clauses of BS669 Chapter 1 and be suitable for the type of gas used Hoses designed for natural gas CANNOT be used for supplying LPG LPG hoses can be identified by a red tape or band over...
Page 30: ...mm Ring gap mm Injector diamet er 1 100 mm Ring gap mm Oven 2 5 0 8 75 Completely open 117 2 Grill 1 8 63 Completely open 100 2 Reference value VENTILATION GAP FOR GAS BURN 2m3 h x kW BURNERS Air req...
Page 31: ...burner screw A Figure 31 Remove the burner as shown in Figure 29 and place it into the oven Take care not to damage the safety valve probe and electrical ignition electrode Remove the screws of the in...
Page 32: ...ox strainer shown with an arrow in Figure 34 and replace with a new injector selected according to the Injector Selection Chart Adjust the air supply to the grill burner as specified in the Oven and G...
Page 33: ...yellow and flickering light insides blue cone short and sharp too blue inner cone prone to separation Primer Air Insufficient Correc t Air Primer Air Too Much CAUSE Air adjustment bottle closed too m...