background image

BLENDER SERVICE MANUAL 

10

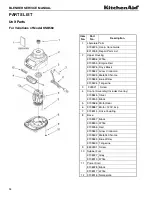
PARTS LIST

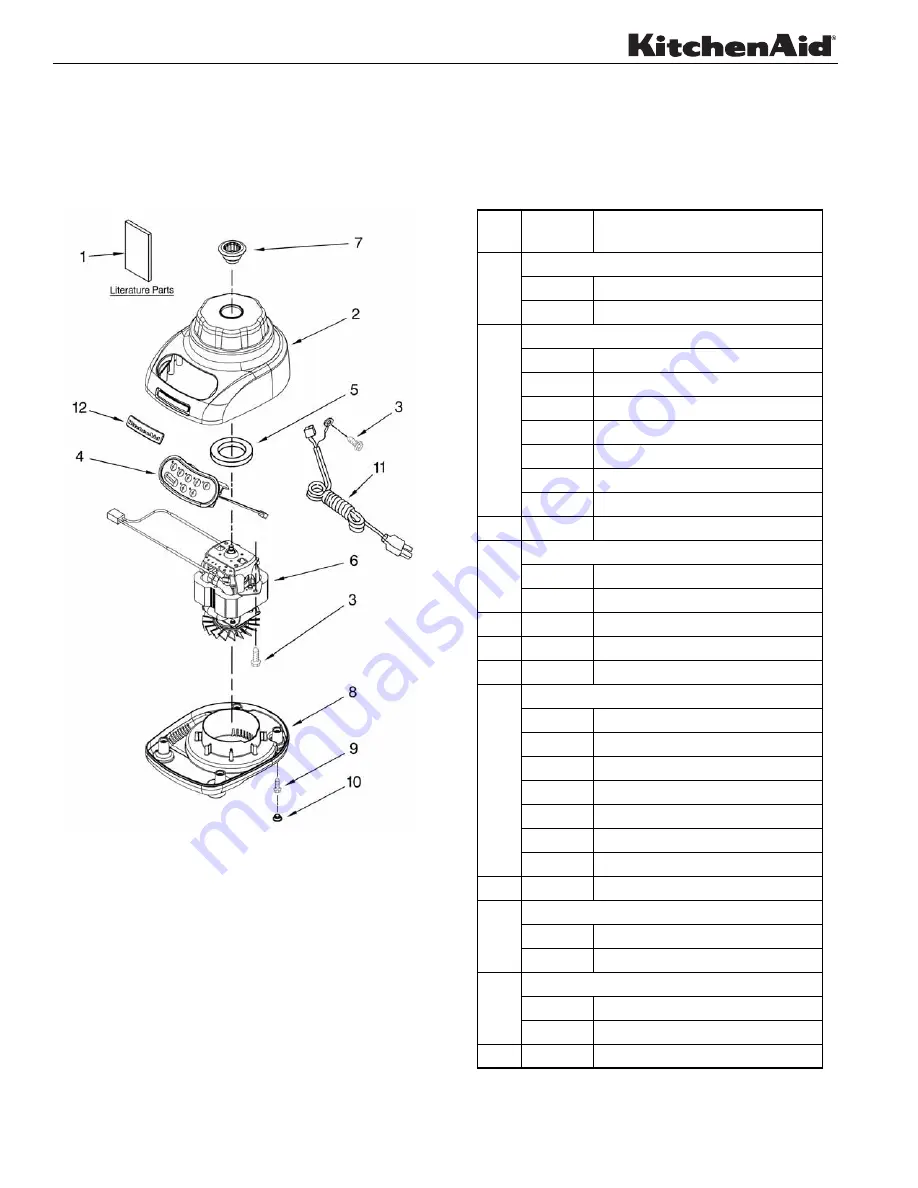
Unit Parts

For Variations of Model KSB560 

Item 

No.

Part

No.

Description

1

Literature Parts

9709225 Use & Care Guide

8212258 Repair Parts List

2

Upper Housing

9708896 White

9709259 Empire 

Red

9709226 Onyx 

Black

9709552 Gloss 

Cinnamon 

9709495 Metallic 

Chrome

9709558 Blue 

Willow 

9709496 Tangerine

3

303921

 Screw 

4

Control Assembly (Includes Overlay)

9708845 Silver

9709339 Black

5

9709366 Motor Seal

6

9708887 Motor, 120V, 5sp

7

9708914 Drive Coupling

8

Base

9708937 Black

9708890 White 

9709256 Red

9709553 Gloss Cinnamon

9709502 Metallic Chrome

9709559 Blue Willow

9709503 Tangerine

9

8533931 Screw 

10

Rubber Foot

9708927 Grey

9708913 White

11

Power Cord

9708928 Black

9708917 White

12

9708916 Nameplate

Summary of Contents for KSB540ER0

Page 1: ... Service Manual MODELS KSB540WH0 White KSB540ER0 Empire Red KSB560WH0 White KSB560ER0 Empire Red KSB560OB0 Onyx Black KSB560GC0 Gloss Cinnamon KSB560MC0 Metallic Chrome KSB560BW0 Blue Willow KSB560TG0 Tangerine KSB580NK0 Nickel KSB580CR0 Chrome ...

Page 2: ...ith the unit disconnected from power Do not leave the blender unattended while running for extended periods Always unplug the blender immediately after conducting your tests Technician The Service Technician should wear protective eyeware at all times when conducting a repair on the KitchenAid Blender Loose fitting sweaters shirt sleeves or bracelets should not be worn while servicing the KitchenA...

Page 3: ...ARTS LIST 10 FOREWORD The KitchenAid Blender is a high quality appliance All KitchenAid Blenders are well designed and built Normally they will give continual use year after year without service attention Records have been maintained over a period of years to determine and correct through improved design any troubles that might possibly develop An effort has been made in preparation of this manual...

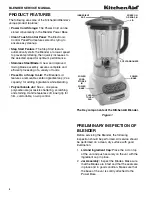
Page 4: ...edient cap 2 oz capacity for adding ingredients while blending Polycarbonate Jar 56 oz one piece polycarbonate jar resists shattering scratching and staining Handle features soft inner grip for firm comfortable no slip control The Key components of the KitchenAid Blender Figure 1 PRELIMINARY INSPECTION OF BLENDER Before servicing the Blender the following inspection should be performed All service...

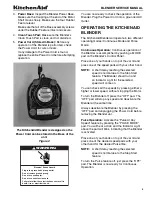
Page 5: ...f the speed pads with your other hand NOTE A short delay reaching the selected speed is normal due to the Step Start feature The Blender should run and an Indicator Light for the selected speed will come on You can check all the speeds by pressing either a higher or lower speed without stopping the Motor To turn the Blender off press the OFF pad The OFF pad will stop any speed and deactivate the B...

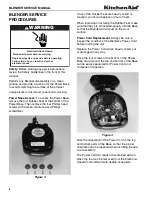
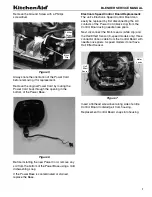
Page 6: ...inserted equally into the Base so that the Blender will sit level on the work surface Power Cord Replacement Always be sure to inspect the condition of the Blender s Power Cord before running the unit Replace the Power Cord when heavily soiled cut or damaged in any way Once the four screws at the bottom of the Power Base are removed the top and bottom of the Base can be easily separated for Power ...

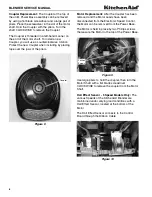
Page 7: ...eplace the Base Electronic Speed Control Board Replacement The unit s Electronic Speed Control Board can easily be replaced by first disconnecting the AC contacts of the Power Cord black clip from the Control Board using needle nose pliers Next disconnect the Motor Leads white clip and the Hall Effect Sensor 5 speed models only three conductor ribbon cable from the Control Board with needle nose p...

Page 8: ...igure 8 Motor Replacement After the Coupler has been removed and the Motor Leads have been disconnected from the Electronic Speed Control the Motor can be removed from the Power Base The Motor is held in place by two Phillips screws that secure the Motor to the top of the Power Base Figure 9 Use large pliers to hold the coupler then turn the Motor Shaft with a flat blade screwdriver CLOCKWISE to r...

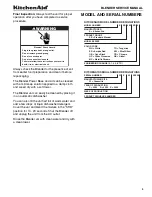
Page 9: ...off and unplug the unit from the AC outlet Rinse the Blender Jar with clean water and dry with a clean towel MODEL AND SERIAL NUMBERS WARNING Electrical Shock Hazard Plug into a grounded 3 prong outlet Failure to follow these instructions can result in death fire or electrical shock Do not use an extension cord Do not use an adapter Do not remove ground prong K SB 560 ER 0 MANUFACTURER K KitchenAi...

Page 10: ... 9709495 Metallic Chrome 9709558 Blue Willow 9709496 Tangerine 3 303921 Screw 4 Control Assembly Includes Overlay 9708845 Silver 9709339 Black 5 9709366 Motor Seal 6 9708887 Motor 120V 5sp 7 9708914 Drive Coupling 8 Base 9708937 Black 9708890 White 9709256 Red 9709553 Gloss Cinnamon 9709502 Metallic Chrome 9709559 Blue Willow 9709503 Tangerine 9 8533931 Screw 10 Rubber Foot 9708927 Grey 9708913 Wh...

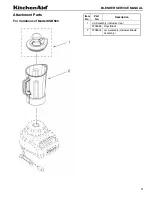
Page 11: ...11 BLENDER SERVICE MANUAL Attachment Parts For Variations of Model KSB560 Item No Part No Description 1 Lid Assembly Includes Cap 9709363 Onyx Black 2 9708904 Jar Assembly Includes Blade Assembly ...

Page 12: ...KitchenAid Countertop Appliances St Joseph Michigan 49085 U S A Registered Trademark Trademark of Kitchen Aid U S A Printed in U S A 6 07 FOR THE WAY IT S MADE ...

Reviews: