background image


1)


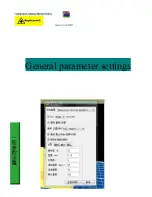
Slice configuration select: replicator slicing defaults 

2)


Select the left and right nozzle print, If select left, the left nozzle will print. If select right nozzle, 

the right nozzle will print. 

3)


If your sample is vacant structure, you need to select printer support. 

NONE

 is not need support, 

EXTERIOR

 is surface support, 

FULL

 SUPPORT is all the support. 

4)


Fill ratio: 100% is solid print, we generally choose 10% filled in order to save consumable 

5)


Layer thickness: Layer thickness is depend on precision. We generally printer small thickness of 

0.18mm, usually print thickness 0.27mm. 

6)


Wall thickness: usually 1   

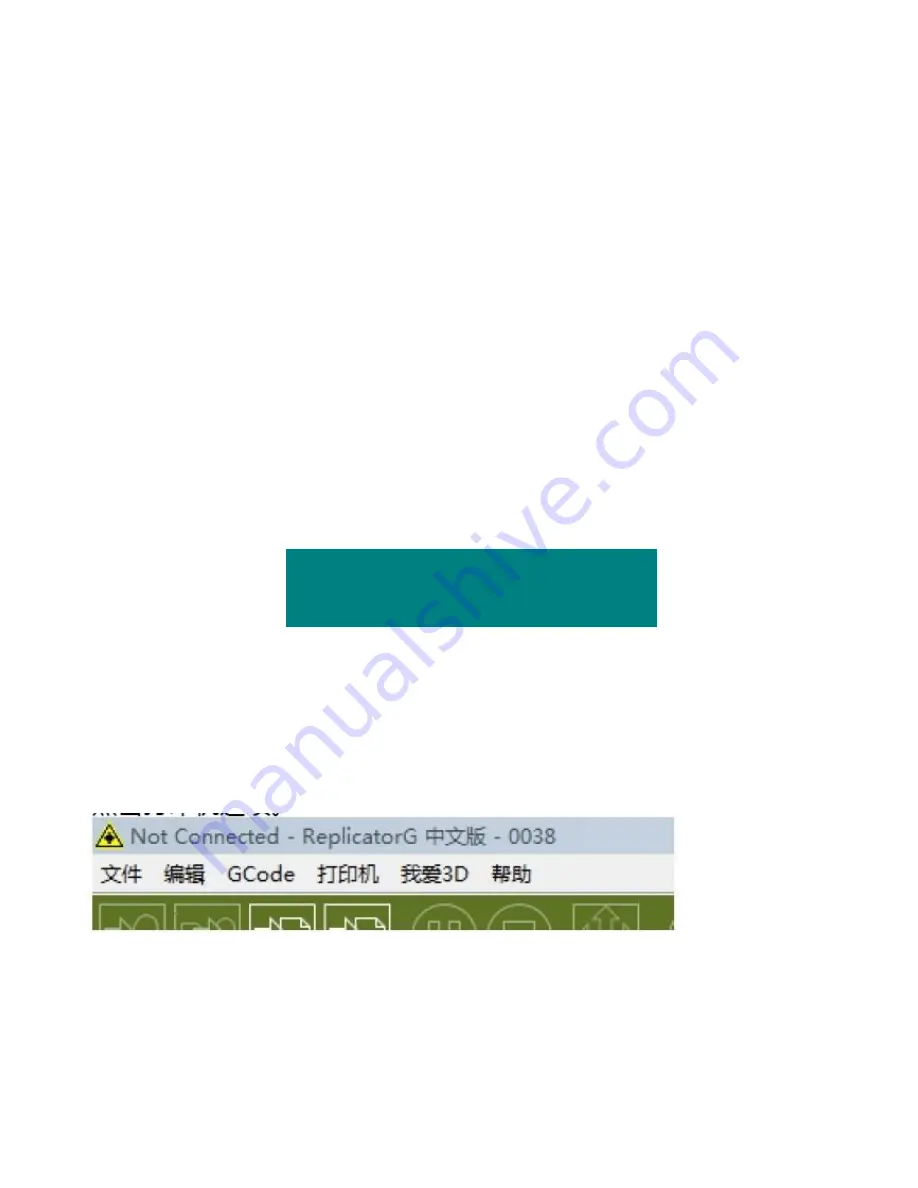
Connect printer 

CC 

1)


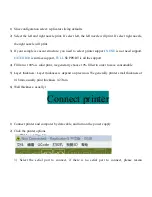
Connect printer and computer by data cable, and turn on the power supply 

2)


Click the printer options 


3)


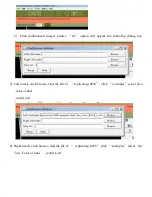
Select  the  serial  port  to  connect,  if  there  is  no  serial  port  to  connect,  please  rescan 

Summary of Contents for Duplicator 3

Page 1: ...Desk top 3Dprinter Operating Instructions 1 Unpacking Guid 5 Two heads print 2 Install the printer driver 6 Put in out material 3 General parameter settings 7 SD card print 4 Connect printer ...

Page 2: ...angular tray then out of laminated cardboard circumference around the printer 2 Out of the printer open the printer small box out of toolkit and nozzles 3 Install the nozzle according to the chart below shows using the supplied tools in the plastic rail ...

Page 3: ...Install the printer driver 1 Install JAVA driver 2 Install PYTHON driver 3 Install PYSCO driver 4 Install 3G graph driver ...

Page 4: ...General parameter settings G ...

Page 5: ...face support FULL SUPPORT is all the support 4 Fill ratio 100 is solid print we generally choose 10 filled in order to save consumable 5 Layer thickness Layer thickness is depend on precision We generally printer small thickness of 0 18mm usually print thickness 0 27mm 6 Wall thickness usually 1 Connect printer CC 1 Connect printer and computer by data cable and turn on the power supply 2 Click th...

Page 6: ...s does not appear to serial port shall be driven Right click the computer Attribute Device Manager 5 6 Click the replicator right hand button select update driver software select browse my computer for driver software ...

Page 7: ...nfirm it then click next re scan the serial port 8 Click on the button of link the printer when the frame turns green it mean successful connection Two head printing 1 Open replicator G operating software then click gcode select last column double headed merger print stl option ...

Page 8: ...the following dialog box 3 Left nozzle click browse find the file of replicatorg 0038 click examples select Two _color of dual _world_a stl 4 Right nozzle click browse find the file of replicatorg 0038 click examples select the Two_ Color of dual _world_b stl ...

Page 9: ...5 Save it in desktop suffix named gcode 6 Click merge will appear two dialog box of G code remove of base support and then one by one generate G code 7 When generate finished start two colors printing ...

Page 10: ...elect Load right click M of button plat it will appear I m heating up my extruder the temperature of right nozzle is warming now when it reaches 220 nozzle will start work if it does work you can click several times of M until the nozzle working left nozzle put in ABS PLA working process as same as right nozzle also choose load left Put out ABS PLA 1 Turn on the power of printer the printer LED sc...

Page 11: ...e 6 7 SD card print 1 First the STL file guided into our printing software to generate G code 2 When G code finished click the third button create a print file though SD 3 Save it in desktop then find the S3G format guide to SD card 4 When S3G format guide to SD card put the SD card into the machine SD card socked on the bottom right of the front of the machine Then LED will appear Build from SD P...

Reviews: