


KI6503 48-Channel Optical CWDM Power Meter
User Manual KI6503 48-Channel Optical DWDM Power Meter Revision 1
Page 12 of 28
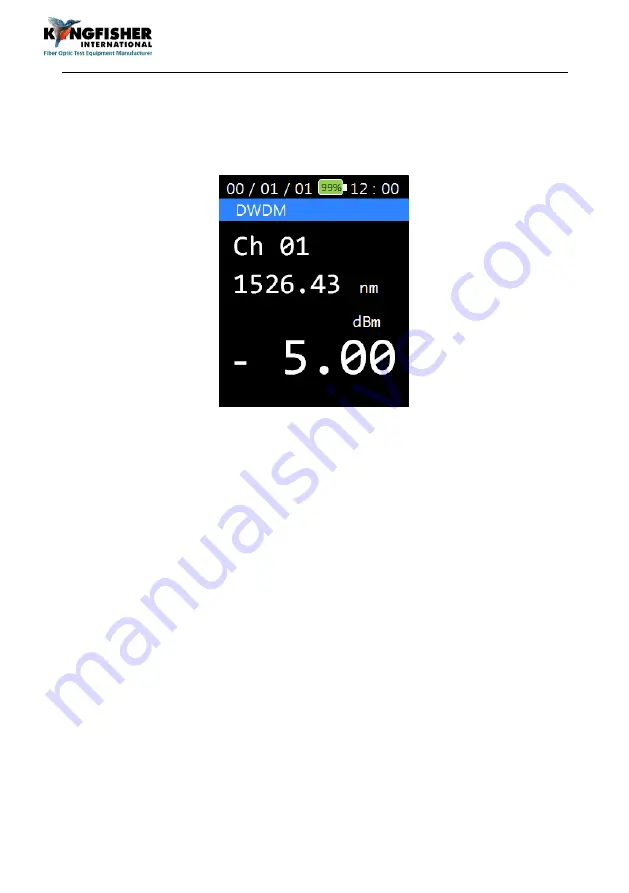
6.4 DWDM Mode
Press [DWDM] to scan optical input once and display power values in single-
wavelength display mode. See picture below for CWDM user interface.
Use [▲, ▼] to display the power values of other wavelengths scanned at the
optical input.
6.5 SCAN Mode
When [SCAN] is pressed, the wavelengths and their corresponding power
values scanned at the optical input will be displayed in multiple-wavelength
format. A max of 9 wavelengths can be displayed simultaneously. Use [▲,
▼] to scroll between available display pages. See picture below for SCAN
Mode User Interface.


