care
kiddicare
Maintenance
•
This pushchair requires regular maintenance by you.
•
Regularly inspect the locking devices, brakes, harness assembly, catches, joints and
fixings to ensure they are secure and in full working order.
•
Brakes, wheels and tyres are subject to wear and should be replaced if necessary.
•
Should parts of your pushchair become stiff or difficult to operate, ensure that dirt
is not the cause. Then try a light application of a silicon-based lubricant, ensuring
that the lubricant penetrates between the components, but do not over spray as
this may encourage the accumulation of dirt. Regular lubrication of moving parts will
extend the life of your travel system and make opening and folding easier.
•
Your pushchair should be serviced and reconditioned before using for a second
baby, or within 18 months, whichever is sooner.
•
Make sure that the pressure of all the tyres is correct. This means that the pushchair
will ride more easily and prevents damage to turning and hinged parts.
•
Inflate rear tryes to a maximum pressure of 26PSI (1.8Bar). The tyres are equiped
with a ‘Car type valve’ and can be inflated using the pump provided.
•
To prevent damage, remove the raincover before folding the pushchair.
•
Do not place anything on top of the raincover.
•
Wheels should be checked and cleaned regularly. Remove any mud or other
detritus that has collected as this may prevent the locking system from locking
properly.
Cleaning
•
The raincover can be cleaned by sponging with warm water and a mild detergent.
•
Never clean the raincover with abrasive, ammonia based, bleach based or spirit
type cleaners.
•
Plastic and metal parts may be sponged clean with warm water and mild detergent.
•
Refer to sewn in labels for fabric care instructions.
•
Allow to dry thoroughly before storing.
•
Wheels should be checked and cleaned regularly. Remove any mud or other
detritus that has collected as this may prevent the locking system from working
properly.
•
After exposure to damp conditions, leave fully opened and in a warm environment.
Dry off with a soft cloth. Storing a damp pushchair will encourage mildew to form.
•
Store your pushchair in a dry safe place.
Customer Care: [email protected]
Kiddicare,
Club Way,
Cygnet Park,
Hampton,
Peterborough,
Cambridgeshire PE7 8JA
Summary of Contents for Mooch
Page 1: ...Important Keep for future reference read carefully Instruction Manual tate Pram and Pushchair ...
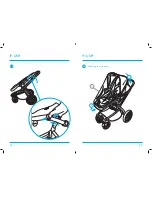
Page 3: ...assembly assembly 4 5 1 A Unfolding click 2 ...
Page 4: ...assembly assembly 6 7 click 3 1 2 4 click C x2 A Front wheels ...
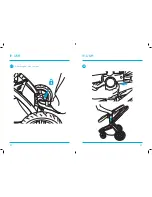
Page 5: ...assembly assembly 8 9 click 5 A B Rear wheels 6 Attaching the seat unit ...
Page 7: ...assembly assembly 12 13 9 Removing the bumper bar 1 1 2 10 Attaching the hood I click ...
Page 8: ...in use in use 14 15 2 Change to rear facing 2 1 1 Swivel wheel lock ...
Page 9: ...in use in use 16 17 4 3 Extending the hood click 3 ...
Page 10: ...in use in use 18 19 5 Adjusting the handlebar 6 Adjusting the backrest 1 2 ...
Page 11: ...in use in use 20 21 8 7 2 1 ...
Page 12: ...in use in use 22 23 9 Using the buckle 10 click ...
Page 14: ...in use in use 26 27 13 Using the brake 14 click Change to pram mode ...
Page 15: ...in use in use 28 29 15 16 2 1 Remove bumper bar when in pram mode ...
Page 18: ...in use in use 34 35 Changing the pram to seat unit 22 21 Extending the hood click click ...
Page 19: ...in use in use 36 37 24 click 23 2 1 ...
Page 20: ...in use in use 38 39 25 Attaching the raincover J 26 2 1 ...
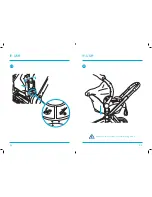
Page 21: ...in use in use 40 41 Attaching an infant carrier 27 28 ...
Page 22: ...in use in use 42 43 29 30 Never use infant carrier in forward facing mode ...
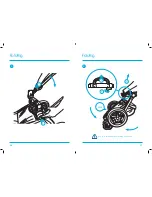
Page 23: ...folding folding 44 45 Folding the pushchair 1 2 ...
Page 24: ...folding folding 46 47 3 click 4 1 2 3 5 4 Keep child away whilst folding pushchair ...
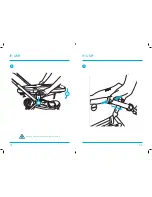
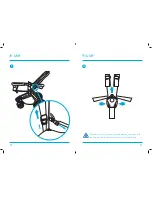
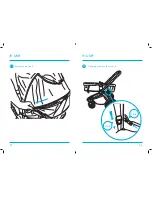
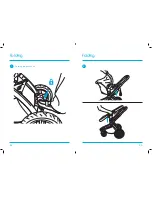
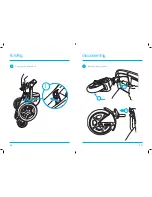
Page 25: ...disassembly 49 folding 48 5 Carrying the pushchair Remove front wheels 1 1 2 3 ...
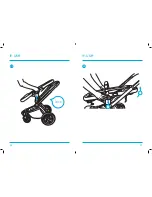
Page 26: ...disassembly disassembly 50 51 Removing the basket Remove rear wheels 3 2 1 2 ...
Page 27: ...disassembly 52 4 ...

