background image

8

Operation

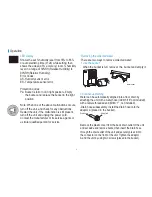
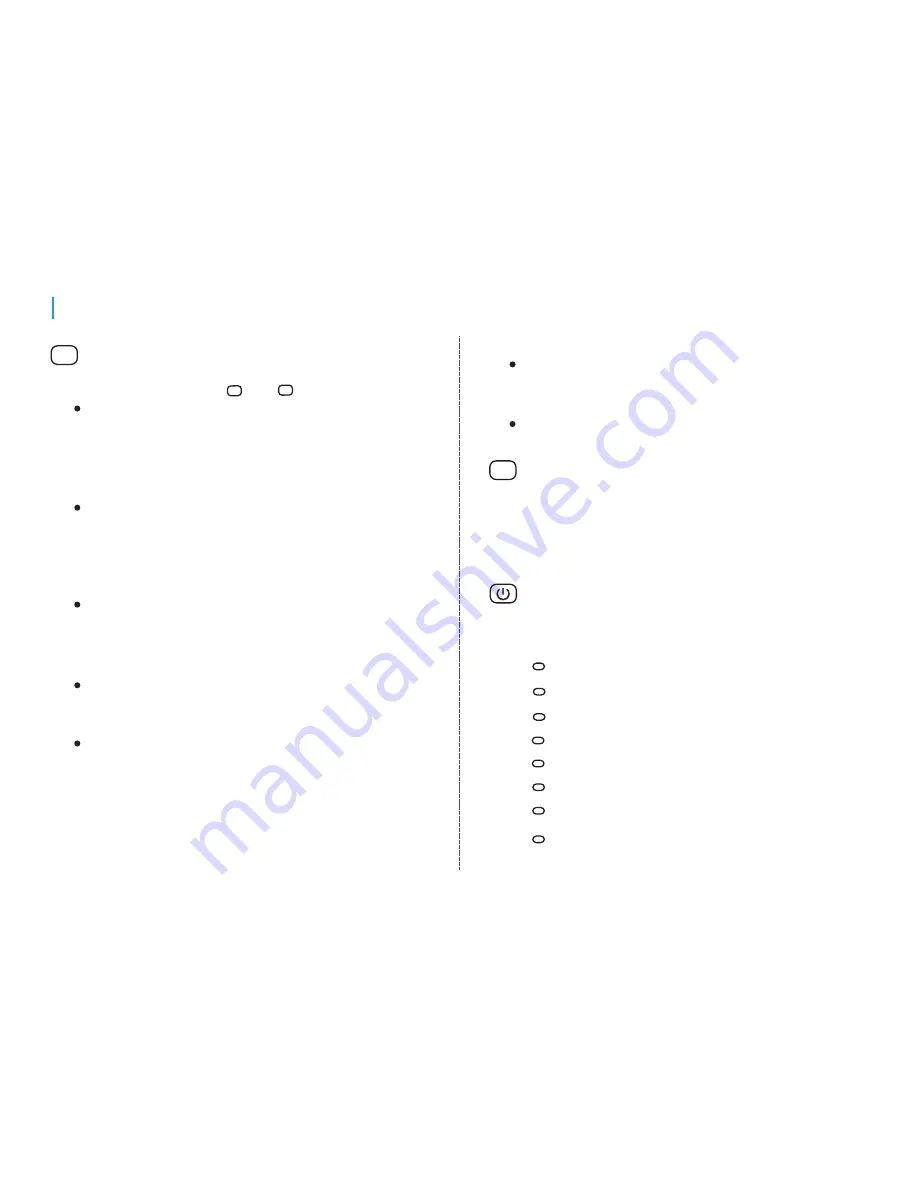
Fan

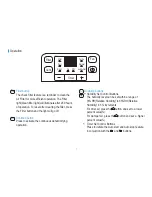
Fan button

Control the fan speed. Press to select either High or 

Normal fan speed. Set the fan control to High for 

maximum moisture removal. When the humidity has 

been reduced and quiet operation is preferred, set the 

fan control to Normal.

Power button

Press to turn the dehumidifier on and off.

Turning the unit ON or OFF at any time or adjusting 

the timer setting to 0.0 will cancel the Auto Start/Stop 

function. 

When LED display window displays the code of P2, 

the Auto Start/Stop function will also be cancelled. 

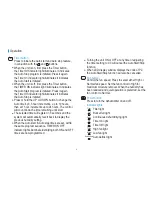
Indicator lights

Filter

Full

Cont.

On

Off

Turbo

Normal

Auto defrost

Filter light

Bucket full light

Continuous dehumidifying light

Timer on light

Timer off light
High fan light

Low fan light

Auto defrost light

+

Timer

Timer button

Press to initiate the Auto start and Auto stop feature, 

in conjuction with the      and      buttons.

When the unit is on, first  press the Timer button,  

the Timer Off indicator light illuminates. It indicates 

the Auto Stop program is initiated. Press it again 

the Time On indecator light illuminates.It indicates 

the Auto Start is initiated.

When the unit is off, first  press the Timer button, 

the TIMER ON indicator light illuminates. It indicates

the Auto Start program is initiated. Press it again

the Time Off indecator light illuminates.It indicates 

the Auto Stop is initiated.

Press or hold the UP or DOWN button to change the 

Auto time by 0.5 hour increments,  up to 10 hours, 

then at 1 hour increments up to 24 hours. The control 

will count down the time remaining until start. 

The selected time will register in 5 seconds and the 

system will automatically revert back to display the 

previous humidity setting.

When the Auto start & Auto stop times are set, within 

the same program sequence, TIMER ON OFF 

indicator lights illuminate identifying both ON and OFF 

times are now programmed.

Summary of Contents for KSTAD70C

Page 1: ...ery much for purchasing our dehumidifier Dehumidifier Instruction Manual Before using your dehumidifier please read this owner s manual carefully and keep it for future reference READ AND SAVE THESE I...

Page 2: ...1 Contents Preparation Safety P recauti on s Cautions Operation Maintenance Faults Diagnosi s Sociable Remark 2 4 5 6 10 11 12...

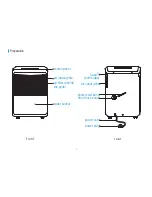
Page 3: ...2 Preparation r ear f r o nt control panel handle both sides air intake grille air filter behind the grille water bucket power cord power plug air outlet grille drain hose outlet power cord band...

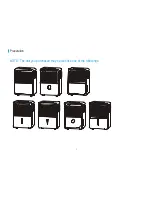
Page 4: ...3 Preparation NOTE The unit you purchased may be look like one of the followings...

Page 5: ...rounded To minimize shock and fire hazards proper grounding is important The power cord is equipped with a three prong grounding plug for protection against shock hazards Your unit must be used in a p...

Page 6: ...id a hazard Prior to cleaning or other maintenance the appliance must be disconnected from the supply mains Do not install the appliance in a location that may be exposed to combustible gas If combust...

Page 7: ...ming operation After the unit has stopped it can not be restart opertation in the first 3 minutes This is to protect the unit Operation will automatically start after 3 minutes Auto Defrost When frost...

Page 8: ...Press to initiate the Auto start and Auto stop feature in conjuction with the and buttons Filter Cont Fan Timer Filter Full Cont On Off Turbo Normal Auto defrost Filter Cont Filter button The check f...

Page 9: ...in conjuction with the and buttons When the unit is on first press the Timer button the Timer Off indicator light illuminates It indicates the Auto Stop program is initiated Press it again the Time On...

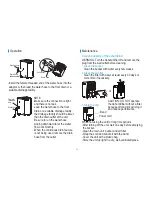
Page 10: ...r its service agents or a similar qualified person for service Removing the collected water There are two ways to remove collected water 1 Use the bucket When the bucket is full remover the bucket and...

Page 11: ...er hose Female threaded end Maintenance Band Power cord Clean the bucket with water every few weeks Clean the filter with water at least every 30 days or more often if necessary Care and cleaning of t...

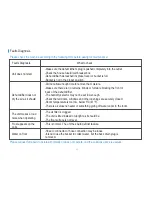
Page 12: ...loose Intend to use the bucket to collect water but the back drain plug is removed This is normal The unit has Auto defrost feature Did not allow enough time to remove the moisture Make sure there ar...

Page 13: ...The municipality has established collection systems where electronic waste can be disposed of at least free of charge to the user B When buying a new product the retailer will take back the old produc...

Page 14: ...CD016IU KAXB 16120100000125...

Page 15: ...7 210 143 105g...

Reviews: