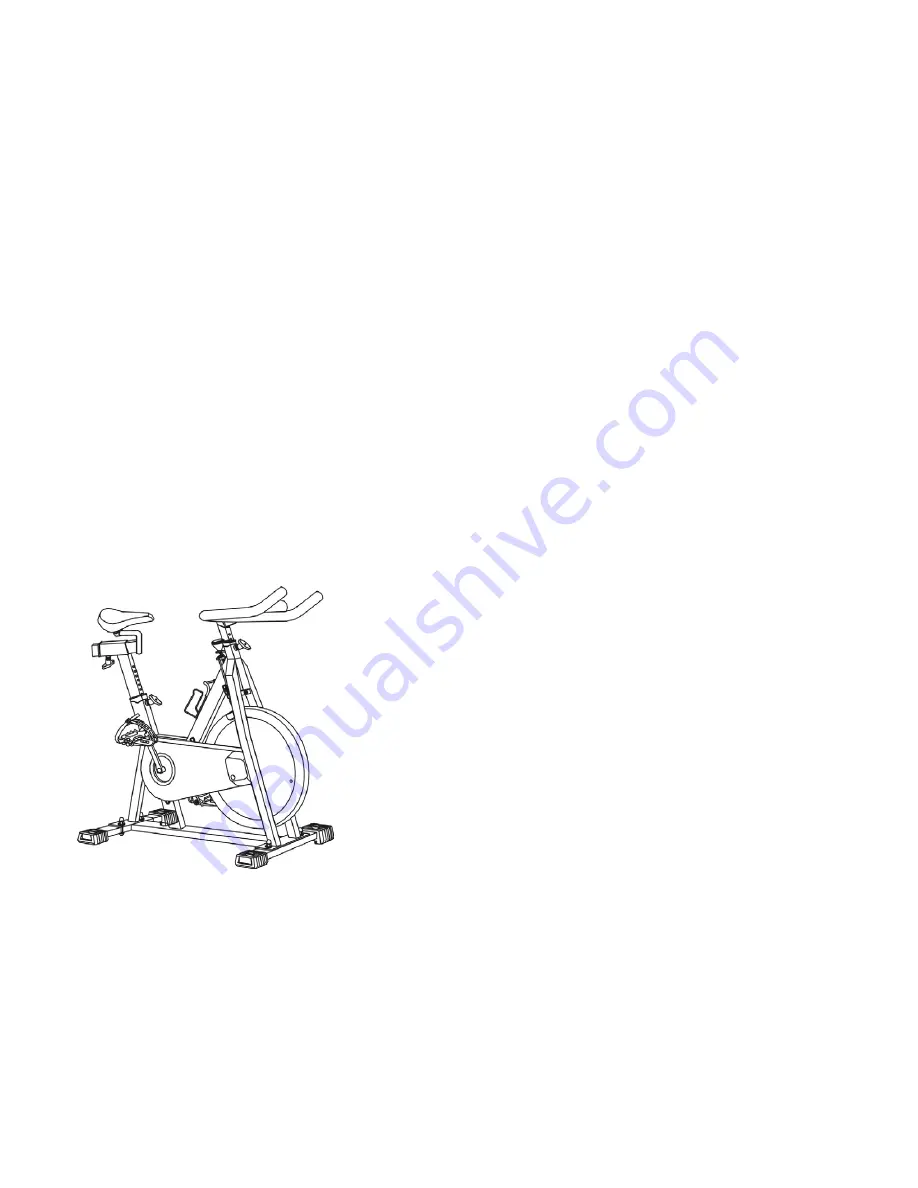
8. Keep the bike out of reach for children who should not be
in the immediate area when it is being used.
9. Stop exercise immediately in case of nausea, shaking, short-
ness of breath, pain in the chest or headache.
10. Do not exercise 45 minutes before eating or 1 hour after
eating.
11. Consult your physician doctor if needed.
4
5
Assembly Instruction
STEP 1:
Mount the front stabilizer (#3) and rear stabilizer (#2) to the
frame (#1) with four carriage bolts (#4), four washers (#5),
four spring washers (#6) and four cap nuts (#7). Please note
that the carriage bolts are inserted from the bottom. (See dia-
gram.) Tighten the nuts by using the supplied spanner.
STEP 2:
Attach the left pedal (#8) to the left crank. The pedals are
marked L and R on the flat face of the threaded area. The left
and right crank arms are referenced from a seated position on
the bike. Please note that the left pedal (#8) has a left-hand
thread and must be tightened counter clockwise. The right
pedal (#8) has a right-hand thread and must be tightened
clockwise. Tighten the thread of pedals by using the supplied
spanner.
STEP 3:
Insert the seat post (#9) into the frame (#1) and secure the
seat post with the locking pop pin knob (#12). Slide the seat-
adjusting bracket (#11) into the top of the seat post (#9) and
secure with
the locking pop pin knob (#12).
STEP 4:
Insert the handlebar stem (#13) into the frame (#1) and secure
with locking pop pin knob (#12).


