background image


Pos:   2   /   Anleitungen   /   Bookmark   /   Kersten   front   page   language-independent   area   @   15   \   mod_1549625959450_6.docx   @   257678   @   @   1   


Original   operating   instructions   


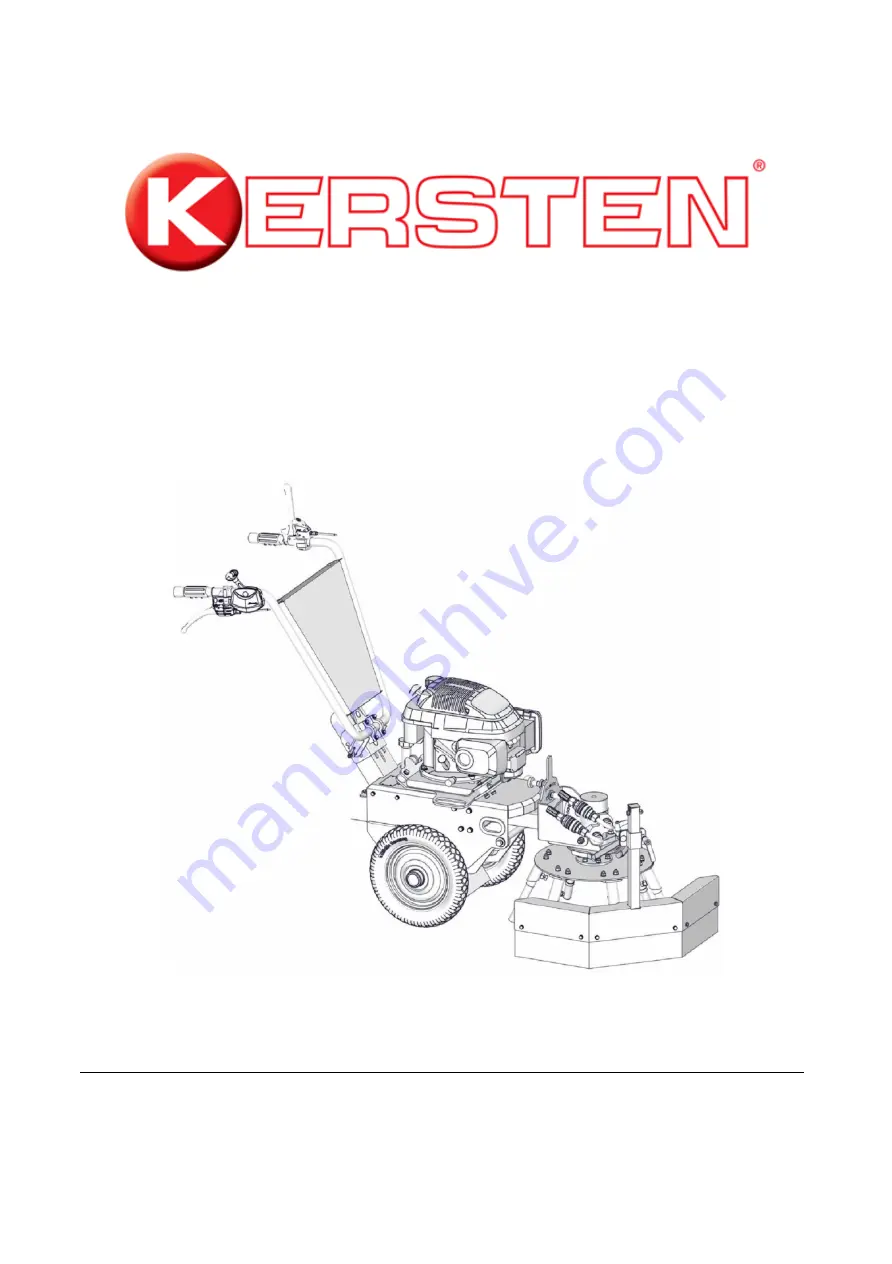
Single-axis   weed   brush   Weedo   II   


Pos:   3   /   Anleitungen   /   Bookmark   /   Kersten   front   page   language-dependent   area   @   15   \   mod_1549625757522_6.docx   @   257657   @   @   1   


===   End   of   list   for   bookmark   title   page   ===   


Order   number:B00100   


from   machine   no   .:62954   

  Rev   .:   R00   


Was   standing:   
2019-03-01   


Summary of Contents for Weedo II

Page 1: ...docx 257678 1 Original operating instructions Single axis weed brush Weedo II Pos 3 Anleitungen Bookmark Kersten front page language dependent area 15 mod_1549625757522_6 docx 257657 1 End of list for...

Page 2: ...DE 2019 03 01 2 79...

Page 3: ...ocumentation may not be reproduced distributed or made publicly available in any other way We reserve the right to make changes without prior notice The original document was published in German All t...

Page 4: ...ral safety regulations apply to the area of application of the machine Co Applicable Documents In addition to these instructions the following documents and the safety instructions listed there must b...

Page 5: ...Safety instructions for maintenance troubleshooting 29 3 11 Safety instructions for disassembly and disposal 32 4th Functional description 33 4 1 Single axis weed brush 33 4 2 Weed brush with splash g...

Page 6: ...in the plane 58 8th maintenance 60 8 1 safety instructions 60 8 2 spare Parts 60 8 3 Maintenance work 61 8 3 1 Check safety devices for function 61 8 3 2 Daily check 62 8 3 3 Maintenance after 20 ope...

Page 7: ...DE 11 4 Engine key figures Weedo II Briggs Stratton 75 11 5 Declaration of conformity 76 2019 03 01 7 79...

Page 8: ...e satisfied with your device Before using this machine or attachment for the first time please read these operating instructions carefully and in full If you have any information on this safety data s...

Page 9: ...th Vehicle frame 5 Hydraulic motor 6 Weed brush The uniaxial weed brush is used for weed removal The uniaxial weed brush consists of the carrier vehicle 1 and the weed brush 6 The carrier vehicle 1 ha...

Page 10: ...Hydraulic oil filler neck 10th Function lever 11 Petrol filler neck 12th Fuel tap 13 Filter unit The uniaxial weed brush is moved forward on the handle 1 There is an internal combustion engine on the...

Page 11: ...eedo II Error Use the Home tab to apply berschrift 1 to the text that you want to appear here DE has a filter unit 13 The arrangement of these components may differ depending on the type of engine ins...

Page 12: ...is operated or set using various function levers 10 on the handle 1 An underbody splash guard 7 prevents material loosened from the floor from being thrown backwards in the direction of the operator C...

Page 13: ...e brush plate 4 is mounted on the hydraulic motor 2 The brush plate 4 can be equipped with wire rope braids 5 or a tuft By turning the brush plate 4 the brush elements 5 remove the weeds from the join...

Page 14: ...extensive property damage Action that must be avoided so that the danger does not arise WARNING Type and source of the hazard This symbol warns of an impending danger to the life and health of people...

Page 15: ...ults lists references and other elements 2019 03 01 15 79 This symbol highlights useful tips and recommendations as well as information for efficient and trouble free operation Labelling Explanation 1...

Page 16: ...Instructions 3 Safety General 3 01 05 Wear safety glasses 6 mod_1504524665367_6 docx 100994 1 wear safety glasses 2019 03 01 16 79 Only use the marked machine after reading the instructions This sign...

Page 17: ...9 Observe the information in the technical manual 6 mod_1504525127214_6 docx 101043 1 Item 29 Instructions 3 Safety General 3 01 10 Only touch machine parts when they have come to a complete standstil...

Page 18: ...stem The uniaxial weed brush as well as the alternative brush elements approved by the manufacturer are built for weed removal on relatively small areas as part of the green area and plant maintenance...

Page 19: ...e tab to apply berschrift 1 to the text that you want to appear here DE 3 4 Work and danger areas Fig Work area safety area and danger area RED Danger zone YELLOW Safety area radius of 5 meters around...

Page 20: ...scharge area safety area Before switching on the attachment and starting up both the danger area and the safety area must be checked Pay special attention to children and animals Pay attention to suff...

Page 21: ...nt and property The uniaxial weed brush must not be operated by anyone under the age of 16 even under the supervision of an adult Children and adolescents should be instructed not to play with the dev...

Page 22: ...ive devices are operated The machine must be checked for operational safety before each start up In addition to the information in these operating instructions the generally applicable safety and acci...

Page 23: ...achine is sofplace If necessary have the fault rectified by a specialist WARNING Risk of injury risk of environmental damage due to non compliance with the safety measures Failure to observe the safet...

Page 24: ...erve the safety measures creates the risk of injury and damage to the environment and property Unauthorized conversions that affect the operational safety of the machineendangering are prohibited DANG...

Page 25: ...ever 1 immediately in an emergency This triggers an interruption in the hydraulic drive the weed brush stops after a short overrun Pos 36 Anleitungen 3 Sicherheit Kersten Weedo II 3 03 4 Splash guard...

Page 26: ...e underbody splash guard frame 3 with underbody rubber spray flaps 4 protects the operator on the handlebar from material splashing backwards Pos 37 Anleitungen 3 Sicherheit Allgemein 3 04 Sicherheits...

Page 27: ...out and fall There is a risk of death or injury and there is a risk of property damage to the machine or system Never step under or into the swivel range of suspended loads Loads only below move super...

Page 28: ...carefully and observe the symbols and instructions on the packaging Only remove packaging after the machine has been finally positioned in a safe position Multiple people lifting the machine nonly on...

Page 29: ...ead the manufacturer s data sheets and instructions Appropriate protective equipment e g gloves safety shoes protective suit respiratory mask safety glasses etc must be worn Adequate ventilation of th...

Page 30: ...dle moving components Never open covers during operation Note the run on time Before opening the covers make sure that no components move Wear tight fitting protective clothing with low tear resistanc...

Page 31: ...hot equipment or materialen Touching it can cause burns and scalds If necessary clean parts assemblies or components from adhering oils greases and other soiling Avoid skin contact with equipment or...

Page 32: ...arried out by a specialist disposal company Pos 45 Anleitungen 3 Sicherheit Kersten Weedo II 3 20 Safety instructions for maintenance troubleshooting Weedo II 14 mod_1548253078909_6 docx 253316 2 1 3...

Page 33: ...that loosening does not result in any dangerous movement of machine parts Ensure sufficient freedom of assembly before starting work Pay attention to order and cleanliness at the assembly site Loose...

Page 34: ...the technical requirements and thus the risk of accidents is minimized Cleaning work with the high pressure cleaner should be carried out so that the water jet is not held directly on bearings turned...

Page 35: ...on of the locking elements of gear units depends on their design and installation position After removing the oil level screw the oil level may be a maximum of 3 to 5 mm below the prescribed fill leve...

Page 36: ...exemplary 1 Handholm 2nd Reversing starter of the internal combustion engine 3rd Petrol tank 4th Engine oil filler neck 5 Handles 6 Weed brush hydraulic motor 7 Underbody splash guard 8th Hydraulic p...

Page 37: ...lic motor 6 rotates the weed brush Suitable hydraulic fluid can be filled in via the hydraulic oil filler neck 9 The uniaxial weed brush is operated or set using various function levers 10 on the hand...

Page 38: ...e brush plate 4 is mounted on the hydraulic motor 2 The brush plate 4 can be equipped with wire rope braids 5 or a tuft By turning the brush plate 4 the brush elements 5 remove the weeds from the join...

Page 39: ...e packaging material must be disposed of in accordance with the applicable statutory provisions and local regulations Item 58 Instructions 5 Transport and storage Kersten 5 3b Transport Weedo II 14 mo...

Page 40: ...d bearing vehicles and aids or lifting gear lashing equipment are to be used for transport Do not stack the individual transport units on top of one another 2019 03 01 40 79 NOTE Property damage due t...

Page 41: ...for transport can be carried out both on the carrying handles 2 and on the eyelet of the transport bracket 1 Before finally tightening the machine for transport note the following The machine may onl...

Page 42: ...er machine Hydraulic controls move back and forth by a Relieve excess pressure Before the Connecting or disconnecting hydraulic hoses must ensure that the hydraulic system is not under pressure The en...

Page 43: ...ation 14 mod_1548253517455_6 docx 253427 2 1 7 2 Adjust the handrail in height and inclination Fig Adjust the height of the hand rail 1 Fixing screws 2nd Handholm The height of the hand rail 2 can be...

Page 44: ...ap into place by pulling and turning the bolt handles 1 clockwise by 180 The handlebar 2 can be folded completely forward for transport purposes This gives the uniaxial weed brush a more compact shape...

Page 45: ...r 3rd Throttle The throttle lever 3 influences the position of the throttle valve of the internal combustion engine The throttle control 3 thus regulates the engine speed As soon as the internal combu...

Page 46: ...ustion engine is regulated by the throttle 1 on the right handlebar grip In the CHOKE position 2 the engine receives an air enriched fuel mixture compared to the position in normal operation In the CH...

Page 47: ...gine oil must be added via the engine oil filler neck 3 2nd The fuel tank has enough fuel Otherwise refill fuel through the fuel filler neck 2 3rd The fuel tap 1 is open Otherwise the fuel tap 1 must...

Page 48: ...Prepare the internal combustion engine for starting on page If necessary the internal combustion engine can be started by jerkily pulling the reversing starter 1 2019 03 01 48 79 DANGER Danger to lif...

Page 49: ...rive of the weed brush is activated by the hydraulic motor The weed brush turns The hydraulic drive of the weed brush is accomplished through the following steps 1 Press the release button 1 for the d...

Page 50: ...ver is released the weed brush continues to run for a short time This overrun creates the risk of injury and damage to the environment and property on the machine An approach to the weed brush may onl...

Page 51: ...he Switching on the weed brush is only allowed on a free or on an already processed application area Switching on is outside the application area the weed brush is not allowed The weed brush must neve...

Page 52: ...switch off the internal combustion engine 1 Release the dead man s lever 1 2nd Move the throttle lever 2 to the OFF position 3rd Close the fuel tap 4 4th Secure the uniaxial weed brush against unauth...

Page 53: ...hanging the direction of rotation of the weed brush right hand left hand traffic Swiveling around the transverse and longitudinal axes of the weed brush contact point with the ground right left traffi...

Page 54: ...ed out in dry conditions Item 77 Instructions 7 Operation Kersten Weedo II 7 2 Working height adjustment 15 mod_1548688540338_6 docx 255977 2 1 7 11Set working height Fig Setting the working height 1...

Page 55: ...e degree of wear of the tooling must be taken into account Corresponding setting recommendations are in the chapter7 10 Requirements for optimal weed removal on page given 2019 03 01 55 79 The frame i...

Page 56: ...ositions relative to the axis of the carrier vehicle The following steps must be carried out 1 Loosen the bolt connection by lifting and holding the lifting handle 1 2nd Swiveling the vehicle around t...

Page 57: ...ulic connections 1 Upper quick release hydraulic connection 2nd Lower quick release hydraulic connection 3rd Hydraulic motor The direction is changed by swapping the upper and lower hydraulic feed lin...

Page 58: ...vel the brush plate holder 3 until the desired angle of inclination is reached The brush plate moves around the transverse axis 4th Release the bolt handle 2 so that the bolt engages in a hole 5 Tight...

Page 59: ...le 2 3rd Swivel the working head 3 until the desired angle of inclination is reached The brush plate moves around the longitudinal axis 4th Release the bolt handle 2 so that the bolt engages in a hole...

Page 60: ...ch as weeds stones and other objects A side splash guard 1 and 2 is attached to the machine so that this material does not leave the work area The spray protection device is fixed to the working head...

Page 61: ...height of the splash guard depends on the setting of the brush plate and the local conditions The rubber splash flap of the splash guard must lie lightly on the floor in the working position Item 83 I...

Page 62: ...ure for setting the splash guard is as follows 1 Loosen the clamping lever 2 counterclockwise 2nd Turn the swivel arm 1 around the vertical axis to the desired position 3rd Tighten the clamping lever...

Page 63: ...ust be ordered from customer service seeCustomer service from the manufacturer on page be ordered 2019 03 01 63 79 It is imperative that you observe all the safety instructions listed in the Safety ch...

Page 64: ...egulations and laws To ensure safe machine operation the safety devices must be checked Item 91 Instructions 9 Maintenance General 9 4 1 10 Separating protective device cover 1 mod_1461574146232_6 doc...

Page 65: ...ple before use The safety elements and moving parts must be checked for wear before each use Check the hydraulic oil level before each usecheck To do this unscrew the cap from the tank and check it vi...

Page 66: ...lter at the same time interval as changing the hydraulic oil For the type of oil used see chapter11 Technical data single axis weed brush Weedo II on page Clean the engine air filter after 20 operatin...

Page 67: ...er11 Technical data single axis weed brush Weedo II on page Clean the spark plug from soot deposits with a wire brush and then check the electrode gap The distance between the electrodes should be app...

Page 68: ...Instructions 9 Maintenance Kersten Weedo II 9 4 8 Changing the brush plate 14 mod_1548254811747_6 docx 253671 3 1 8 3 6 Change the brush plate Staff Instructed specialist staff Protective gear Protec...

Page 69: ...2 1 8 4 Measures after maintenance Staff Private and commercial operators After completing the maintenance work and before switching on the machine carry out the following steps 1 Check all previously...

Page 70: ...l approx 30 milliliters of engine oil into the spark plug opening and then slowly crank the engine Reinstall the spark plug and do not insert the spark plug connector Pull the starter handle until you...

Page 71: ...ent during operation Faults that require major intervention must always be remedied by a specialist workshop 9 3 Malfunction table 2019 03 01 71 79 It is imperative that you observe all the safety ins...

Page 72: ...st carburetor Petrol engine has dropouts at high speeds Firing interval too short Adjust the spark plug Idle mixture not set correctly Adjust carburetor Petrol engine often goes out at idle Ignition i...

Page 73: ...take back or disposal agreement has been made recycle the dismantled components Scrap metals Give plastic elements for recycling Dispose of other components sorted according to material properties Ite...

Page 74: ...here DE Pos 114 Anleitungen 0 Allgemein Seitenumbruch 0 mod_1443087965231_0 docx 92 1 2019 03 01 74 79 ATTENTION Danger to the environment from lubricants Lubricants such as fats and oils contain toxi...

Page 75: ...apply berschrift 1 to the text that you want to appear here DE Item 116 Instructions 12 Technical Data Kersten 12 Technical Data Weedo II 14 mod_1548254549745_6 docx 253625 12222 1 11 Technical data s...

Page 76: ...12733 2009 m s2 Workspace approx 82 cm Number of tools 6 tufts or wire rope braids Drive type hydraulic Hydraulic oil tank about 3 8 l Hydraulic oil Bio hydraulic oil based on synthetic esters Avia S...

Page 77: ...3 3 4 4 kW PS Max Torque at the mentioned speed 9 4 2 500 Nm min 1 Displacement 160 ccm Upper idle speed 3 000 min 1 spark plug NGK BPR 5 ES Motor oil recommended for general use Approx 0 5 multigrad...

Page 78: ...engine Net power 3 2 4 3 kW PS Max Torque at the mentioned speed 9 82 2 000 Nm min 1 Displacement 161 ccm Upper idle speed 3 000 min 1 spark plug Champion QC12YC Motor oil recommended for general use...

Page 79: ...brush Weedo II is in compliance with all relevant provisions of the EC Machinery Directive 2006 42 EC The machine is also in compliance with all relevant provisions of the following EC directives The...

Reviews: