


English
|
29
Display & Illumination setting
Sets the display and illumination.
1
Enter Function setting mode
Press the Control knob for at least 1 second.
2
Select Display & Illumination setting mode
The item can be selected and determined as
follows.
“Settings”
>
“DISP&ILLUMI”
To select the item, turn the Control knob. To
determine the item, press the Control knob.
3
Select the desired Display & Illumination
setting item
Turn the Control knob to select Display &
Illumination setting item, and then press the
Control knob.
Display
Overview
“DISP&ILLUMI”
“DISP ILLUMI OFF” When “Type E” (Display off) is selected in
<Selecting display type> (page 26)
, sets
whether to turn off display only or display and
key illumination.
“DISP&ILLUMI” / “DISP”
“Display Dimmer” Dims the display part in conjunction with the
light switch of the vehicle.
“Auto”
: Dims the display in conjunction with
the Light switch of the vehicle.
“Manual1”
: Dims the display constantly.
“Manual2”
: Dims the display darker than
Manual1.
“OFF”
: Does not dim the display.
“Contrast”
Sets the display contrast.
“1” – ”10” – “30”
“DISP NEGA/POSI” Switches the panel display between positive
or negative.
“NEGA1”
: Displays the text in the negative.
“NEGA2”
: When the interior light is off, the
text is displayed in the negative;
when the interior light is on, the text
is displayed in the positive.
“POSI1”
: Displays the text in the positive.
“POSI2”
: When the interior light is off, the text
is displayed in the positive; when
the interior light is on, the text is
displayed in the negative.
“Text Scroll”
Sets the method of scroll to view hidden text.
“Auto”
: Scrolls.
“Once”
: Scrolls once.
“OFF”
: Does not scroll.
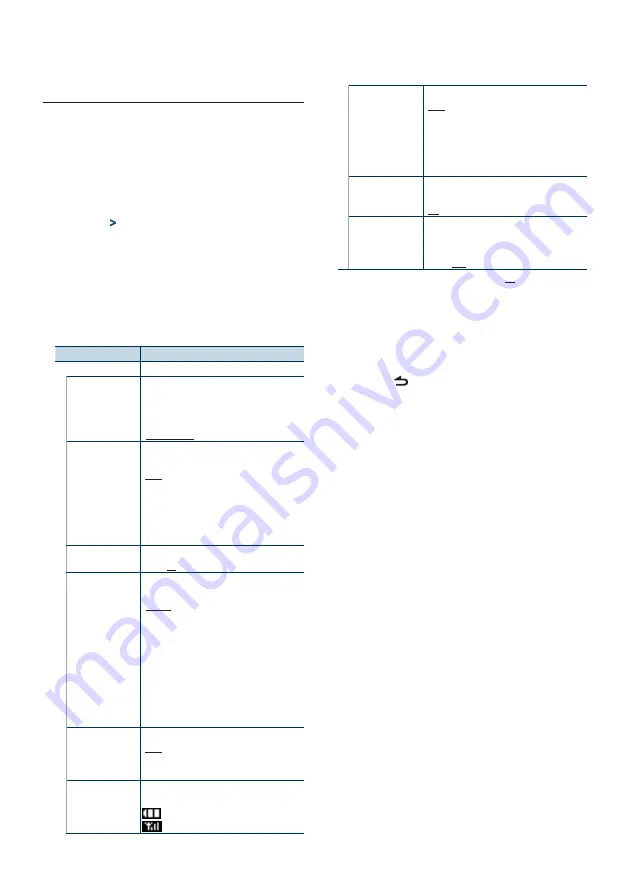
“BT DVC Status”
You can display the connection status, signal
strength, and battery level.
: Battery level of cell-phone.
: Signal strength of cell-phone.
“ILLUMI Dimmer”
Reduces the key Illumination brightness.
“Auto”
: Dims the illumination in conjunction
with the Light switch of the vehicle.
“Manual1”
: Dims the illumination constantly.
“Manual2”
: Dims the illumination darker than
Manual1.
“OFF”
: Does not dim the illumination.
“ILLUMI Effect”
Sets whether the key illumination color is
changed in conjunction with the key operation.
“ON” / “OFF”
“ILLUMI Music
SYNC”
Sets whether the key illumination color is
changed in conjunction with the sound
volume.
“ON” / “OFF”
( : Factory setting)
4
Set the Display & Illumination setting items
Turn the Control knob to select desired value,
and then press the Control knob.
The previous item is displayed.
5
Exit Function setting mode
Press the [ ] button for at least 1 second.
Summary of Contents for KDC-448U
Page 5: ...English 5 ...
Page 17: ...English 17 ...
Page 21: ...English 21 ...
Page 25: ...English 25 ...
Page 35: ...English 35 ...
Page 43: ...English 43 ...
Page 45: ...English 45 ...
Page 70: ......


