80
80
81
Monitor Screen Setup
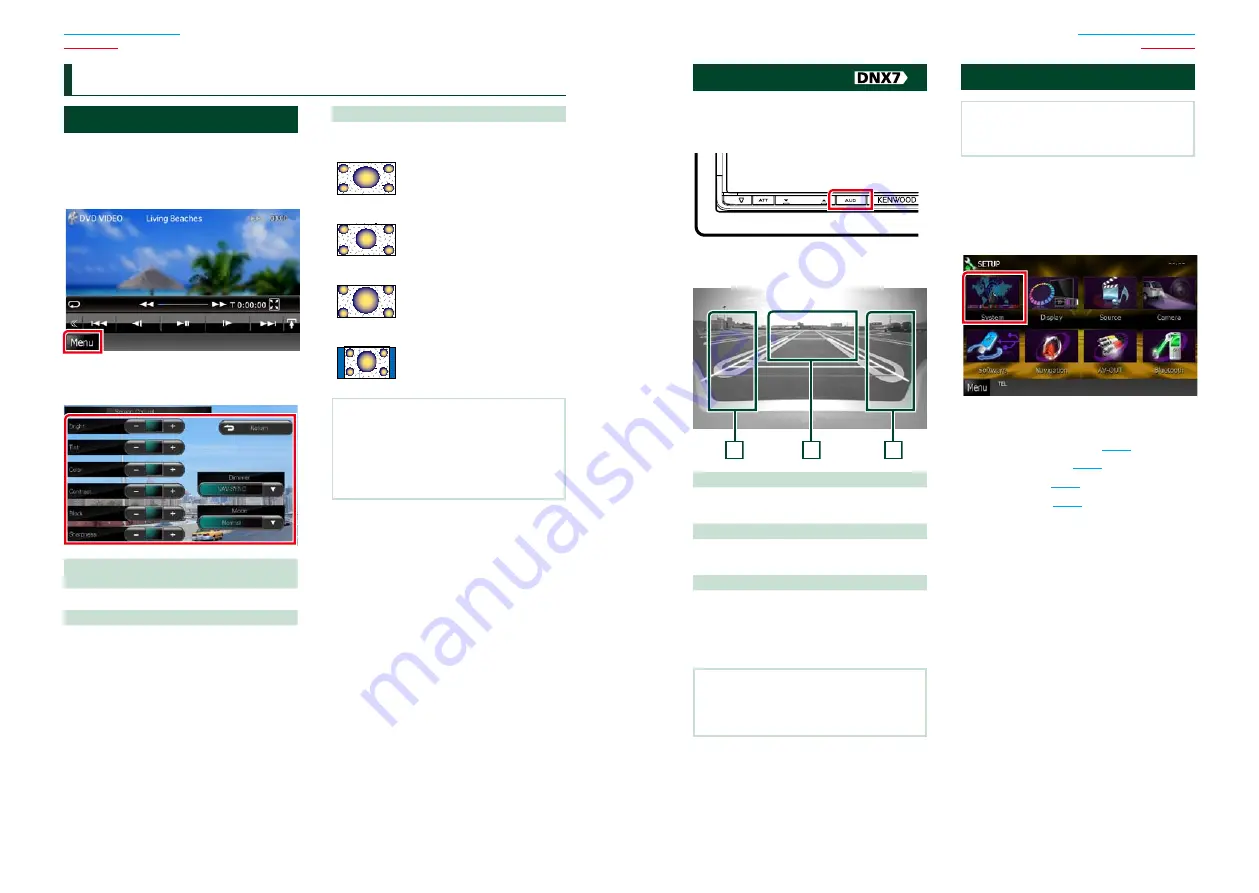
You can adjust image quality in iPod video,
picture file, menu screen, etc.
1
Touch the lower left area of any screen
for at least 1 second.
Screen Control screen appears.
2
Adjust each item as follows.
Bright/Tint/Color/Contrast/Black/
Sharpness
Adjusts each item.
Dimmer
Select dimmer mode.
ON:
The display and buttons dim.
OFF:
The display and buttons do not dim.
SYNC (Default):
Turns the dimmer function on
or off when the vehicle light
control switch is turned on
or off.
NAV-SYNC:
Turns the dimmer function on or
off according to the Navigation
Day/Night display setting.
Mode (Playback screen only)
Select screen mode.
Full
: Full picture mode
Just
: Justify picture mode
Zoom
: Zoom picture mode
Normal
: Normal picture mode
NOTE
• Adjusting items are different depending on the
current source.
• You can perform this function only when you
have applied the parking brake.
• The image quality can be set for each source.
S
etting Up
View Camera Control
You can set up display when a CMOS-300
Series view camera is used.
1
Press the <AUD> button for 1second.
Camera view screen appears.
2
Adjust each item as follows.
3
2
1
1 Guideline
Touching each time turns on or off the
guideline display alternately.
2 Switching the View Camera
Touching each time changes between the
front view camera and rear view camera.
3 Angle
Touching each time changes camera angles in
the following order:
Super wide view/ Wide view/ Overhead view/
Wide view + Top view/ Corner view
NOTE
• The video camera controls described above
may not be operable depending the connected
cameras.
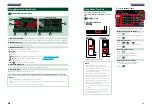
System Setup
NOTE
• Each operation in this section can be started from
the multi function menu.
1
Touch [Menu] on any screen.
TOP Menu screen appears.
2
Touch [SETUP].
3
Touch [System].
System Menu screen appears.
See the following section for each setting.
•
Set up the user interface
•
Adjust touch panel
•
Set up security
•
Set up memory
Summary of Contents for DNX4330
Page 66: ......


