background image

9

Remote Control

6

Press the key of the same operation that you want to store.

• The remote code is send to the remote control unit.
• "

Complete

" appears when finished.

• When it takes for more than 8 seconds or the remote control unit does

not receive the remote control code well, "

Error

" appears in the

display. In this case, re-operate from the step 

1

.

• "

Full

" appears when the memory is full. Re-operate from the step

1

 after deleting some memories.

7

The remote control code is stored on the memory (Extend1 –
Extend5) of the remote control unit.

To operate other components by using the stored memory

2

Press the [Menu] key .

• The Menu display appears.

3

Press the 

5

/

 keys to select the memory you want to operate.

4

Press the [Enter] key.

To delete the stored memory

Press the [Clr] key in step 

5

. "

Cleared

" appears in the display

and the memory that is selected in step 

4

 is erased.

1

Press the MUSIC, MOVIE, or TV key to select desired input
source.

You can restore the setup codes or memories to their original default
settings.

• "

Cleared

" appears in the display, and the remote settings return to

their original default settings.

Getting the most from your remote control

5

+

+

TUNING

BAND

ENTER

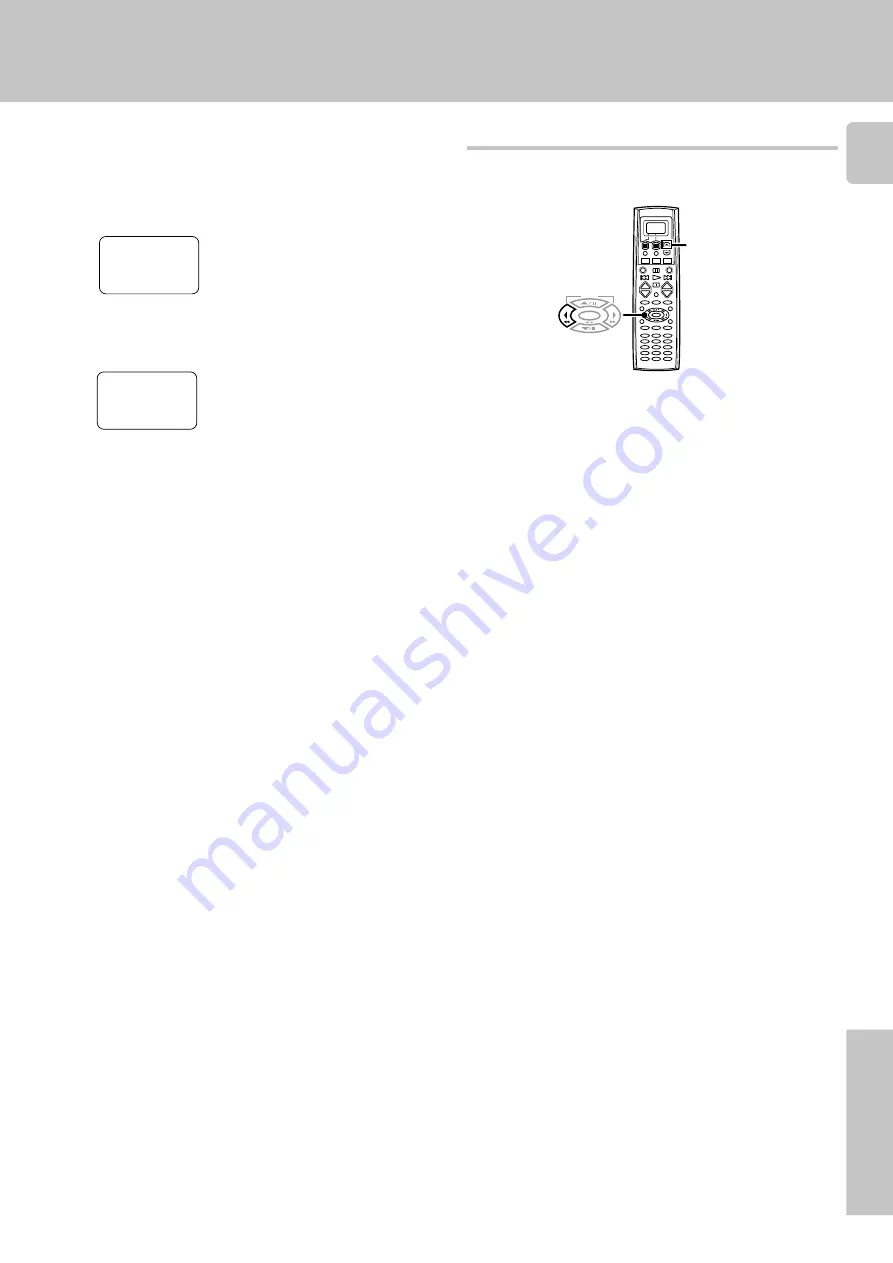
Insert the batteries during pressing and holding the 

[

5

]

keys and 

[      ]

 key.

2

1

Restoring the original factory settings

4

Press the 

5

/

 keys to select the location.

Extend1

 – 

Extend5

 are available.

5

Press the [Enter] key.

• The remote control is ready for receiving the remote control code.

>Extend1

Waiting

Clr  Exit

>

Extend1

>

Extend1

Complete

Extend 1

Summary of Contents for B60-4611-00

Page 1: ...ceiver In order to make full use of the functions of the remote control be sure to read the section of this manual entitled Getting the most from your remote control It contains a detailed explanation of how to operate the remote control and make the necessary settings The quick start guide describes the operation of the following keys 1 Display operation 1 key Use this key to go back to the previ...

Page 2: ...play operation 2 Enter key Step 5 Press the 5 keys to select the com ponent that you want to register then press the display operation 2 Enter key Step 6 Press the 5 keys to select the maker of the component that you want to reg ister then press the display operation 2 Enter key Step 7 Press the 5 keys to select the setup code Step 8 Press the AV POWER key to see if you can turn the component on a...

Page 3: ...ey or 5 keys The display operation 1 key and display operation 2 key work as the function key displayed in the display above The display goes off automatically when you do not operate for more than 8 seconds In this case press the display operation 1 key display operation 2 key or 5 keys When the display goes off Press the display operation 1 key repeatedly until Menu appears in the display The di...

Page 4: ...han one setup code enter another setup code and try again or TUNING key can also be used instead of the AV POWER key If the component is already on pressing the AV POWER key will turn it off Repeat steps 3 to to register additional components until all components have been registered Press the display operation 2 Enter key The display returns to the setup display To returns to the initial display ...

Page 5: ...ration of other components for a list of keys available with each component RC The operation mode remains set at the component specified in step 2 To return control to the original component press SHIFT and then press the MUSIC or MOVIE key to return to the original control mode Pressing any other keys after the SHIFT key cancels the shift function and sends the normal code associated with the res...

Page 6: ...3 The light flashes once when you select the macro location Pressing a key other than MUSIC MOVIE or TV cancels the macro program mode Press the keys to be operated in order 4 5Press the MACRO key so that the light flashes twice The macro is stored at the locations specified in step 3 If another macro was previously stored at the same location it is erased Repeat steps 1 through 5 to program up to...

Page 7: ... until 01 IR appears in the display Press the 5 keys to select 01 IR then press the Enter key The setup display appears 3 The input selecting display appears Press the 5 keys to select the input that you want to delete then press the Enter key 4 Press the 5 keys to select Delete 5 Press Enter 6 The setup code is deleted MACRO MUSIC MOVIE TV 04 Video2 03 Video1 Back Enter 02 Surround 01 IR Home Ent...

Page 8: ... the key of the remote control unit To delete the memory stored on the key Press the Clr key in step 4 Cleared appears in the display Tne memory previously stored is cleared To operate other components 1 Press the MUSIC MOVIE or TV key to select desired input source 2 Press the desired key 1 Point the infrared ray system part of the other remote control unit to the remote sensor of the remote cont...

Page 9: ... keys to select the memory you want to operate 4 Press the Enter key To delete the stored memory Press the Clr key in step 5 Cleared appears in the display and the memory that is selected in step 4 is erased 1 Press the MUSIC MOVIE or TV key to select desired input source You can restore the setup codes or memories to their original default settings Cleared appears in the display and the remote se...

Page 10: ...USIC key to select CD 2 Press the Menu key repeatedly until SetUp appears in the display 3 Press the 5 keys to select All Read and press the Enter key The loading time may take a few moments Load the CD TEXT data of the CD player to the remote control unit 1 Press the MUSIC key to select CD 2 Press the Menu key repeatedly until SetUp s appears in the display 3 Press the 5 keys to select Disc Title...

Page 11: ...isplay operation 2 Enter key When you operate by using the keys When you operate by using the display TUNING BAND ENTER AUTO MONO RANDOM REPEAT INPUT SEL 2 1 3 5 4 6 8 7 9 0 10 100 11 10 12 DISPLAY TV SELECT SELECT THEME AUDIO FAVORITE EXIT INFO LAST CHANNEL BAND AUTO MONO TUNING 2 TUNING 3 P CALL fi P CALL Numeric keys TUNING BAND ENTER AUTO MONO REC ENTER Play B 8 Pause B 7 Stop B 1 Rewind B Fas...

Page 12: ... SEL Display operation 01 Thumb Up 02 Thumb Down 03 Jump 04 Instant Replay 05 Quick Skip 06 Exit 07 11 Extend1 5 Numeric keys CH CH Slow Slow ENTER 1 Rewind Fast forward Play Pause Stop Skip Skip OSD PAGE FUNCTION SHIFT commands REPEAT RANDOM DISPLAY Display operation 01 Frame Time 02 Side A or A B 03 Side B 04 08 Extend1 5 TUNING BAND ENTER RANDOM REPEAT INPUT SEL 2 1 3 5 4 6 8 7 9 0 10 100 11 10...

Page 13: ...1 3 5 4 6 8 7 9 0 10 100 11 10 12 DISPLAY TV SELECT SELECT THEME AUDIO FAVORITE EXIT INFO LAST CHANNEL FUNCTION SHIFT commands INPUT SEL SELECT THEME FAVORITE INFO EXIT LAST CHANNEL Display operation 01 A B C 04 08 Extend1 5 MENU MENU TITLE GUIDE GUIDE PAGE UP PAGE DOWN fi RANDOM F SHIFT REPEAT INPUT SEL 2 1 3 5 4 6 8 7 9 0 10 100 TV SELECT SELECT THEME AUDIO FAVORITE EXIT INFO LAST CHANNEL DISPLA...

Page 14: ...o control The microprocessor of the remote control malfunctions Remedy Replace with new batteries to preserve the currently registered setup information Turn the subwoofer ON Register a setup code or Non IR code at the respective input s RC3 Press the MUSIC MOVIE or TV keys to select the appropriate operation mode Replace with new batteries Operate the remote control unit within the controllable r...

Reviews: