background image

6

2.1 INSTALLING SIM CARDS & BATTERY

Please switch off your device before removing the battery, inserting a SIM or

memory card.

Installing Battery

To install the battery please follow the steps below:-

Remove the back cover of the device.

Hold the device with the front facing downwards.

Insert the battery ensuring it is the correct way round.

Replace the battery cover until it clicks into place.

Charging the Battery

The device prompts a warning tone and message indicating insufficient battery

when the battery power is low. Please follow the instructions below to charge your

device:-

Plug the connector of the charger into the micro USB port on the device.

Plug the charger into a standard AC wall outlet.

Charging…….

Fully Charged…….

It is recommended to fully charge the battery before using the device for the first

time.

Installing SIM Card

In order to install you SIM card, follow the steps below:-

Remove the back cover of the device.

Hold the device with the front facing downwards.

Remove the battery.

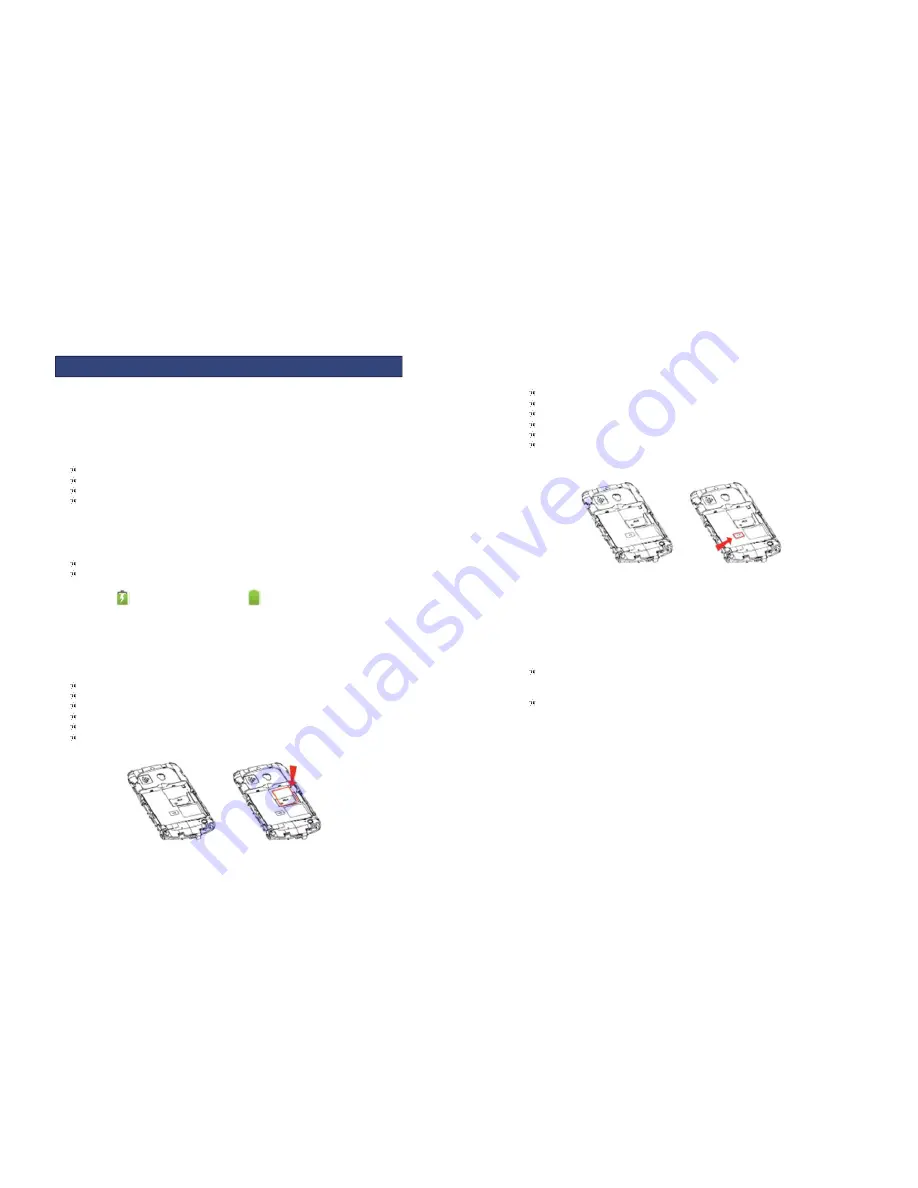
Insert the SIM card into the device as shown below.

Replace the battery.

Replace the battery cover until it clicks into place.

2. GETTING STARTED

7

Installing Memory Card

Your device supports micro SD card, which is a multimedia memory card used to

increase the memory of the device. The micro SD card is small and should be

installed carefully to avoid any kind of damage. Please follow the steps below to

install the memory card in the device:

Remove the back cover of the device.

Hold the device with the front facing downwards.

Remove the battery

Slot the micro SD card into the device as shown below.

Replace the battery.

Replace the battery cover until it clicks into place.

2.2 POWERING ON/OFF THE DEVICE

Turning On the Device

After installing the SIM card and charging the battery, you are now ready to turn on

your device.

Press and hold the Power Key to turn on the device.

Turning Off the Device

Press and hold the Power Key for 3 seconds.

Summary of Contents for Life C4

Page 1: ...w you to access third party sites These are not affiliated with us and we do not endorse or assume liability for them If you access such sites take precautions for security or content The limited warranty does not cover user manuals or any third party software settings content data or links whether included in or downloaded to the product whether included during installation assembly shipping or a...

Page 2: ...is manual are for reference only content displayed may depend on the pre setting of the service provider the network operator or the SIM card If any functions referred to in this manual are different from those of your device please follow your device Do not put use it in a place with flammable gas such as a petrol pumps The temperature recommended for using the device is 10 55 Do not touch the ch...

Page 3: ... 2 IMAGE VIEWER 15 7 3 VIDEO RECORDER 16 7 4 VIDEO PLAYER 16 7 5 AUDIO PLAYER 16 7 6 SOUND RECORDER 16 7 7 FM RADIO 17 8 EXTRAS 17 8 1 CALENDAR 17 8 2 ALARM 17 8 3 CALCULATOR 17 8 4 WORLD CLOCK 19 8 5 TORCH LIGHT 19 9 SPECIFICATIONS 20 TABLE OF CONTENTS 5 1 1 GENERAL INFO KAZAM Life C4 is an easy to use clamshell feature phone 2 2 VGA screen with 176 220 resolution It has a fixed focus front camer...

Page 4: ...d follow the steps below Remove the back cover of the device Hold the device with the front facing downwards Remove the battery Insert the SIM card into the device as shown below Replace the battery Replace the battery cover until it clicks into place 2 GETTING STARTED 7 Installing Memory Card Your device supports micro SD card which is a multimedia memory card used to increase the memory of the d...

Page 5: ...C OPERATIONS 9 3 2 MESSAGING Your device is capable of sending and receiving of SMS Short Message Service and MMS Multimedia Message Service Creating an SMS From the main menu select Messages Write message Text message Select Options Send to to enter a number or select a recipient contact Once recipient is specified select Options Send to send the message Creating an MMS Your device comes preloade...

Page 6: ...screen to dial the assigned contact automatically Memory status View the used memory of the SIM card and phone s phone book The capacity of SIM card depends on different SIM card Copy contacts Contacts can be copied between SIM and Phone memories Move contacts Contacts can be moved between SIM and Phone memories Delete all contacts Select to delete the contacts from SIM or the phone memory 11 All ...

Page 7: ...sed when the feature is not enabled the option to enable the SOS feature will be presented to the user SOS list Select this to assign specific numbers or contacts that will be called when the 5 SETTINGS 13 Smart SOS feature is activated If the SOS key is pressed when no number is assigned but the feature is enabled 112 emergency number is automatically called SOS message The message that is sent t...

Page 8: ... If PIN2 is entered incorrectly 3 times a PUK2 code will be required to unlock Phone security A phone passcode can be set there you can set the phone to avoid unauthorized use of your mobile phone Phone lock Under this you can enable or disable phone password To do so the phone password 15 must be entered The default code is 0000 When this feature is enabled every time you turn the phone on you ar...

Page 9: ...Recorder through the multimedia menu Press the left soft key Options Select New Record and the recording starts Whilst recording is on progress the left soft key will pause and resume the recording and the right soft key will stop the recording 17 The recorded audio files can also be renamed sent and deleted when the options in list view is accessed 7 7 FM RADIO You can use your mobile phone to li...

Page 10: ...f 8 5 SERVICES The toolkit of the inserted SIM card can be accessed here Please contact your network provider for more information and supported services 8 6 FILE MANAGER Files saved on the phone or memory card can be viewed and used here File manager options Open Open the file or folder New Folder Create a new folder in which files can be stored Rename The selected file or folder can be renamed D...

Page 11: ...cessories To protect natural resources and to promote re use of the material kindly separate batteries from other type of waste DONT Do not dispose of your mobile and its battery in fire Do not dispose your mobile with the regular waste Do not over charge your handset Remove the charger when battery is full This logo signifies that this product and or its accessories should not be disposed of with...

Page 12: ...ex Ⅲ or Ⅳ of Directive 1999 5 EC has been followed with the involvement of the following Notified Body ies SIEMIC INC 775 Montague Expressway Milpitas CA 95035 USA Identification mark 1313 the equipment will also carry the Notified Body number class 2 equipment identifier Signature Printed name title Daniel Readman Manager Tel 44 0 20 7491 6930 Address Suite 4B 43 Berkeley Square London W1J 5FJ Un...

Reviews: