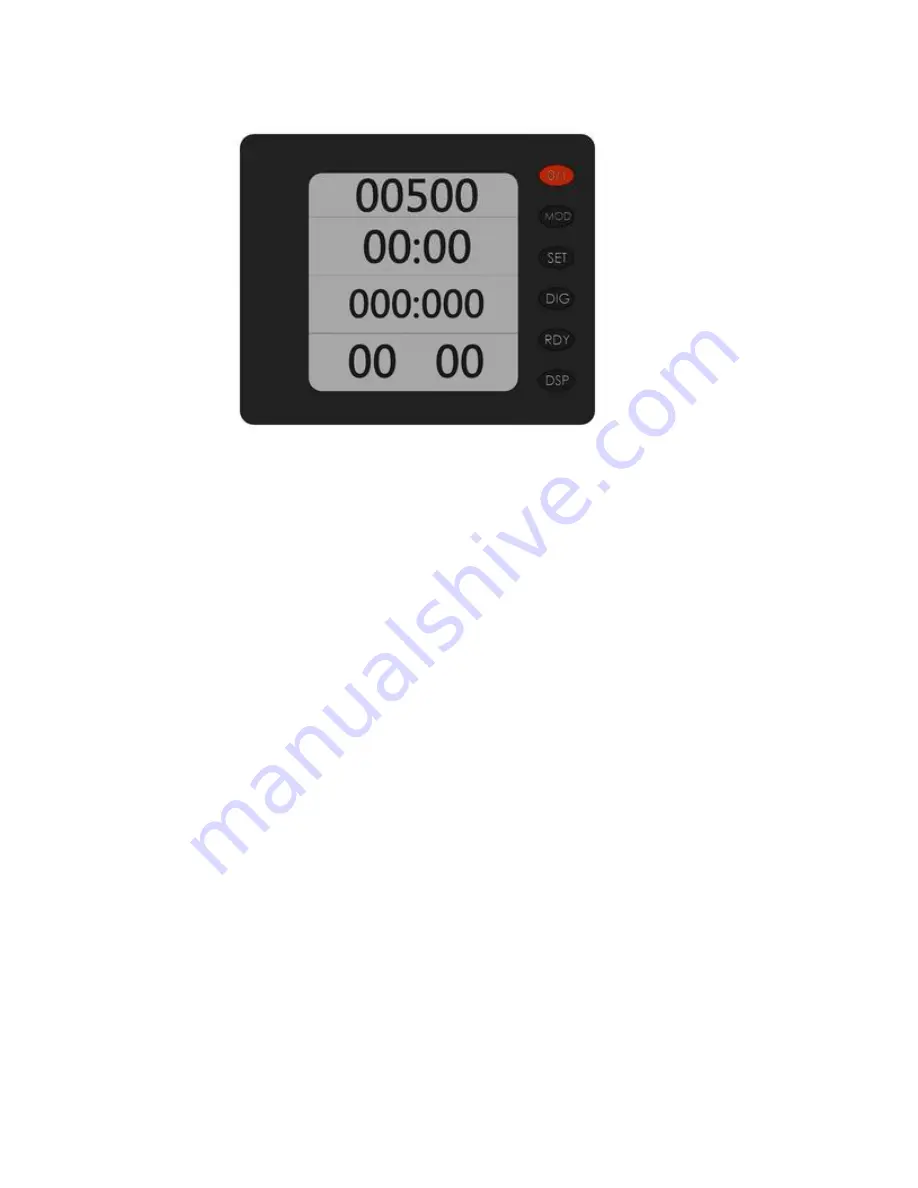
EXPLAINING THE ONBOARD CONSOLE DISPLAY (See graphic image above).
There are five “windows” on the on-board console display, many of which change
according to the option selected.
To Turn On the Display:
Press the red “0/1” button on the top. This is also the “off” button.
Once You Turn on the Display:
The top uppermost display window flashes. Depending on the setting the last time the
system was used, it will either be set to “Meter” or “Time.” Hitting the “MOD” (Mode)
button toggles back and forth between these two settings. If you want to calibrate or
measure your workout according to distance, select “Meter.” If you want to calibrate or
measure it according to time, select “Time.”
Setting the “Meter/Time” Window (the “first” window on the top):
Depending on whether you want “Time” or “Meters,” something in this window will be
flashing. -If you want to change the setting (i.e., either more or less time or distance), hit
the “SET” button.
This changes the digit position on the display. To set the digit, hit the “Dig” button. This
increases the setting by one digit per push (like a digital watch). Set “Time” or “Meter” as
you wish. When you’re done, hit the “RDY” button to lock in your “Time/Meter” setting.
PLEASE NOTE: Your setting for Time/Meter in this window will affect what appears in the
third window from the top. If you select “Time” for the top window, “Meter” will
automatically be displayed in the third window. Conversely, if you select “Meter” in the
top window, “Time” will be displayed in the third, once you press the “RDY” button.
The “RDY” (Ready) Button:


