


7
Connecting the water sensor FWM 100 and putting it into operation
1.
Remove the screw from the housing bottom.
2.
Insert the supplied battery.
3.
You can add the water sensor for XT2 Plus to the alarm panel only within the
first three minutes after having connected it to its power supply!
4.
Open the menu “Sensors”
“Add,” and press “Start” in the web interface of
the alarm panel.
5.
Keep the Learn button (2) pressed for approx. ten seconds; the water sensor
will beep briefly at the beginning and longer after approx. ten seconds.
Release the Learn button. The water sensor transmits the connection request
and the LED (1) flashes twice.
6.
The configuration menu of the alarm panel should indicate the water sensor.
7.
Add the water sensor.
8.
Configure the water sensor now by clicking “Change” or do it later in the
“Sensor list”.
Range test:
To test the signal strength at the desired installation location, perform a range test.
1.
Open the alarm panel menu “Sensors”
“Range” and press “Start”.
2.
Press the Learn/Test button of the water sensor.
3.
The sensor and the signal strength should be indicated. The higher the
indicated number the better the reception (1 – 9).
4.
Click “Stop” to end the test.
Installation:
You can install the water sensor either on the wall or on the floor.
Wall mounting:
1.
Remove the screw from the housing bottom.
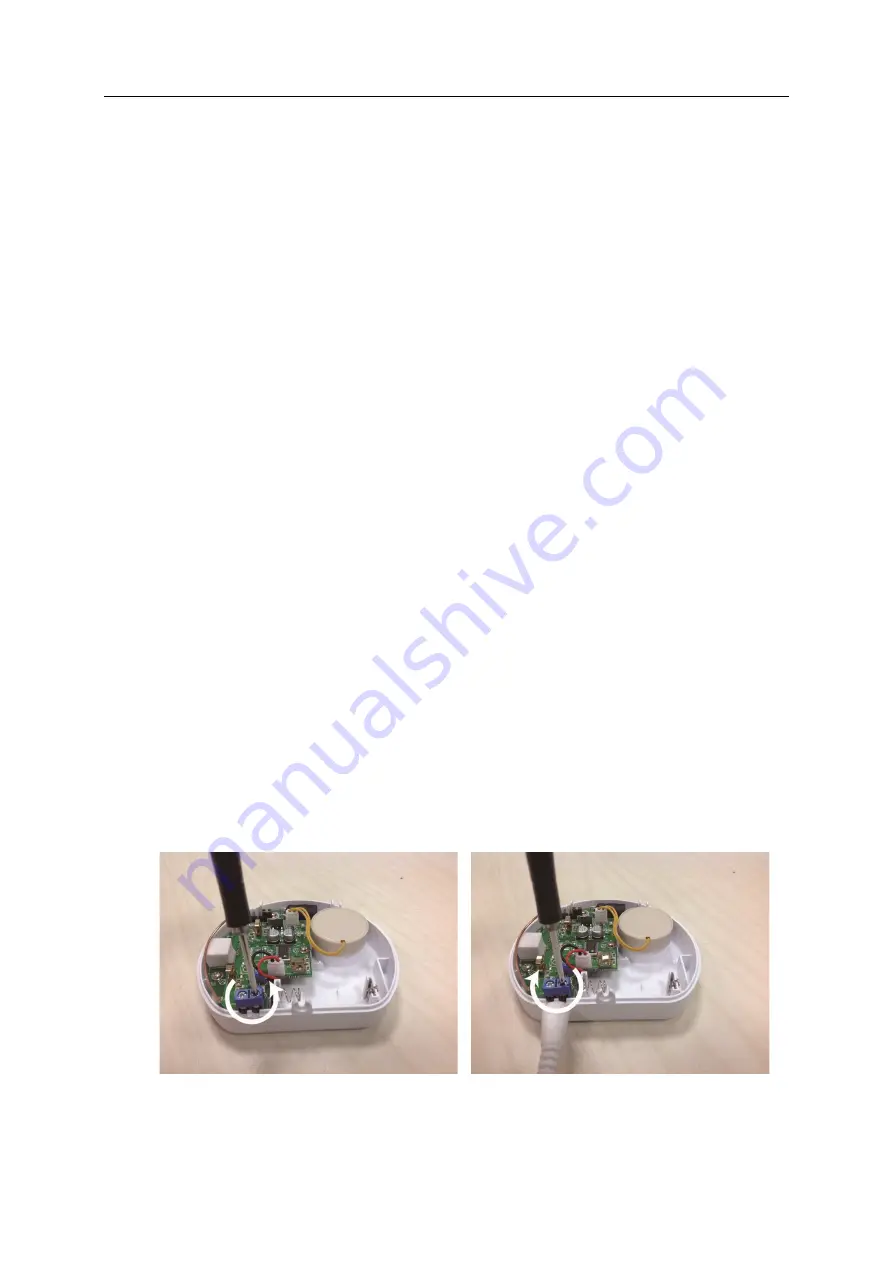
2.
Use a slim screwdriver to loosen the screws of the external water probe port
counterclockwise.
3.
Plug one side of the external water probe into the water probe port and fix it
by tightening the screws clockwise.


