Karaoke Night KN104 User Manual Download Page 9


E-8

2. The setup of your TV is the most difficult part of making the connection for displaying your lyrics. 

In most homes, the TV has either cable connected or an antenna in use. Once you connect your 
karaoke system to the TV, you must 'tell' your TV to display the input from the karaoke system 
instead of the usual input from the cable or antenna. 

3. Check your TV user manual for the easiest way to setup your particular entertainment system. If 

you do not have your manual, you can always call your TV manufacturer for that information or try 
their website for online assistance. We have listed below the most common ways of setting up a 
TV: 

 In the setup menu for configuring the TV there may be an 'Input Selection' option where you 

may choose between 'Cable/Ant.', 'Video 1', or 'Video 2' etc. as the input source. 

 Try looking for a 'Video' channel between the highest channel and the lowest channel on your 

TV (i.e. between 2 and 99 may be 'VIDEO' or 'INPUT'). 

 Look for buttons on the remote control for the TV you are connecting to that say 'VIDEO', 

'VIDEO 1', 'AUX', 'EXT', 'LINE 1. The 'LINE-IN' button will display the Video input source. 


Audio connection 

Connect the unit to your TV or home stereo system using the White and Red connections on the 
supplied patch cord. Plug the white end of the patch cord into the white AUDIO OUT JACK (#23) on 
the unit. Plug the red end of the patch cord into the red AUDIO OUT JACJ (#23) on the unit. Now 
connect the other end of the cable's white (left channel) and red (right channel) plugs to your TV or 
home stereo system's 'AUDIO IN' or 'AUX IN' jacks. 


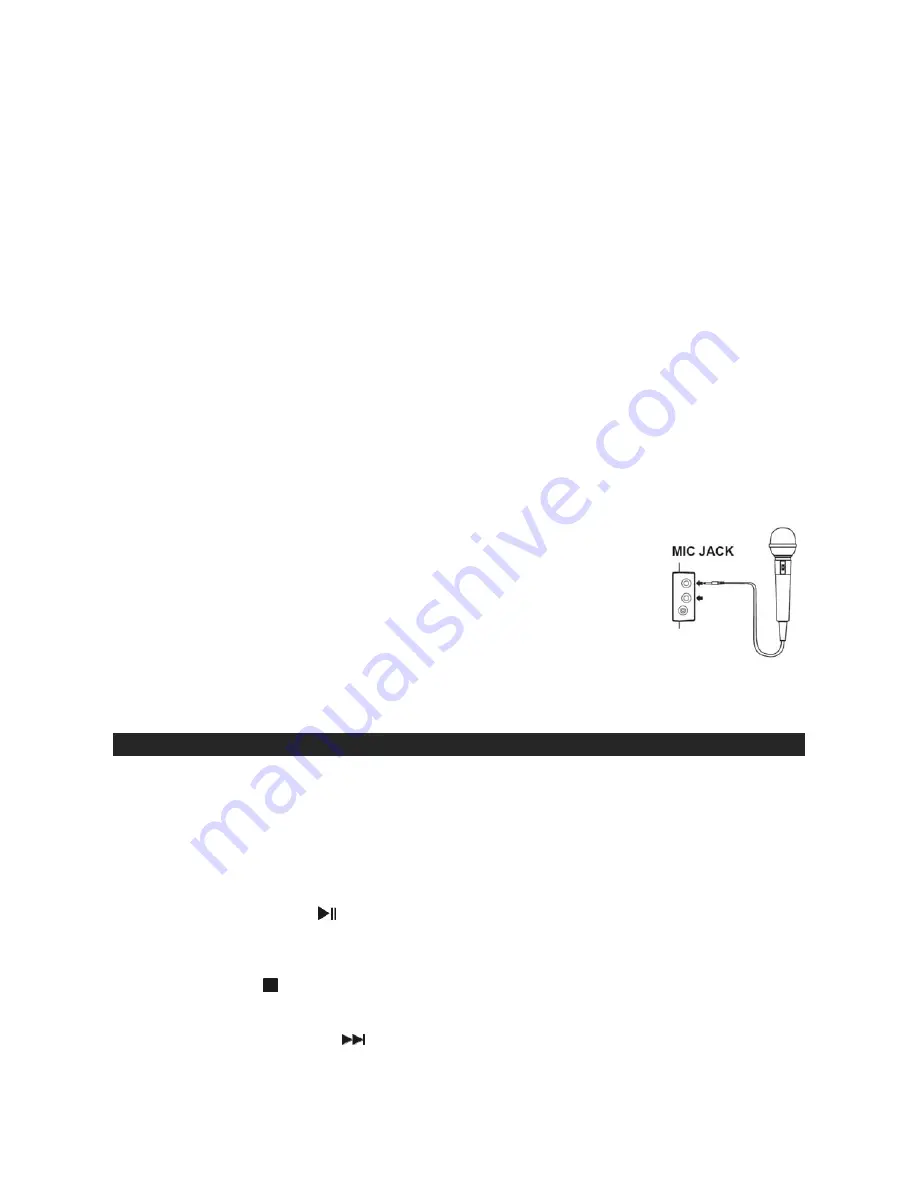
CONNECTING A MICROPHONE 

Plug a microphone (one microphone is included) into the MIC 1 or MIC 2 
JACKS (#25) on the right side of your unit. The MIC output will be mixed with 
an audio source from CD/CD+G. 
 

CAUTION 

- Tapping or dropping the microphone while it is on can cause 

permanent damage to it. Never grip and swing the microphone 
around by the connecting cord

.


UNDERSTANDING THE CONTROL FUNCTIONS 


POWER AND PLAYBACK FUNCTIONS 

1. Slide the POWER SWITCH (#24) to POWER ON or LIGHT SHOW position to turn on the 

KN104. 

 Once the AUX IN JACK (#26) is plugged into, the KN104 will automatically enter the AUX 

mode. You can attach other music sources (iPod, MP3 or other digital audio players) through 
the AUX IN JACK (#26) to your external player’s audio out jack or headphone jack. 

 
2. PLAY/PAUSE BUTTON 

 (#8) 

Tap once to play a selected song when playing a CD/CD+G/CD-R/CD-RW disc,The 
PLAY/PAUSE INDICATOR (#10) will light. 

 
3. STOP BUTTON   (#7) 

While a selected song is playing, tap this to stop. 

 
4. FORWARD SKIP BUTTON 

 (#9) 

Tap once to skip forward to the following song during playback or stop mode. 


Summary of Contents for KN104

Page 1: ...04 USER MANUAL For further information on this model and the entire lineup of Karaoke Night products please visit www karaokenightusa com PLEASE READ THIS USER MANUAL COMPLETELY BEFORE OPERATING THIS...

Page 2: ...r local voltage When you are not going to use the unit for a long period of time disconnect the AC adapter ON CONDENSATION When left in a heated room where it is warm and damp water droplets or conden...

Page 3: ...such as the unit you ve just purchased is only the start of your musical enjoyment Now it s time to consider how you can maximize the fun and excitement your equipment offers This manufacturer and the...

Page 4: ...lead singer or replace the lead singer s voice with yours Background vocals and backup singers are provided Automatic Voice Control AVC When the AVC function is activated the vocals on a multiplex re...

Page 5: ...s of this Karaoke System Lyrics on TV screen displays lyrics in rhythm with the music when playing CD G discs Balance Control lets you adjust the balance between the pre recorded original singer s voi...

Page 6: ...TTON 17 AVC ON OFF 5 MIC VOLUME CONTROL 18 ECHO CONTROL 6 BALANCE CONTROL 19 MASTER VOLUME CONTROL 7 STOP BUTTON 20 DC IN JACK 8 PLAY PAUSE BUTTON 21 BATTERY DOOR 9 FORWARD SKIP BUTTON 22 VIDEO OUT JA...

Page 7: ...aline batteries 1 Remove the BATTERY DOOR 21 on the back of the unit 2 Follow the polarity diagram shown in the BATTERY COMPARTMENT to insert 8 X C size UM 2 batteries and close the door BATTERY WARNI...

Page 8: ...gh your TV Antenna or cable line and serves as your Video Input The RF Modulator can be purchased at almost any consumer electronics retailer If you are connecting the video from the karaoke system to...

Page 9: ...ections on the supplied patch cord Plug the white end of the patch cord into the white AUDIO OUT JACK 23 on the unit Plug the red end of the patch cord into the red AUDIO OUT JACJ 23 on the unit Now c...

Page 10: ...dicating that program is full E Press the PLAY button to complete and start program play Press STOP BUTTON 7 to stop program play F You may use the REPEAT function to repeatedly play a certain track R...

Page 11: ...ing the vocals on the multiplex recording are automatically re activated This function is used primarily during practice sessions 15 MIC VOLUME CONTROL 5 Adjust this control to obtain the desired mic...

Page 12: ...necessary 6 You may also use the BALANCE CONTROL 6 and ECHO CONTROL 18 to enhance your singing experience 7 Turn off both devices after use NOTE Once the AUX IN jack has been plugged into the unit au...

Page 13: ...turned all the way down Turn the master volume control to a higher output Volume control on TV set PA system is set to minimum Turn up the volume of the TV PA system CD player of Karaoke System does n...

Page 14: ...ut to correct A V input that is connected to the unit Cannot sing through the mic Improper MIC volume setting Adjust MIC and MASTER VOLUME CONTROLS to appropriate levels MIC is off Turn on MIC with th...

Page 15: ...ure to provide reasonable care and necessary maintenance as outlined in the user manual 3 Warranty of all SPECTRA products applies to residential use only and is void when products are used in a nonre...

Reviews: