


Kaspersky Anti-Virus Control Centre
94
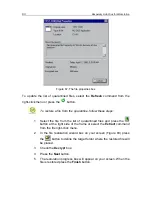
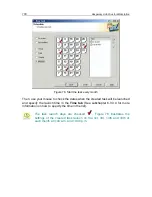
Figure 68. The file restoration wizard box
To delete a file from the quarantine, follow these steps:
1. Select it from the list of quarantined files and press the
button
or select the
Delete
command from the file right-click menu.
2. The deletion confirmation box will appear on your screen. Press
the
Yes
button to confirm the operation.
The program will only delete the file from the quarantine but not
from its original location. The file may be automatically deleted from
its original location only if you preset the anti-virus programs on the
computer to delete infected files (selected the
Delete
option).
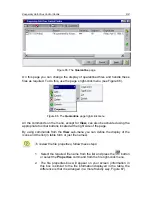
To add a file to the quarantine, follow these steps:
1. Press the button
or select the
Add
command from the right-
click menu. The file quarantine wizard box will appear on your
screen (Figure 69).
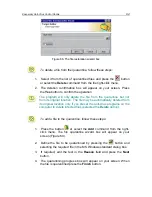
2. Define the file to be quarantined by pressing the
button and
selecting the required file in the MS Windows standard dialog box.
3. If required, edit the text in the
Reason
field and press the
Next
button.
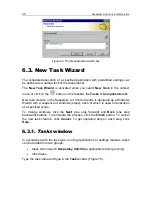
4. The quarantining progress box will appear on your screen. When
the file is quarantined press the
Finish
button.