


You will be asked to enter your PIN code before you can enter this
menu. The PIN code preset to 0000 from the factory.
The code can be changed from the Change PIN Code menu .
If you want to customize the system to suit you better, you can
specify some settings from the submenus in the
System Setting
menu.
System Setting
CA System (Option)
The menus are provided by Smartcard.
Your receiver is equipped with one Smartcard slot, Plug in the appropriate a valid Smartcard.
You will then have access to the respective scrambled and Pay-Per-View services.
Insert the Smartcard into the Slot on the front panel. (Chip side down)
If you insert the Smartcard into the Smartcard slot then you can watch you selected channel.
-
Instant Replay
Press the replay button to jump back and play from that location. When the replay is completed
the program will play from the current point.
You can set the replay time interval by using the PVR Setting menu.
-
Commercial Skip
Press the skip button to jump forward and play from that location. When the skip is completed the
program will play from the current point.
You can set the skip time interval by using the PVR Setting menu.
-
Recording Notify Duration
To set duration icon appears.
-
Time Shift
To select Time Shift Off or On.
-
Time Shift Recording Time
To set recording Time.
• Information
: Displays information of hard disk that is connected to the receiver.
• PVR Setting
-
Default HDD Volume
To set default HDD Volume.
If HDD has one partition, you can set for Volume 0.
If HDD has two partition, you can set for Volume 1.
-
Default Record Duration
To set the default record duration.
You can use
Utilty
menu
which is various. (
Calendar
,
Mail Box
)
Utility
Problem
Solution
No display LED on the front panel.
No power supply
Power cord plug in correctly.
No Picture
Ensure that the STB is switched on.
Check connection and correct.
Check channel and video output and correct
Poor picture quality
Check the signal level, and the antenna cable.
No Sound
Check the volume level of the TV and STB.
Check the mute status of the TV and STB.
Check the connection of audio cord.
Remote Control does not operate
Point remote control directly towards the receiver.
Check and replace batteries.
Check that nothing blocks the front panel.
Service is not running or scrambled
Check the whether the Common Interface module and smart card is correctly
inserted.
Check that the smart card is appropriate for the selected service.
You have forgotten your secret PIN
code
Refer to Change PIN code of this owner's manual.
Troubleshooting
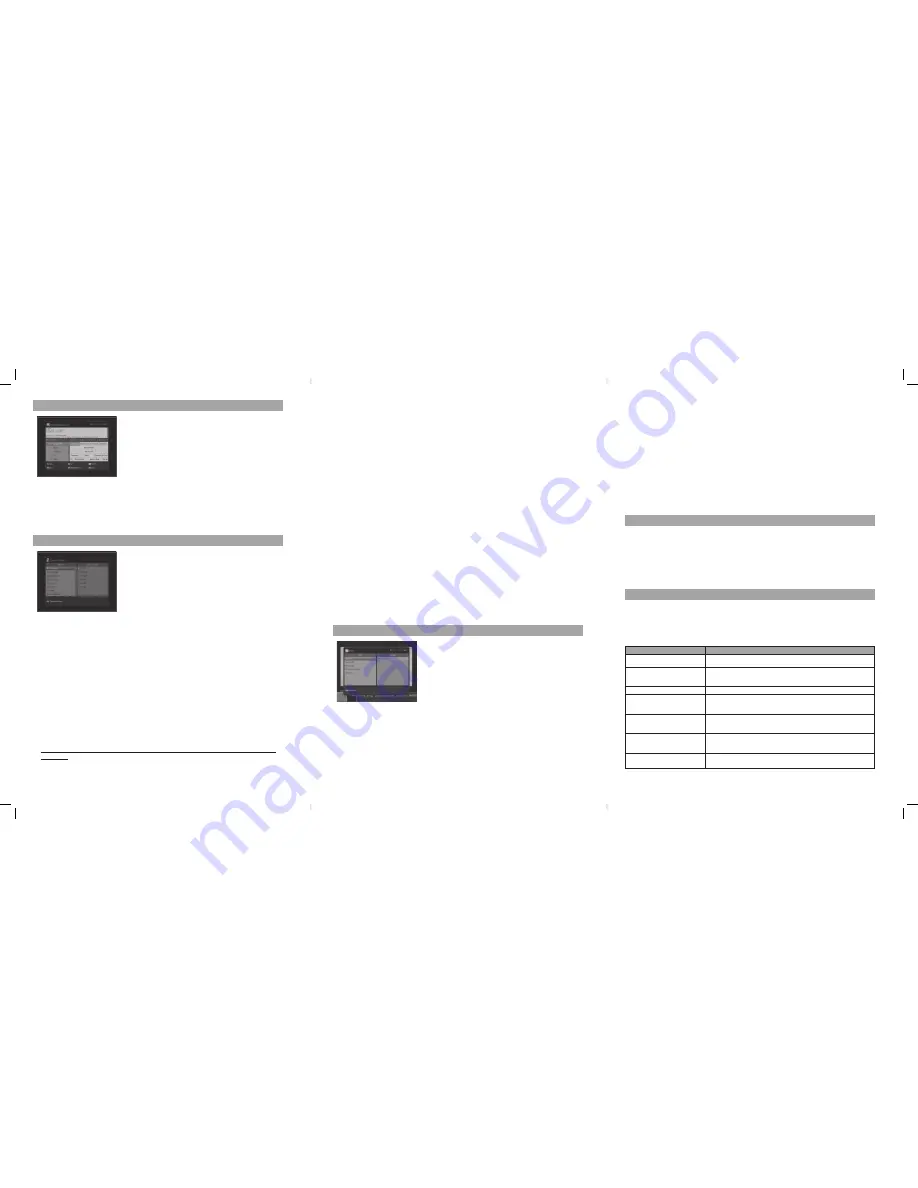
PVR
Connect a USB memory device to the receiver by using the USB
port and select "Information" in "PVR Menu."
•
File List
: Displays the recorded files.
It plays the image that has been recorded on File List.
When you press the
Yellow
button on File List, you can select
File List or Image Viewer. (Only JPG format available) In order
to see a JPG image, press the
Yellow
button and select Image
Viewer. You cannot see JPG images on File List.
• Format HDD
: Formats the hard disk. When you format the
hard disk, the KaonPVR folder is created.
1. Menu Language / Audio Language / Subtitle Language
In this menu you can change default language for menus, audio, and subtitle when changing
services.
2. SD Video Output
If your SCART supports RGB control, select RGB. Otherwise select CVBS.
3. Screen Type
If you have a TV set with the 4:3 picture format and the transmission is in 16:9, you can select
4:3 letterbox, 4:3 full screen, and 16:9 full screen.
4. Banner Time
You can select for how long the banner will be shown.
5. Local Time
You can set your local time according to your location.
6. Menu Transparency
Give the variable transparency on Video and OSD screen.
7. Change PIN Code
From here you can change the PIN code from the standard 0000.
DO NOT FORGET IT! Without it, you are not able to access to any of the functions where the code
is required.
Note
If you forget the PIN code, press the RGYB(Color) button in sequence.
(i.e.
Red
→
Green
→
Yellow
→
Blue
button) The PIN code will be changed to
0000
.
8. Channel Lock
If you select
On
, you may need PIN code every time you select the lock channel program as
you set in the channel control.
9. Receiver Lock
If you select
On
, you will have to enter the PIN code every time you start the receiver
from standby.
10. Menu Lock
If you select
On
, you will have to enter the PIN code every time when you enter the Menu.
11. Parental Control
Parental Control enables you to place certain restrictions on the viewers by setting age limits. The
password is required to view the blocked programmes.
Press the
UP/DOWN
button to select to the desired option and press the
OK
button.
12. S/PDIF Output
You can hear digital audio of the Dolby 5.1 channel using S/PDIF Output.
• If selecting OFF, the digital audio will not be output.
• When selecting PCM, the unzipped digital audio is output through S/PDIF.
• When selecting Dolby Digital, if the current channel is a Dolby audio channel, the zipped Dolby
stream is output through S/PDIF.
13. Auto Power
If the Auto Power is set to
On
and power is off, the Set turns on automatically and turns into
the channel mode which you were watching before power breakdown.
14. Factory Reset
Use this option only if you have to start the complete installation procedure from scratch.
If you continue from here, all your previous settings and all channels will be cleared.
The default data will be loaded.
15. OTA Upgrade
To set up OTA Upgrade. It is possible to set up OTA upgrade manually or automatically.
16. System Information
Displays the system information
Program Guide
Select “
Program Guide
” in the main menu with the
UP/DOWN
buttons and press the
OK
button.
1. Grid EPG Program Guide
• Press
UP/DOWN
buttons to change channels. You can find out
channel Information at top screen.
• Press
OK
button, you can charge channel as well.
• Press
LEFT/RIGHT
buttons to check the existing EPG info as per
its time.
• In case detailed info content is too long to check, you can check
its information as a long lists form, and resize its lists by pressing
BLUE
button.
• Press
GREEN
button in oder to sort channel lists.
2. Reservation from EPG
• Selects the desired program to be reserved from the EPG screen.
• Pressing the
YELLOW
button will open the
Reserve
window.
• Press
OK
buttons to select mode
Once
,
Daliy
,
Weekly
, or
Off
.
STB_Adrenio_Cab_112619_KCF-SA700PCO_Eng.indd 2
2/17/2011 11:14:04 AM


